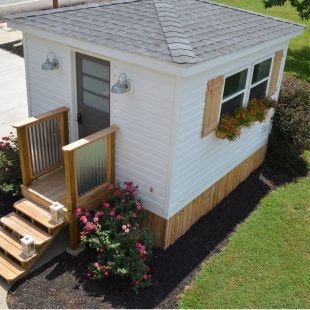
ORC Week 2: Progress With The Guest Cottage Shed
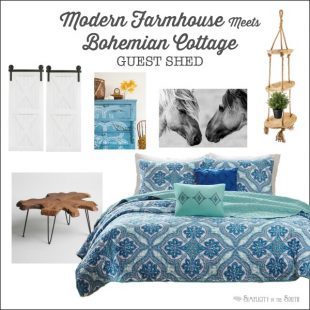
Welcome to week 2 of the One Room Challenge, hosted by Calling It Home! If all goes as planned, we’ll be transforming our garden shed over the next 4 weeks into a guest cottage with a modern farmhouse meets cozy, bohemian cottage feel.

When we left off at ORC week one /day one, I showed you the before pictures of the guest shed and we discussed the design plans. There’s no doubt that Jason has been more productive than I have this past week. Granted, I’ve been shuffling kids back and forth between baseball games.
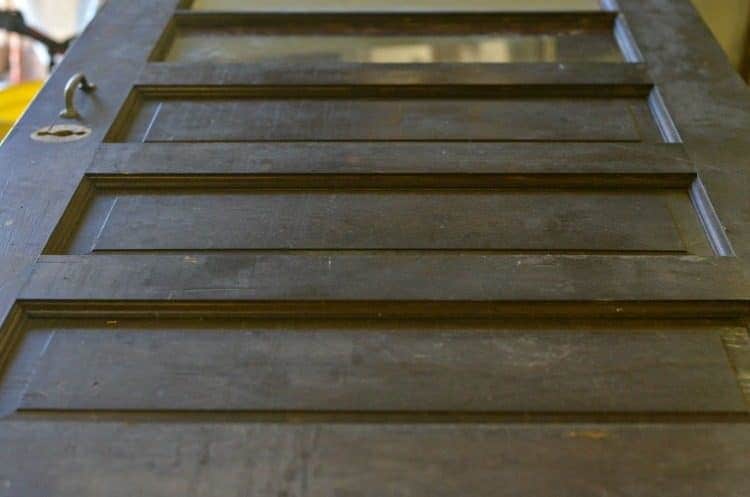
And spending countless hours stripping a door. More on that later.
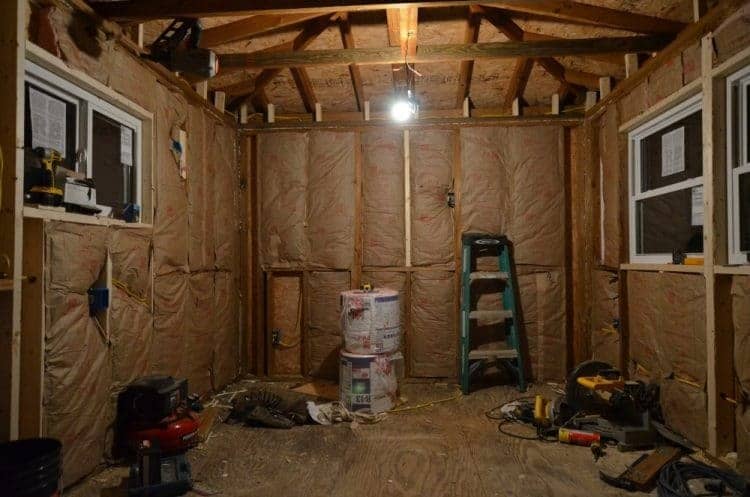
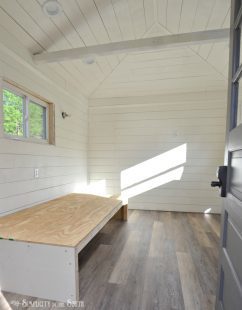
This part of the transformation was mostly about fixing the prior construction problems and getting the room energy efficient.
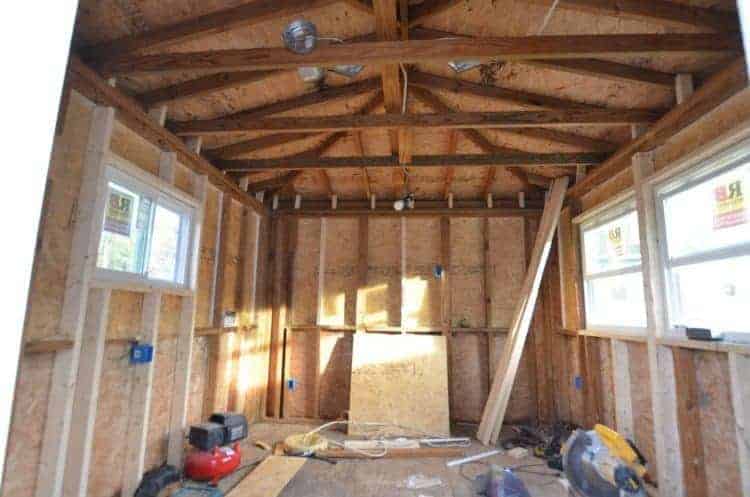
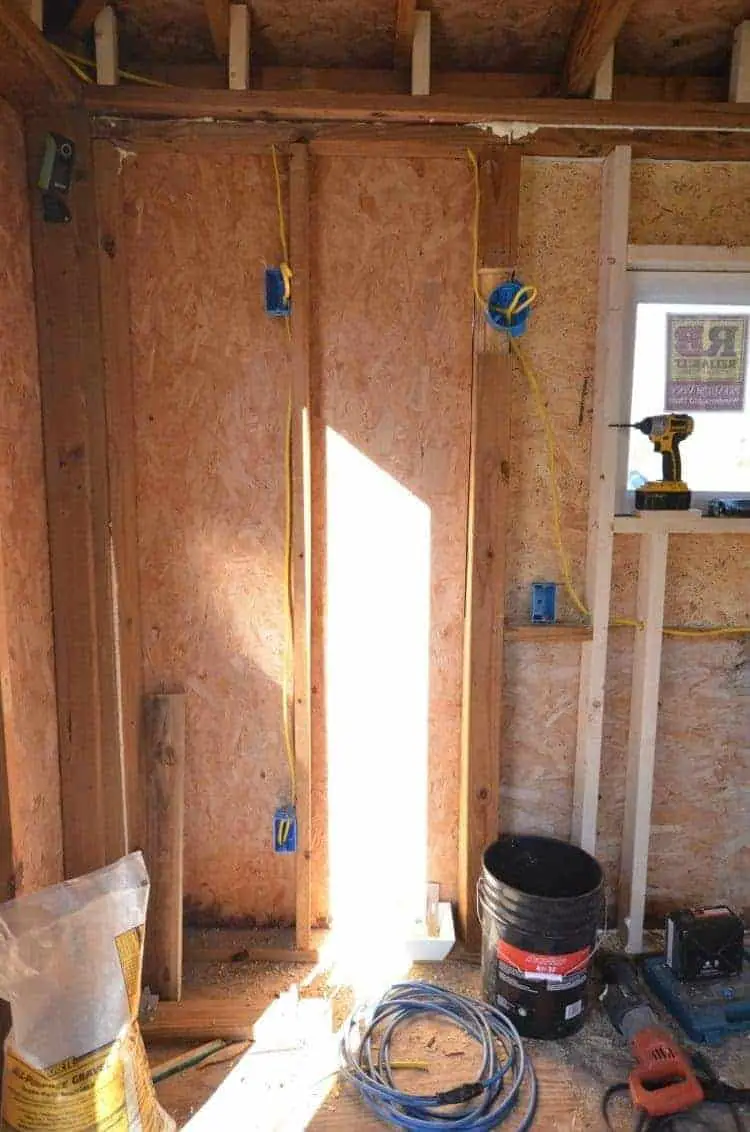
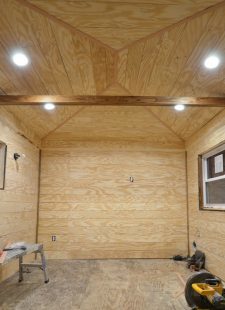
Thursday was spent taking off the siding so the walls could be pushed out about 1-1/2 inches to prevent water seepage where the walls meet the outer foundation of the shed. The OSB shows signs of water stains but luckily no rotting. The old storm windows were removed since they weren’t energy efficient.
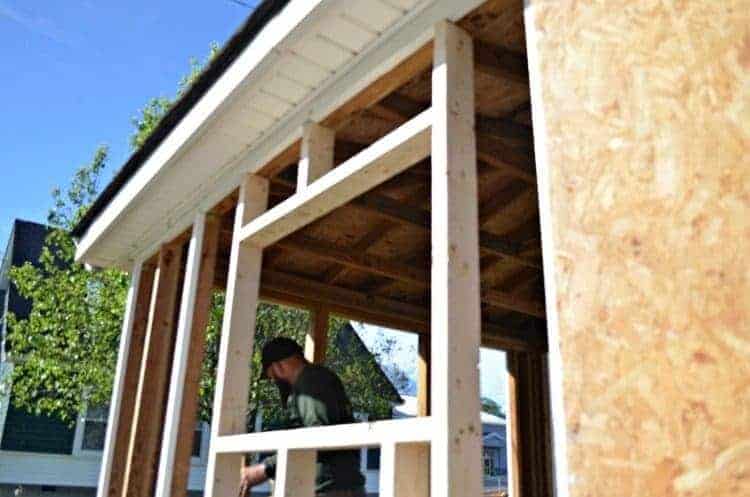
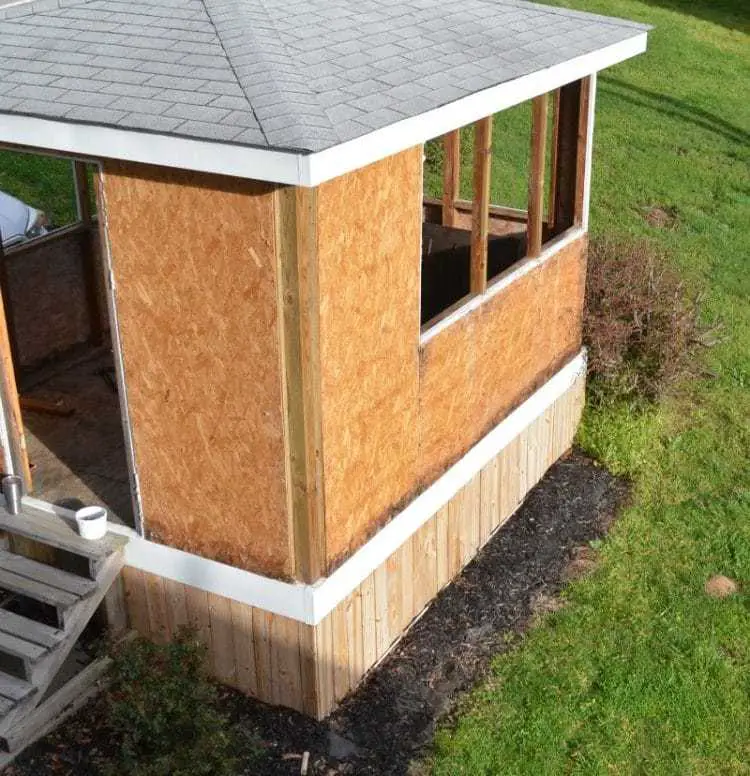 Friday after work, we headed to Lowes to pick up the rest of the supplies we needed for the weekend. We spent Saturday framing in for the new windows and placing new OSB on the exterior walls.
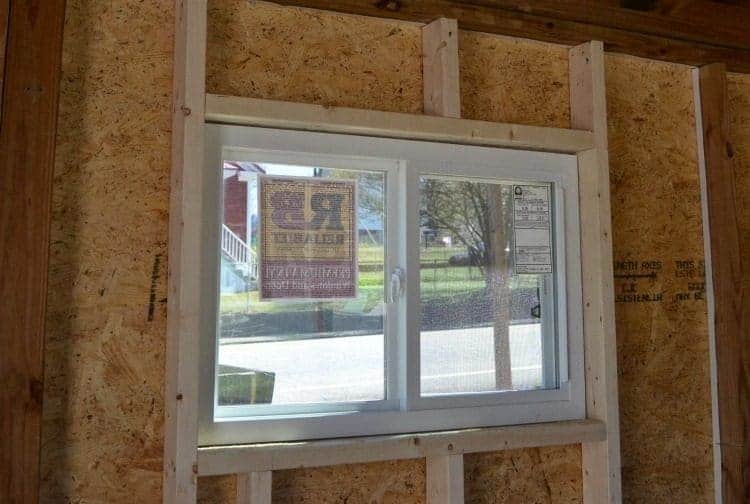
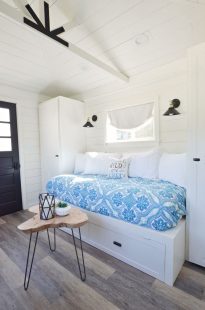
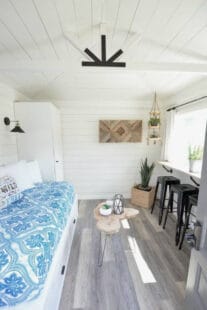
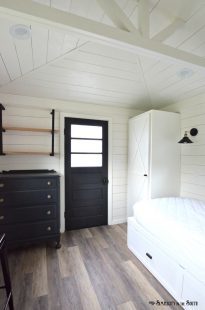
The built-in bed will be placed below this new window. It’s nice and high so you can lounge on the bed and not be leaning against it.
There’ll be a bar built for 2 underneath the windows on the right.
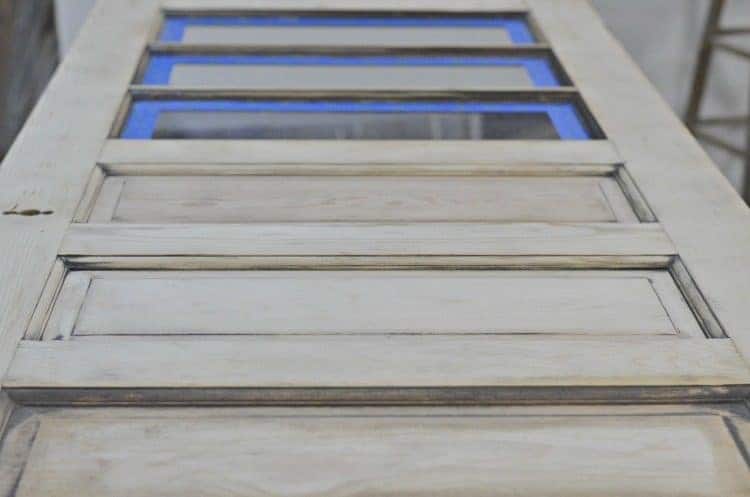
 Since the door was taken off the hinges, I decided this would be a great time to strip it down to the bare wood so I could stain it a lighter color.
 Four hours later and 15 sheets of sandpaper later, this is where I left off.
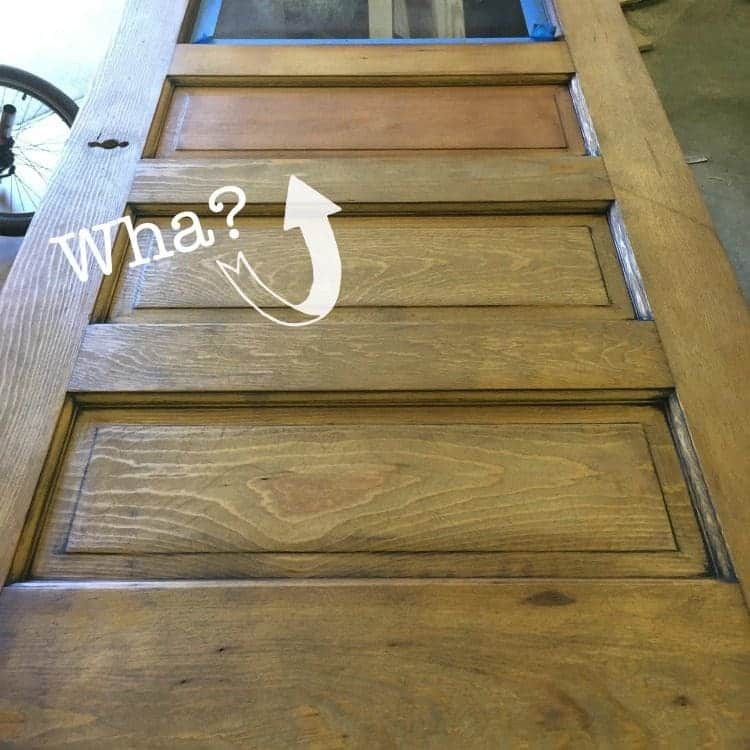
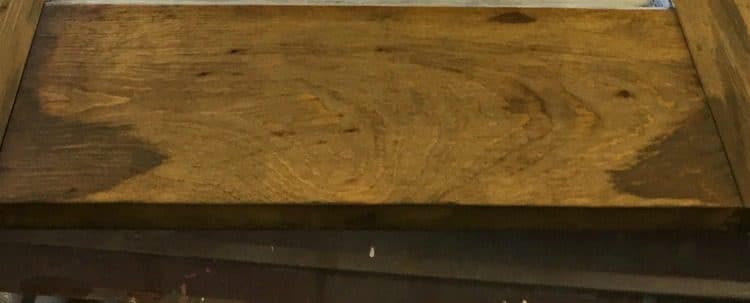
Lesson learned…you never know what you’re gonna end up with when you strip a 60-year-old door until the stain goes on. Not only did the top panel have a completely different species of wood but I also realized that the base of the door had some not-so-obvious-until-the-stain-went-on water stains.
On to Plan B. I decided to paint the door a nice, neutral gray, Benjamin Moore’s Kendall Charcoal. I think it was meant to be that color all along.
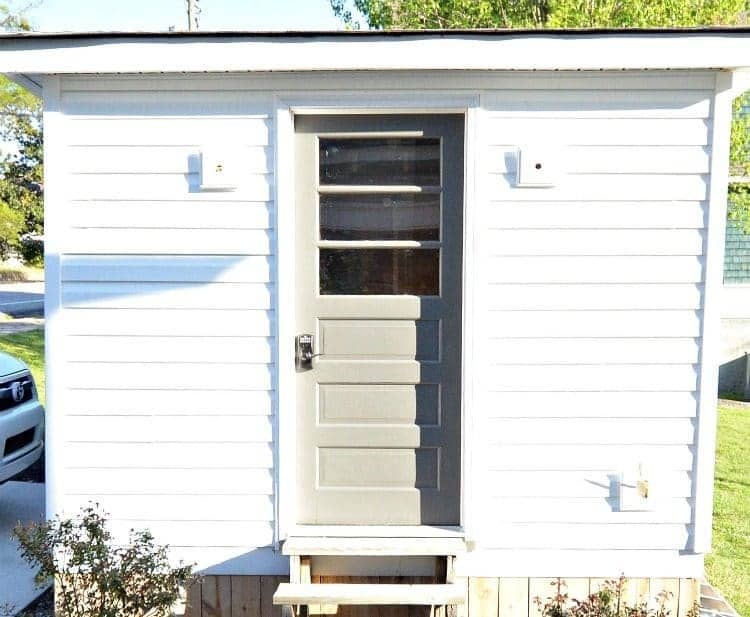
Sunday, the rest of the vinyl was replaced and the door along with the new keypad lock went up. We also decided where all the sockets and light switches would be placed.
A dorm refrigerator, microwave, and sink will go to the left side of the bed.
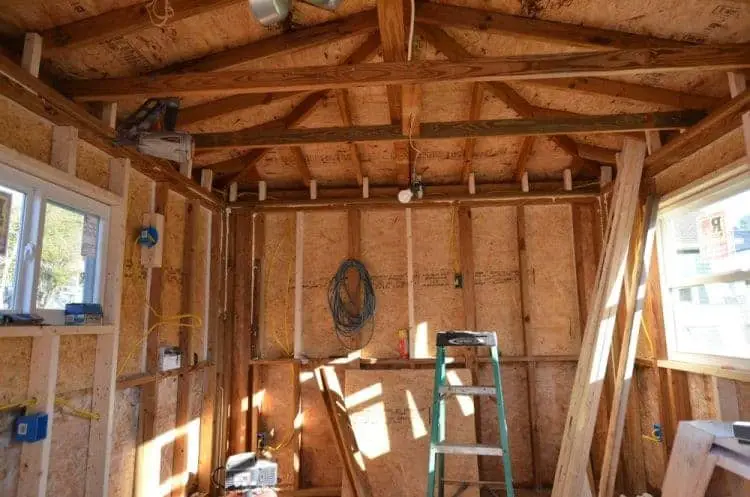
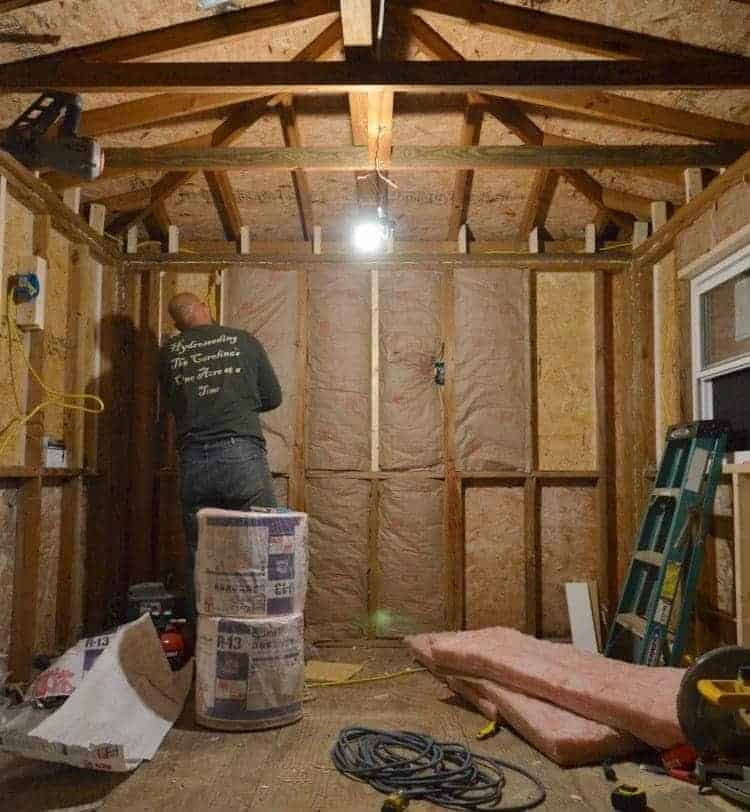
 Jason spent Monday evening rewiring the building.
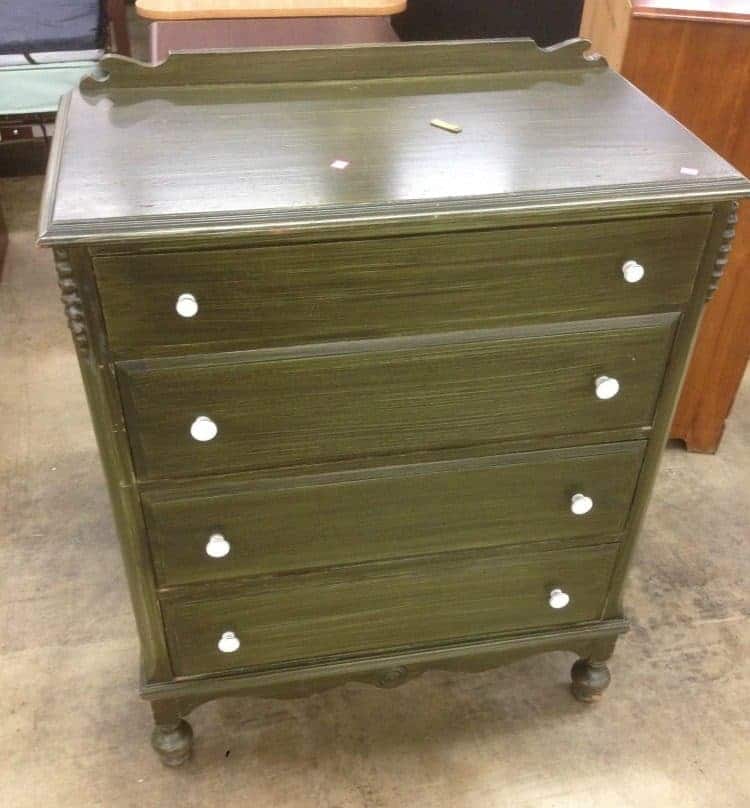
I spent it painting over a green dresser I found at Habitat for Humanity. I originally planned on painting it blue but decided to go with black instead and love how it turned out. More details on the finish later!
We’ll be cutting the bottom of the feet off since they’re broken and the dresser needs to be lower for the coffee bar.
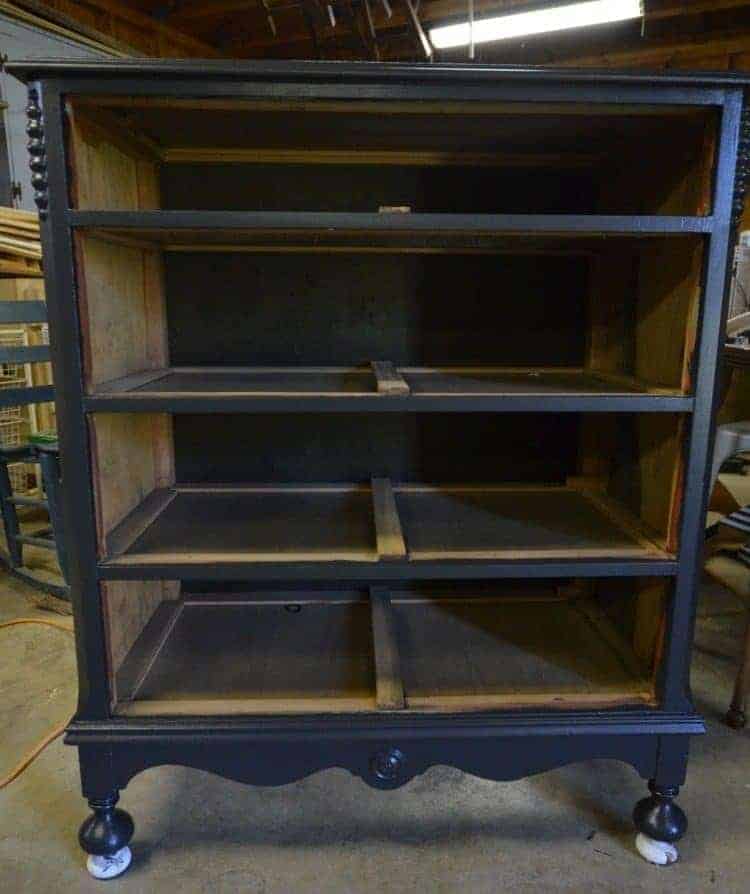
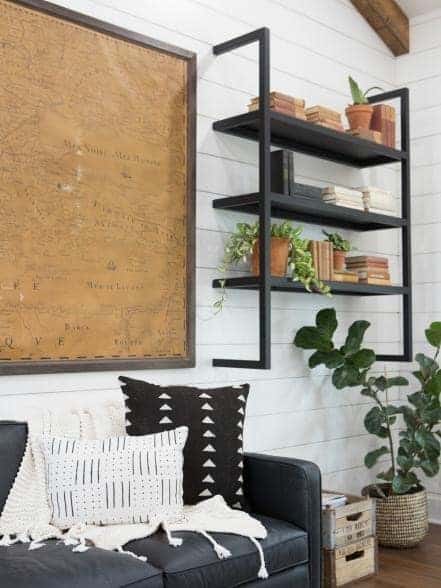
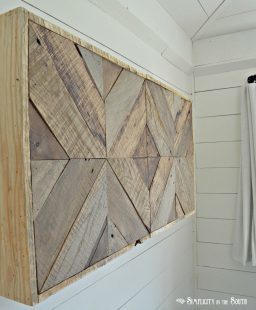
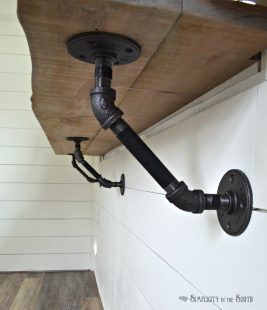
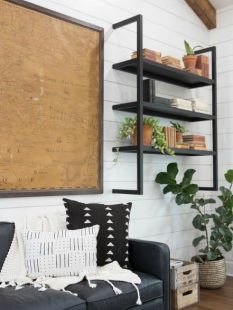
Jason will be welding a floating metal shelf that we’ll place above the coffee bar very similar to the one on the last episode of this season of Fixer Upper. Ours will be a mixture of metal and wood.
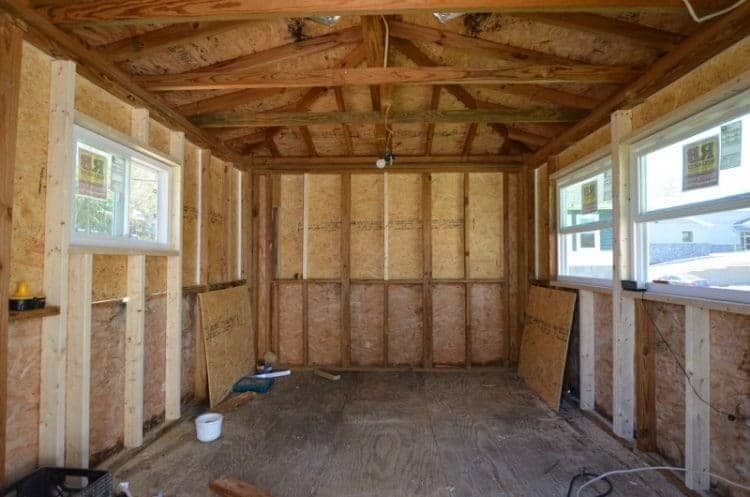
So, now we’re at the last day of week one, Tuesday. Most of the insulation went in tonight.
It’s feeling less like a dilapidated shed and more like a livable space.
So, these are the plans for the next 7 days:
- Finish the wiring for the ceiling lighting
- Finish the insulation
- Applying the shiplap to the walls and ceiling
- Preparation for painting the shiplap
- Staining the boards for the bar and shelving
- Making an art project for the TV wall
Luckily, things are going as planned. We’ll be seeing a huge change by next Wednesday!

Catch up on all the Modern Farmhouse Cottage Guest Shed Projects here:


Wow! This is so inspiring!
We just bought a house that has a 10×12 shed and we’re hoping to do the same thing. It also has power!
– One big question I have though, is how you got rid of those cross beams? Our shed has these awful cross beams going across and they’re quite low compared to a regular 9′ ceiling. I noticed by the end of your timelapse that you only had 1 beam going across. How did you remove the others and still support the room?
– Also, I’ve read about adding ventilation to the roof after inserting the insulation. Did you do this?
thanks so much!
This looks exactly like what I want to do in our backyard for a pool house. Did I miss the dimension of the cottage in your first post? This is going to be beautiful!!
Hi Terri! The cottage’s outside dimensions are 10 x 12′ and the inside square footage is 109 sq ft.
What a great space to work with for your ORC project! I love the gray door too. I get hung up on leaving old things as original as possible, but I know that certain updates will highlight the beauty not detract from it. You nailed it with that door.
Wow – that all looks like a big undertaking but you’ve done so much already! Love your shelf inspiration – will look forward to seeing that project. I love all your plans – it’s going to be a great space when you’re done.
It looks like it is coming together nicely. I love watching the progress as Jason and you put your time and energy into the Guest Cottage. Soon, you will no longer be able to call it a shed. I can’t wait to see the finished product. Thank you both for sharing your experiences with us.