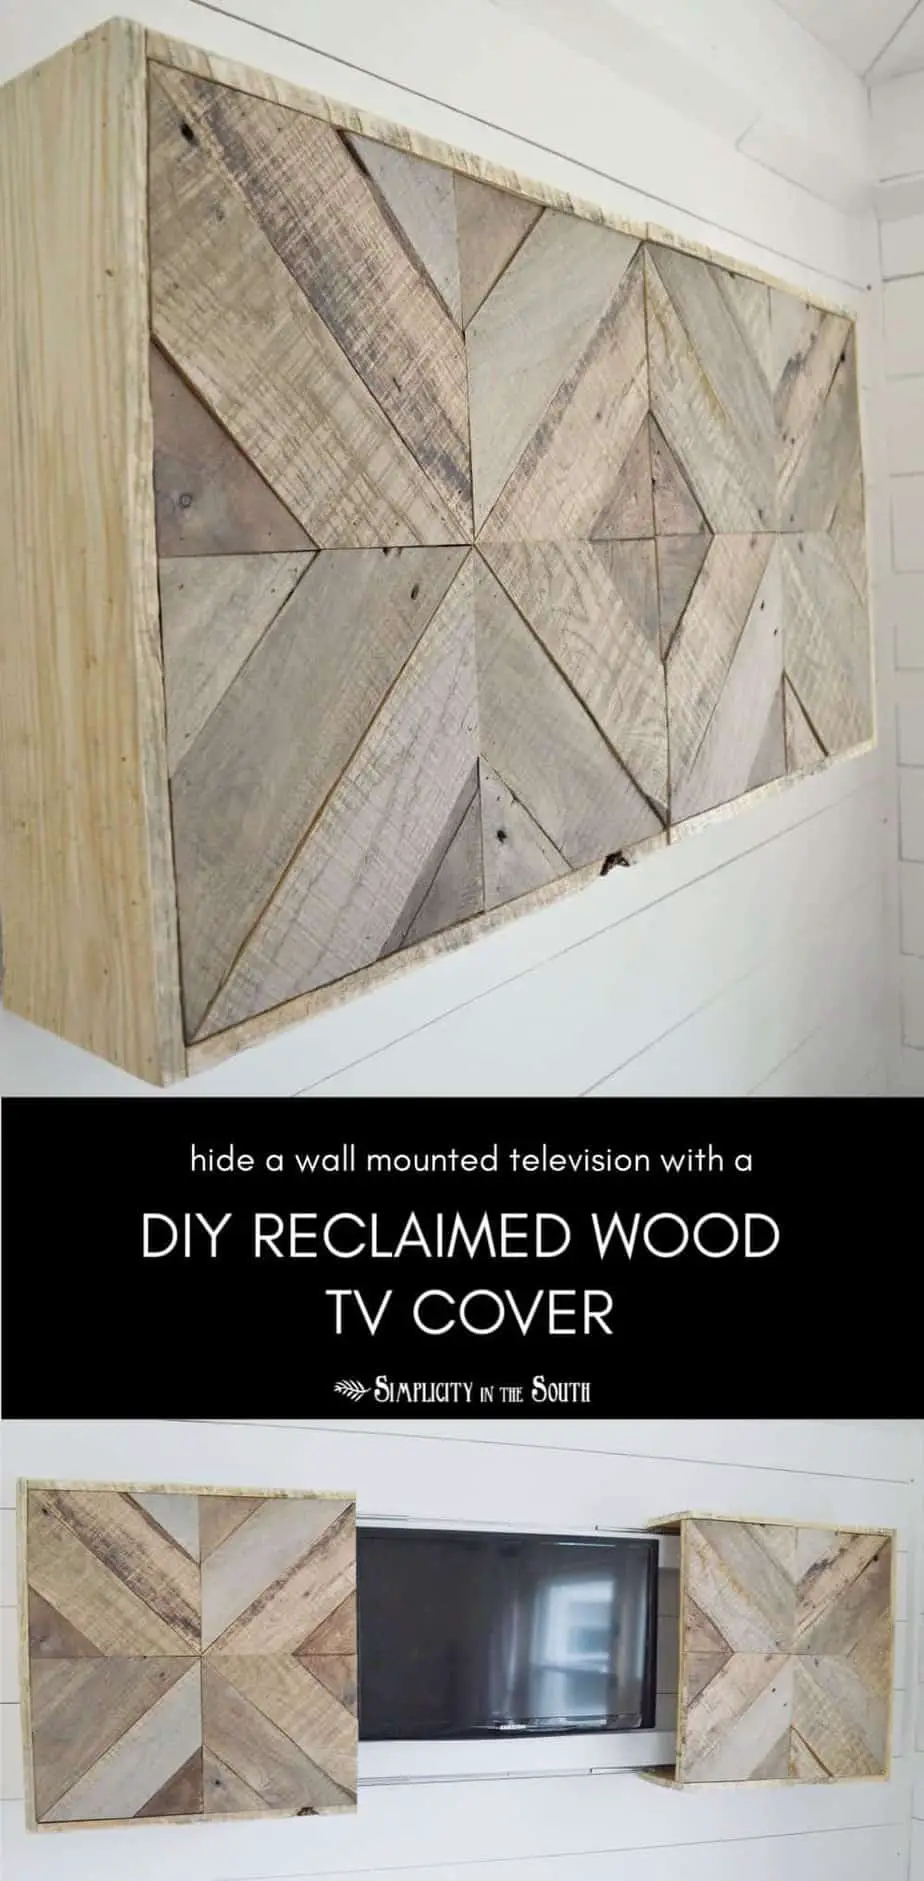
DIY Reclaimed Wood Sliding TV Cover: Now You See It. Now You Don’t
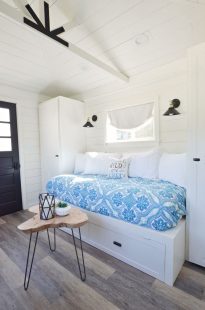
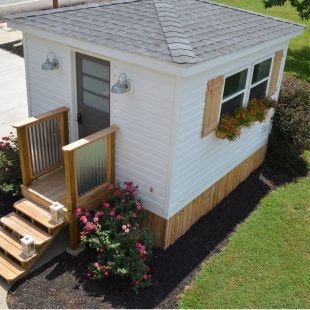
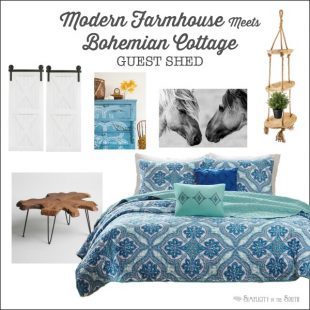
Out of all the projects we’ve had on our to-do list for the modern farmhouse cottage guest shed, the reclaimed wood sliding television cover is the one I’ve been most excited about. I’ve never been good at keeping secrets so I did a pretty good job at not spilling the beans.
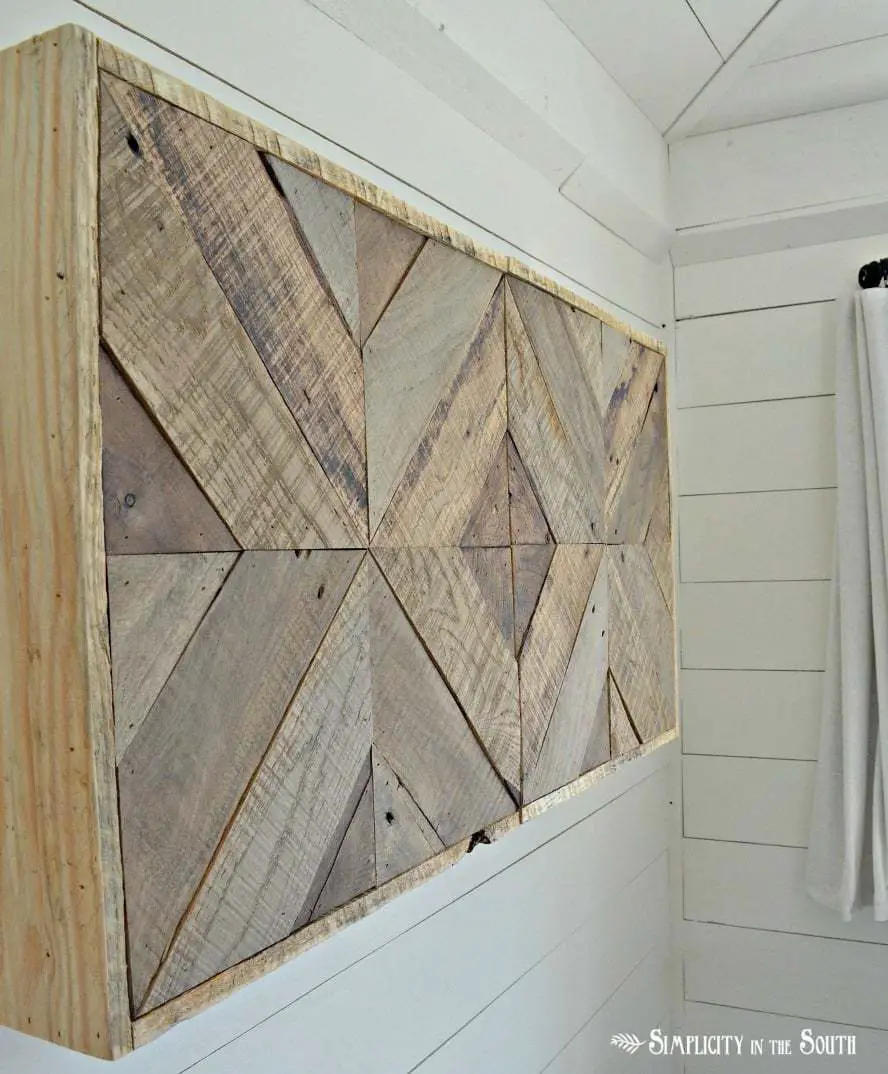
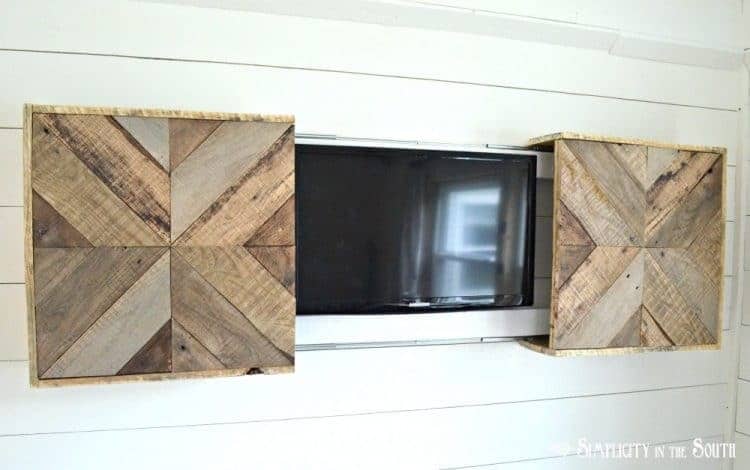
Today’s project is a double-duty functional art piece…with a little hocus-pocus thrown in.
Now you see it. Now you don’t.

(affiliate links are added for your convenience)
To make a reclaimed wood sliding TV cover, you’ll need the following:
Protective eyewear and a dust mask
Heat-treated pallet boards (here’s a great article on everything you wanted to know about pallet wood)
1/2″ plywood
2″ x 3″ boards
Miter saw
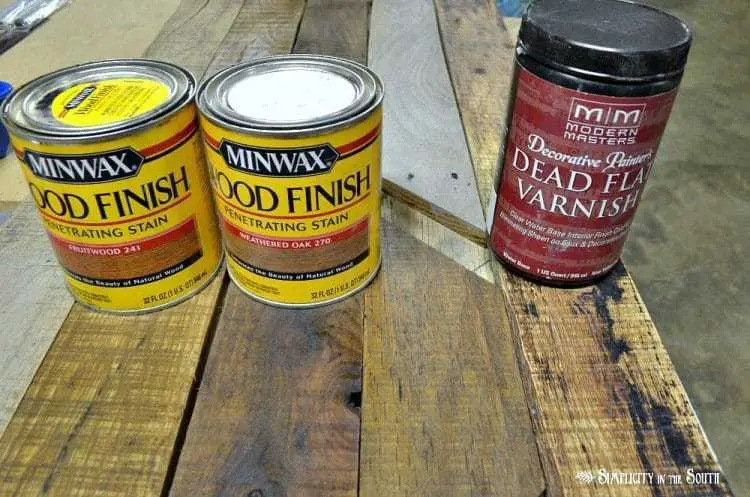
Various wood stains
Wood glue
Brad nails (we used a nail gun and 1″ and 1-1/2″ nails)
Drill
Full-extension drawer slides from D. Lawless Hardware
Screws for the drawer slides
3″ wood screws for mounting the cover to the wall
Magic wand is optional 😉

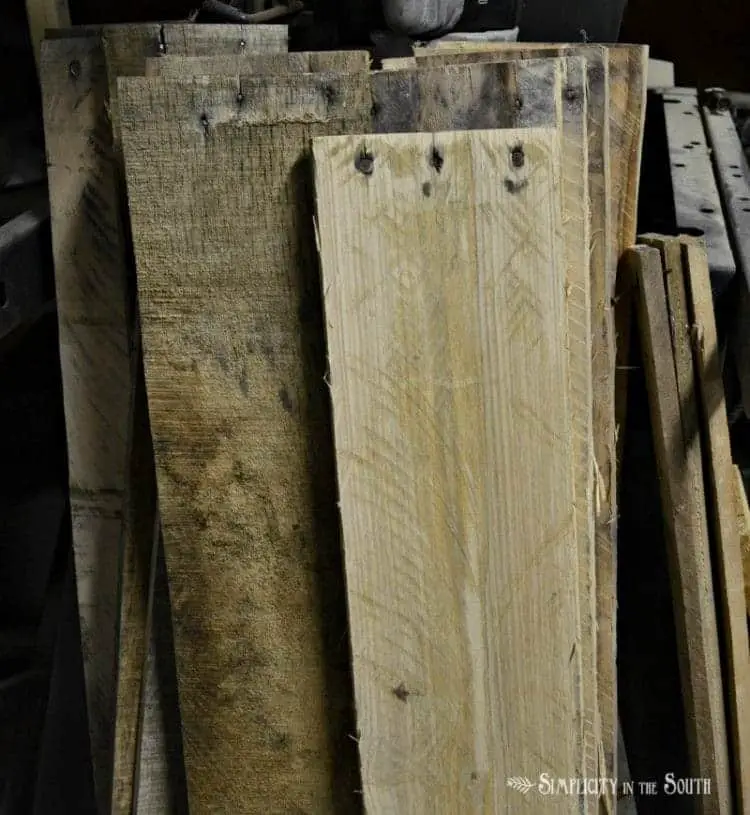
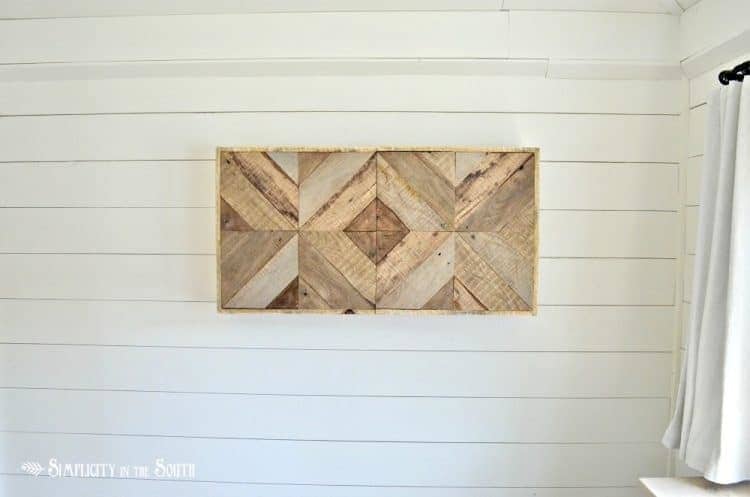
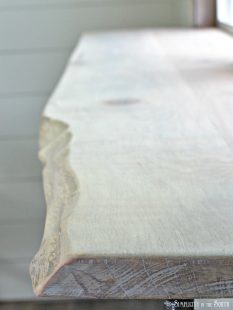
First, we gathered our pallet boards, sanded them and stained them. I used Minwax Fruitwood and Weathered Oak. I also did a gray wash on a few boards. One board was beautiful as-is, so I used my new favorite sealer, Modern Master’s Dead Flat Varnish. It’s the closest thing to keeping the look of rustic, bare wood but it’s still protected. It truly is a flat finish and there are no visible brush strokes.
Our TV is 22.1″ x 13.7″ x 1.9″. We cut our 1/2″ plywood to 18″ x 36″ so we’d end up with a rectangle that would make 2 equal squares when cut in half.
It’s funny that even the plywood base of this project is made from reclaimed wood. We tend to hoard wood knowing we’ll find a way to use it one day. Usually, this is the wood I use for making signs.
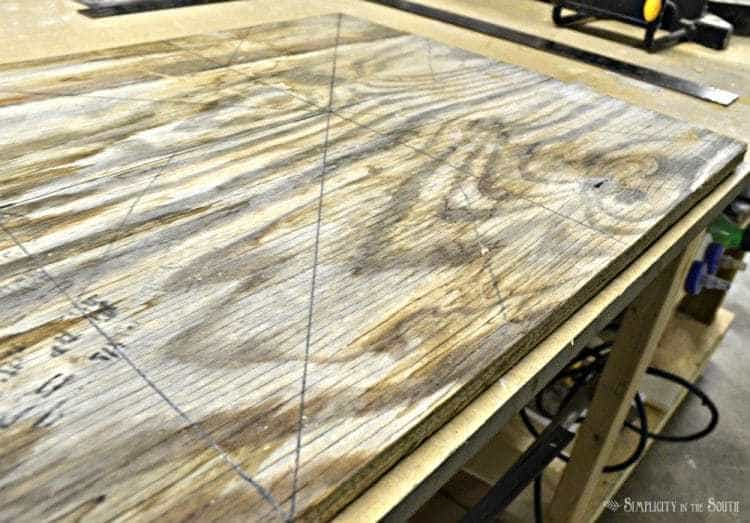
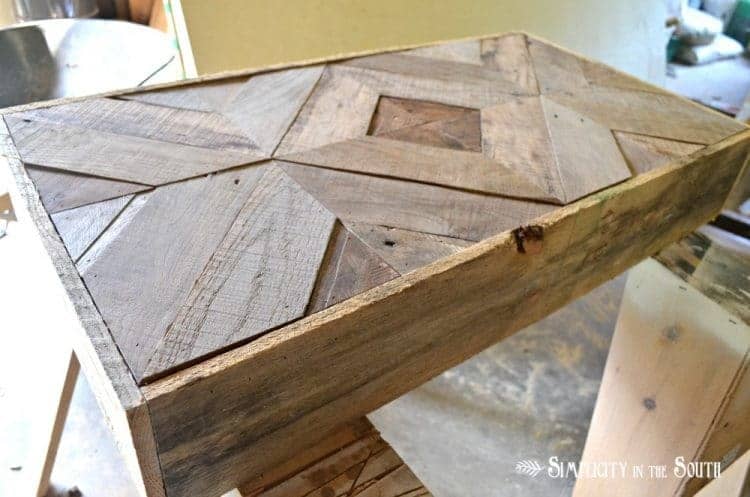
Jason marked the center of the rectangle vertically and horizontally.
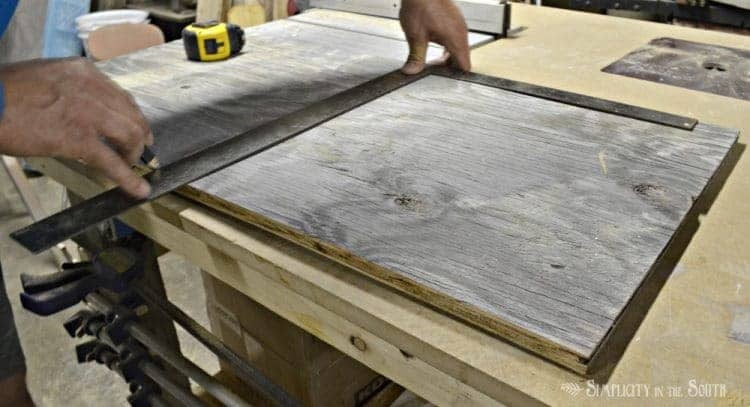
Then he marked the center of each side and sectioned it into triangles. This would give him the template for the cuts for the pallet boards.
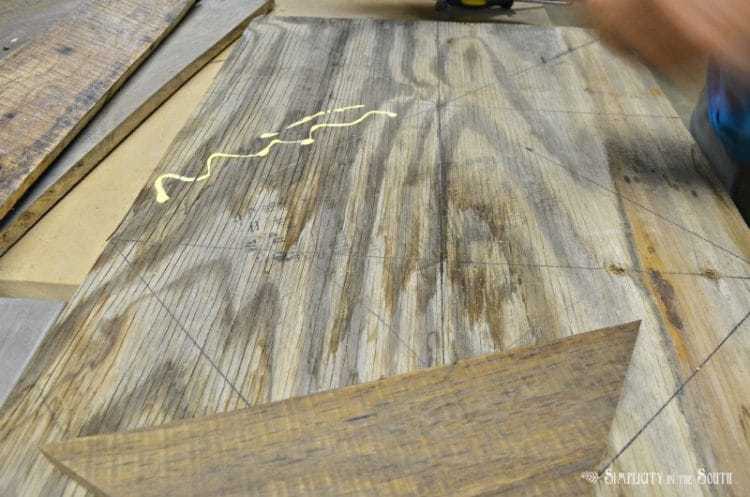
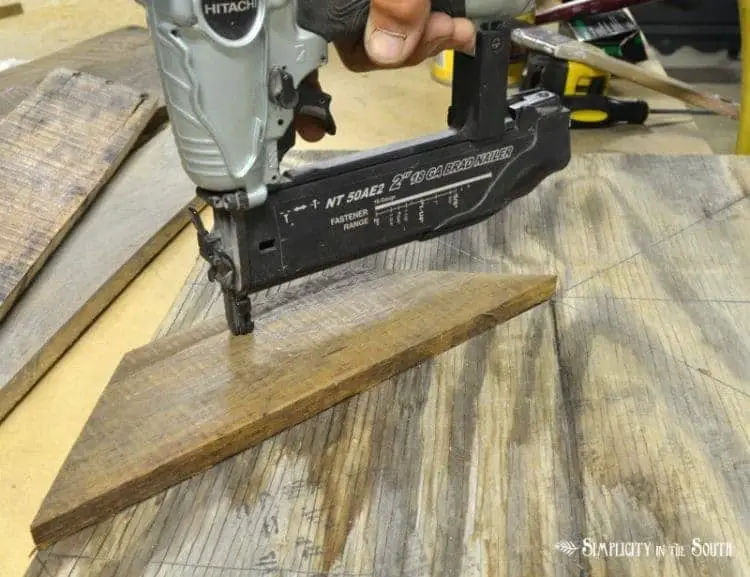
He cut the boards at a 45-degree angle on the miter saw one at a time, glued, then nailed them to the plywood with 1″ brad nails.
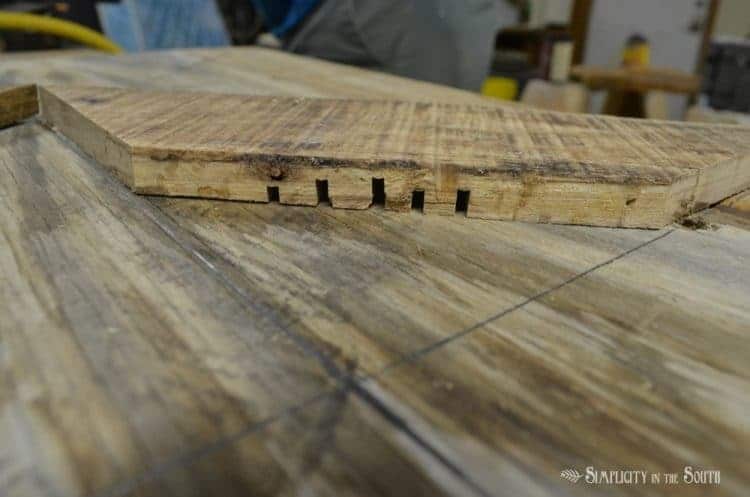
Here’s a tip if you end up with bowed boards: cut mid-depth notches in the center of the board and it’ll flatten out once nailed. The safest way to do this is with a hand saw.
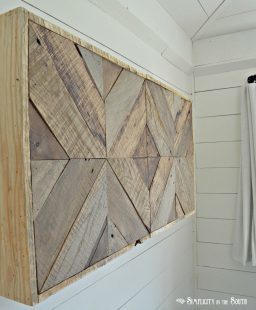
Jason continued to cut each piece individually and alternated the colors of the boards.
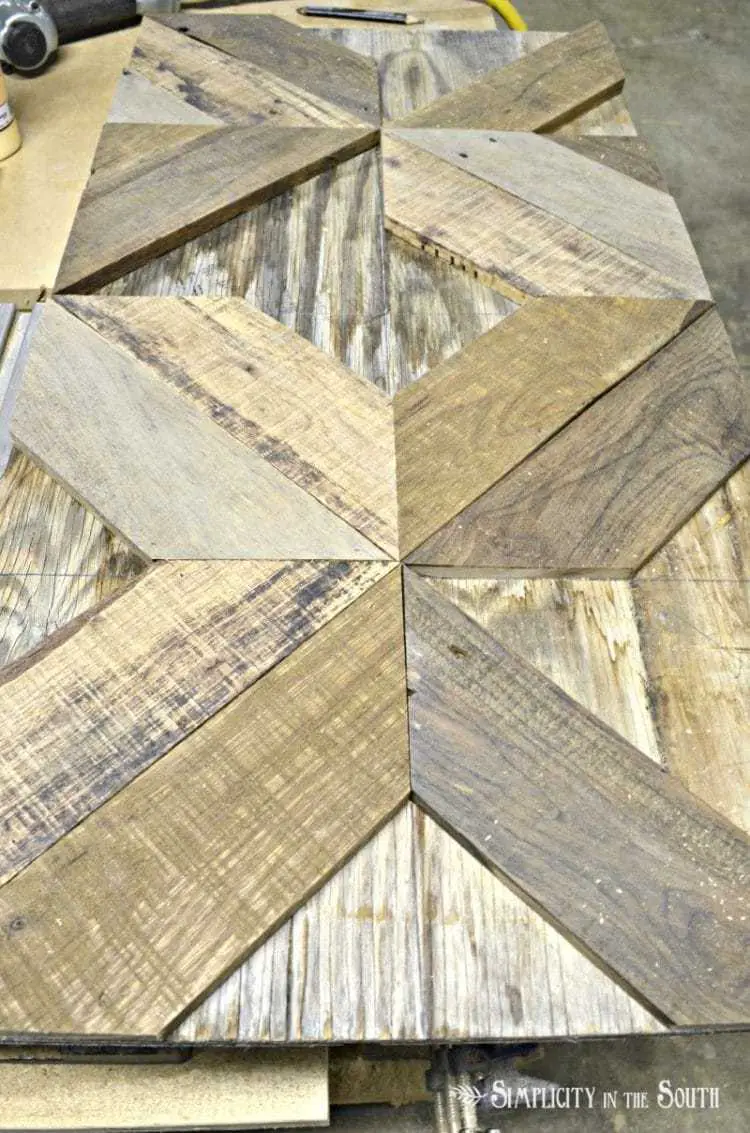
The gray wash looks blue in this picture but it’s much more muted in person.
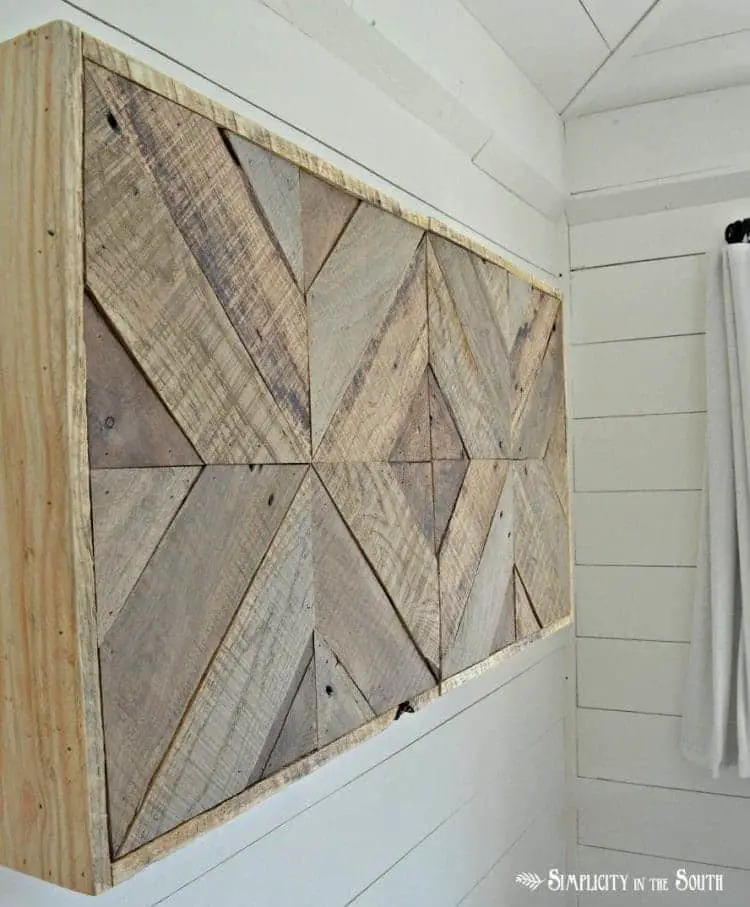
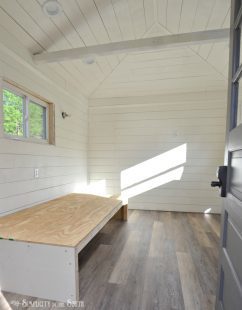
We hung the TV on the wall so we knew what depth we would need to make the sides of the cover.
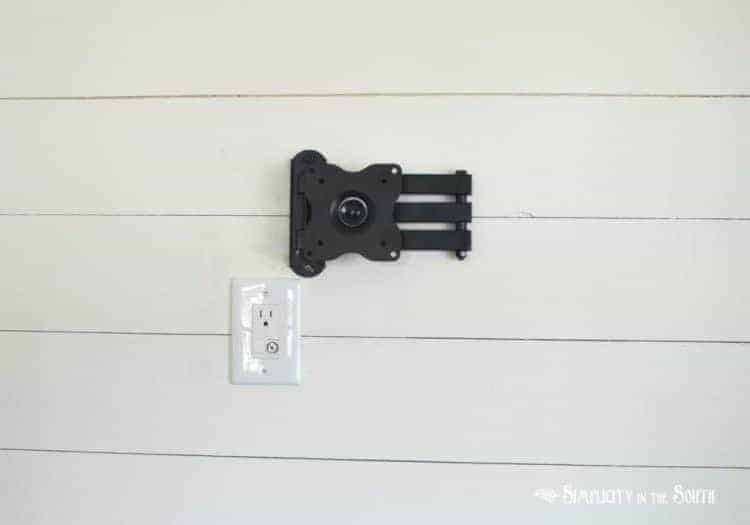
The sides of the box are 6-1/4″ and were glued and then nailed in with 1-1/2″ nails. This is the depth of the TV with the mount (4″), plus the thickness of the wood front (1-1/4″), plus an extra 1″ of clearance.
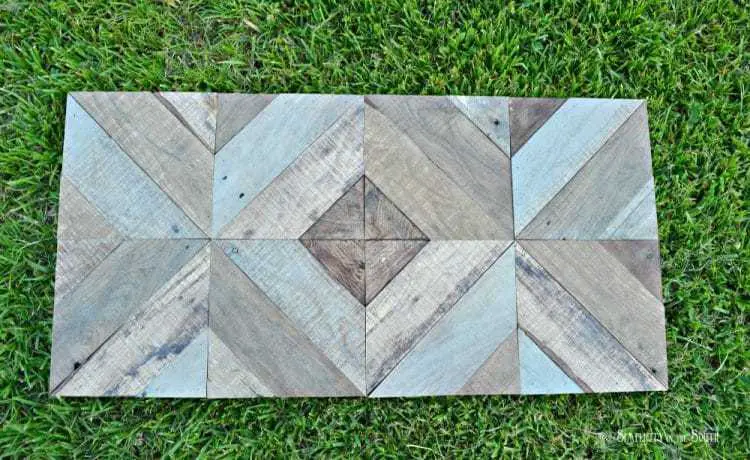
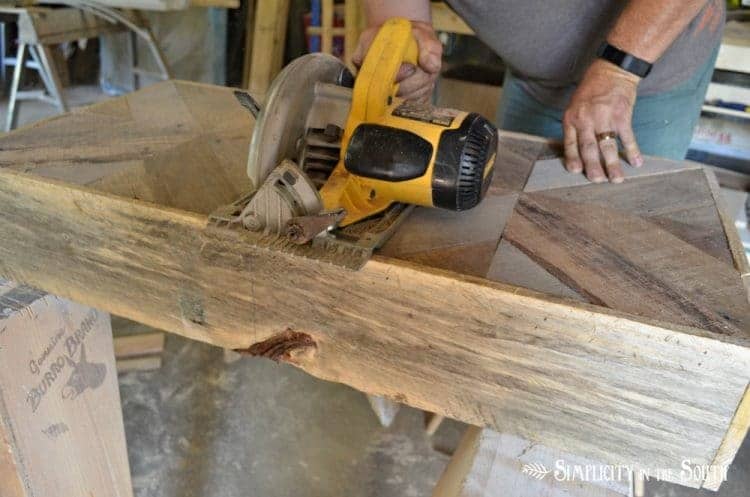
Jason cut the box in half.

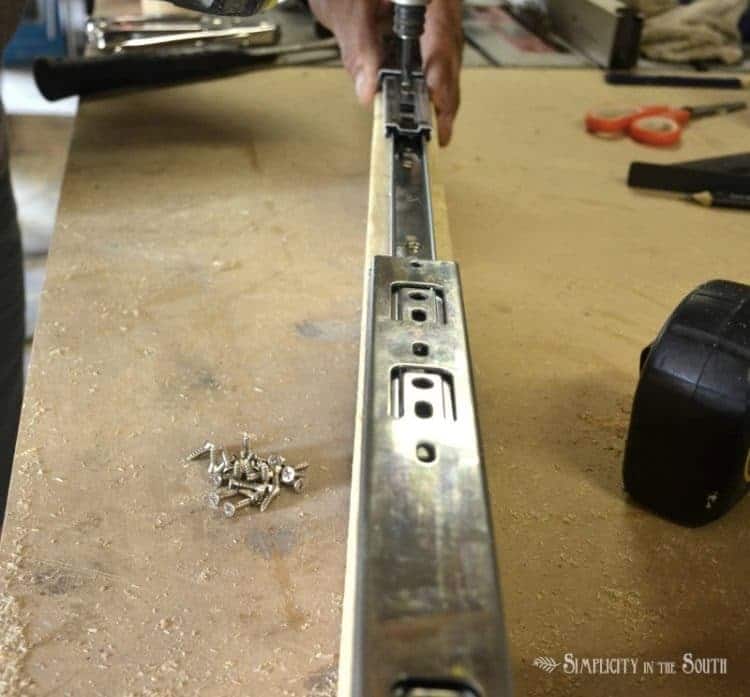
Next, he cut (2) 2″ x 3″ boards the length of the inside of the box. Then, he mounted 2 sets of 12″ drawer slides along the edge of the each board. The other side of the drawer slide is mounted on the inside of the cover. The 2″ X 3″ boards will be screwed into the wall to hold the cover.
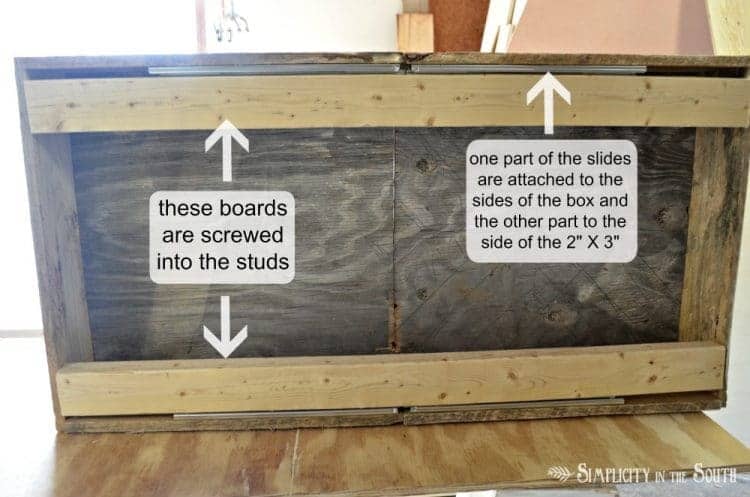
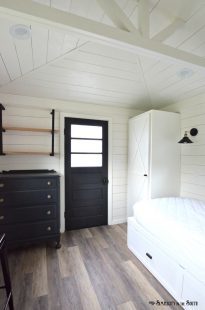
It took both of us to hang the cover up so I couldn’t take pictures. Jason used 3″ screws to secure the 2″ X 3″s into the studs. I painted the boards the same color as the walls. I put a coat of Modern Master’s Dead Flat Finish over the entire piece to protect it.
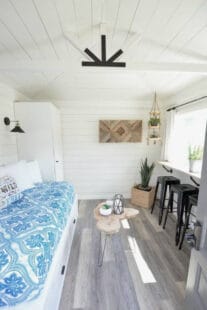
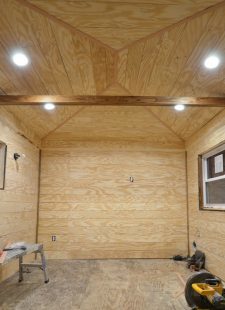
It’s my favorite thing in the room so far…well, next to the shiplap walls and ceiling. OK, it’s a close second.
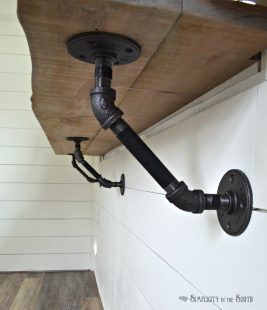
The roller bearing and latch system on the drawer slides we got from D. Lawless Hardware made it really easy for us to install the cover since we had to separate the slides and join them back together during installation.
Please note that we made this sliding TV cover for a small 24″ television. I’m not sure if this will work for a larger TV since we haven’t tried it. If we were to make this again, we’d use longer drawer slides and go with a heavy-duty slide instead of medium-duty just to be safe. The medium-duty slides hold 75 pounds and the finished cover is about 25 pounds so it should be strong enough to hold the weight.

Do you have a hidden TV or do you keep it out in the open? I hope this inspires you to make your own reclaimed wood sliding cover for it!
Catch up on all the Modern Farmhouse Cottage Guest Shed Projects here:


Im in the process of building a cover similar to this for a 65” tv. We will see how it all works out. Thanks for the idea!
It’s me again! 🙂 This will be featured in tomorrow’s Farmhouse Friday link party!
Sweet! Thank you so much for the feature! I’ll be sure to stop by tomorrow.
I am just so amazed by this! I love the design of the wood!
Thanks for sharing this on the Farmhouse Friday link party! 🙂
I love how this turned out, Tricia. It’s like a beautiful piece of art!
I’m visiting from Wow Us Wednesday Link Party.
~ Megin of VMG206
I love this project. It looks so fantastic and it’s functional. Back in the day, we all bought armoires to hide our tv’s but with the advent of flat screens, it seems like overkill to have this giant piece of furniture to cover up an essentially flat tv.
Isn’t that the truth?! I see those armoires all the time at the thrift stores and wish I had a way to repurpose them but they were always a beast. I’m so glad you liked our project!
Wow!! That is so cool! I love how creative it is, and it looks amazing!
Awesome job! I love the pattern you created on the doors! 🙂
I’d like to invite you to share this at the Farmhouse Friday link party, which is live right now! 🙂 When you link up, I will share it with a direct link back to your post on all my social media, including on the DIY Farmhouse Style Facebook group, which at this writing has 154k+ members. I hope to see you there! 🙂
Thank you, Michelle! I’m a little obsessed with using the x-detail lately. The cabinet doors we ended up putting in the room have it too. I’ll head over to the link party now and I’ll follow you on Facebook too. ?
This is a fabulous idea. My hubs has his big ugly monstrosity upstairs in the man cave, so my main floor is TV free. This is an alternative workaround, such a great improvement. Well done.
Beautiful job, I love this idea.