• Contact
  • About
  • Nav Social Menu

    • Facebook
    • Instagram
    • Pinterest
    • YouTube
Simplicity in the South

Simplicity in the South

  • Home
  • Shop
  • Blog
  • DIY
    • Remodeling
    • Before + Afters
    • Catalog Inspired Knock-Offs
    • Built-ins
    • One Room Challenge
    • DIY Lighting
    • DIY Woodworking Projects
    • Paint Transformations
  • Organization
    • Closet Organization
    • Bathroom organization
    • Laundry Room Organization
    • Bedroom Organization
    • Pantry Organization
    • Crafty Organization
    • small home/ BIG IDEAS series
    • Built-ins
    • Cleaning Tips & Tricks
  • Crafts
    • DIY Artwork + Signs + Mirrors
    • Crafty Organization
    • Paint Transformations
    • DIY Lighting
    • Printables
    • Dollar Store Crafts
    • Decoupage
    • Seasonal Decorating Ideas
  • Decorating Ideas
    • mood boards + design boards
    • Room Reveals
    • Home Tour
    • Seasonal Decorating Ideas
    • Roundups
  • Recipes

May 12 · 4 Comments

DIY Live Edge Wood Bar & An Easy Way to Join Wood Planks Using Basic Tools (Video Tutorial)

Cottage Shed Guest (Tiny) House· DIY Projects· DIY Woodworking Projects

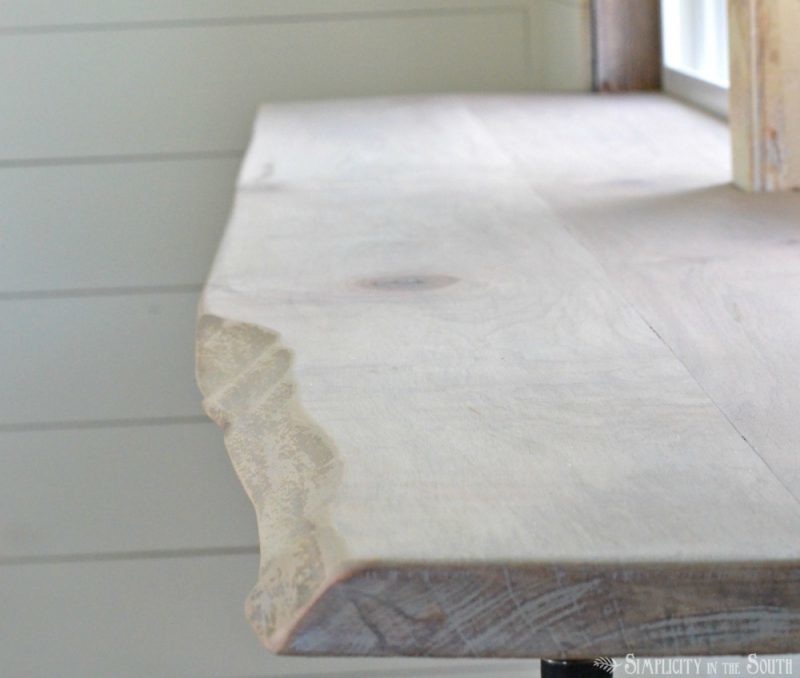
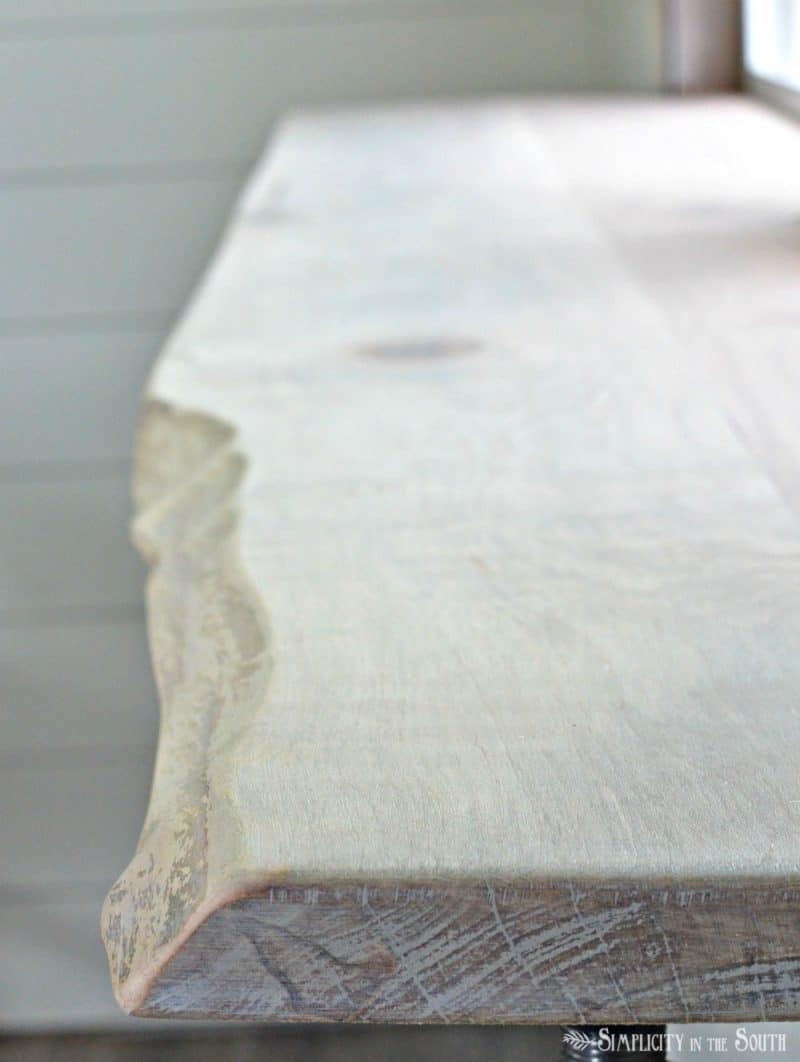
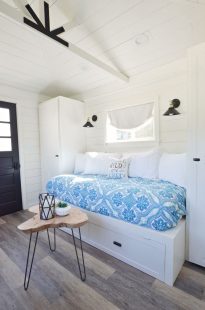
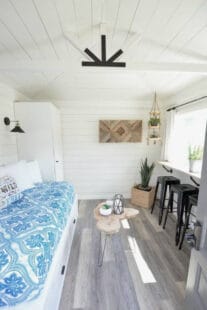
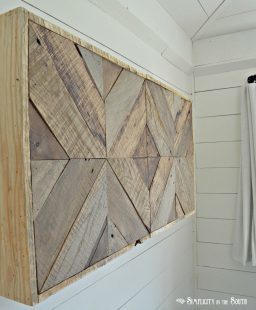
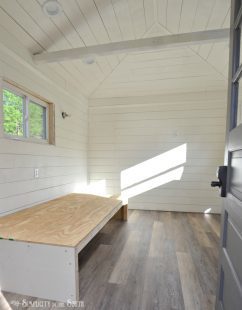
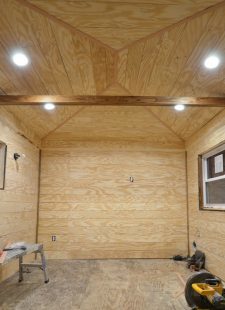
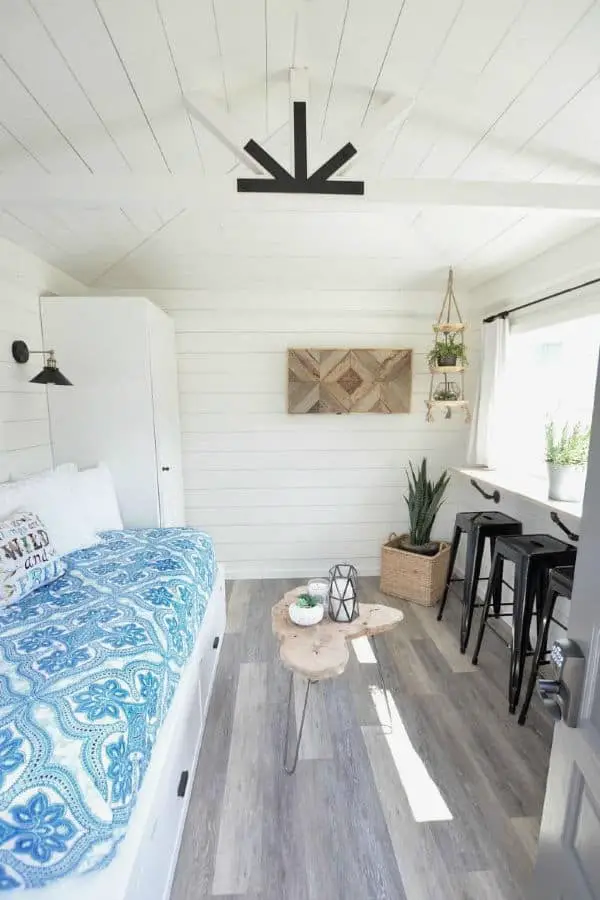
One of the things the cottage shed guest house needed was an eating area that didn’t take up much space. Instead of placing a table in the room, we decided to build a DIY live edge bar countertop that will fit the entire width of the window.
 
The really cool part of this project is how the wood planks for the bar top are joined together!
DIY Live Edge Bar
 
Here’s a short video showing you how it’s done.
**affiliate links are added for your convenience**

Update: 03/19/19 It’s been almost 2 years since we made the DIY live edge countertop for our guest (tiny) house and it has held up well under fluctuations in temperature since we don’t heat and cool the room 24/7.

The method I’m getting ready to show you is similar to using biscuit joinery (aka plate joinery) without having to buy a biscuit joiner. We’re calling it the Biscuit Cheater Method For Joining Boards Together.
 

The only supplies you’ll need are a skill saw, bar clamps, paint sticks, a razor knife, and wood glue.

The oak planks we used to make the table top in our foyer from my Seasonal Simplicity Spring Home Tour are joined the same way.
 

Seasonal Simplicity Spring Home Tour- x-detail entry way table

 
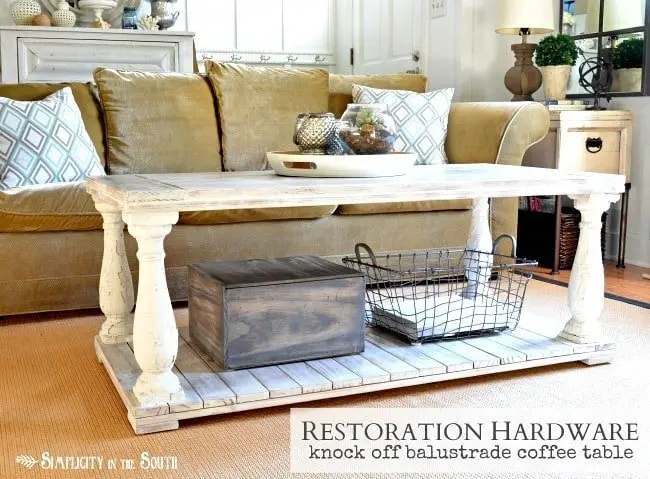
Before Jason showed me this method, I would’ve used a Kreg Jig to make pocket holes like I did when I built the DIY Restoration Hardware Inspired Balustrade Coffee Table. 
 
But this method is quicker, easier, and more than likely you already have the supplies and tools you need in your workshop.
Here's a simple way to join boards together using basic tools. You don't need to buy a pocket hole jig or a biscuit plate joiner. We used this method to make our live edge wood bar.
 
Tools needed to make a DIY live edge countertop out of salvaged barn wood planks
 

Steps for joining boards together with basic tools (aka The Biscuit Cheater Method For Joining Boards Together):

 1. First, apply a liberal amount of wood glue to the entire edge of both boards. It helps to use a small paintbrush or your finger. Allow the glue to set a few minutes
 
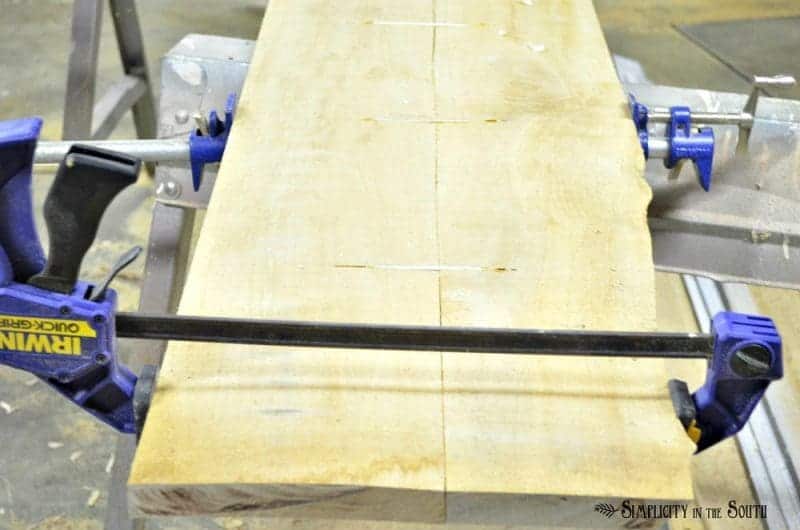
2. Then, clamp the boards together using bar clamps.
 
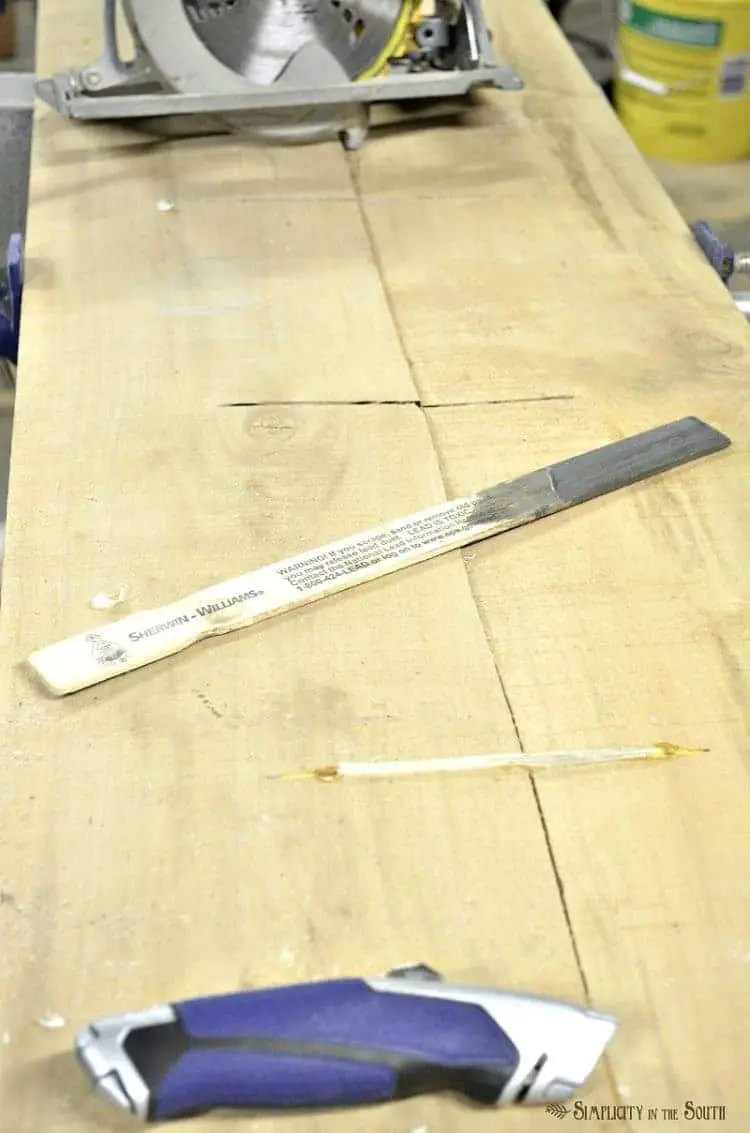
3. After that, set the depth of the skill saw blade to 1/2 the depth of the wood. For example, our boards are 1″ thick so we set the depth of the blade to 1/2″.
 
4. The next step is to use your circular saw to cut the center of the clamped boards 1/2 of the total width of the 2 boards you’re joining. For example, the total width of our bar is approximately 14″ so the cut it 7″ long.
 
5.  Make 2 passes with the blade so the cuts will be approximately 3/16″ (enough width to fit a paint stick).
 
6. Make cuts in your boards spaced about every 10″ apart.
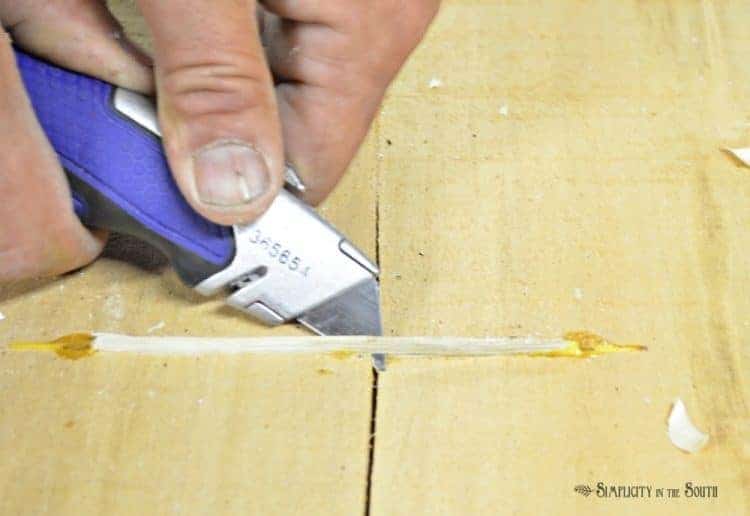
7. After that, take a paint stick and cut it slightly shorter than the length of your cut in the board.
 
8. Using a razor knife, make the paint stick into the shape of a boat. This follows the curve that the round blade has made in the planks. Make sure you always cut away from yourself.
 
Here's a simple way to join boards together using basic tools. You don't need to buy a pocket hole jig or a biscuit plate joiner. We used this method to make our live edge wood bar.
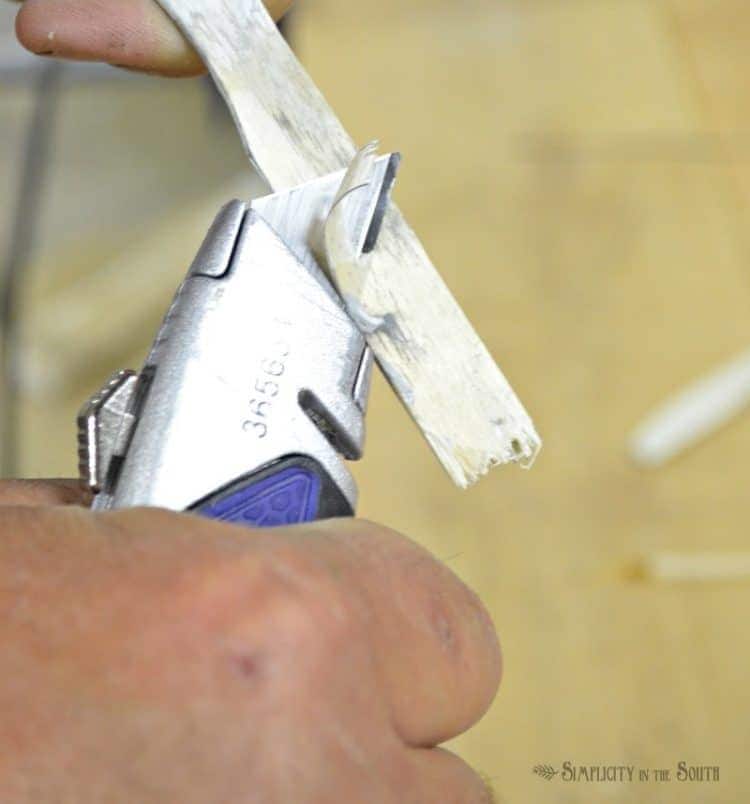
9. Then, whittle the paint stick until it’s thin enough to fit into the gap. It’s ok if it’s too high because that can be shaved off with the razor later.
 
10. Next, place glue in the cut and then your paint stick.
Here's a simple way to join boards together using basic tools. You don't need to buy a pocket hole jig or a biscuit plate joiner. We used this method to make our live edge wood bar.
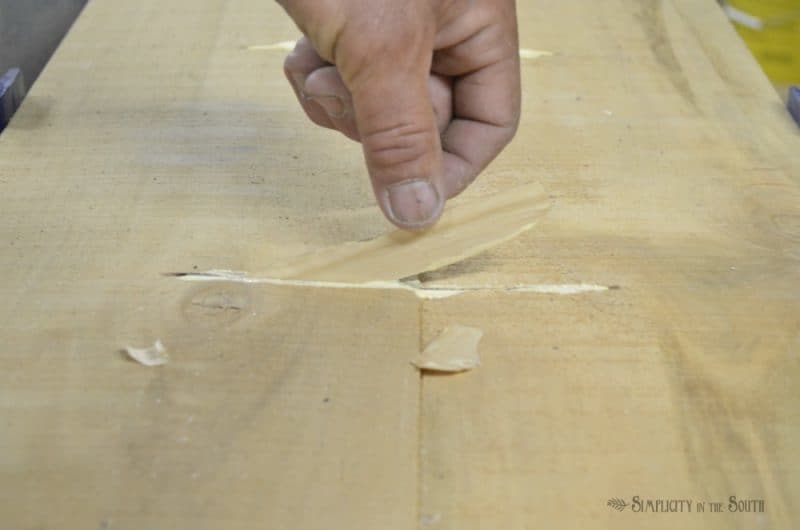
11. Allow the glue to dry and then shave the paint stick with the razor till it’s level with your planks.
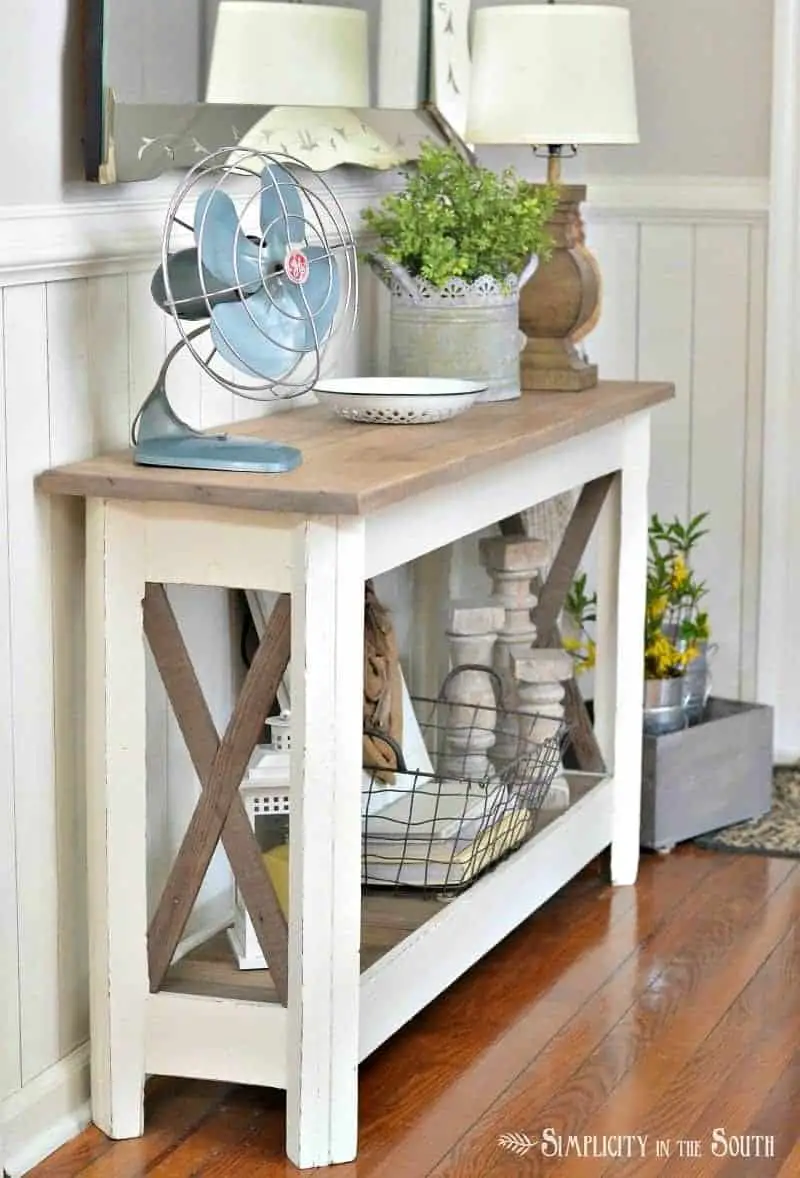
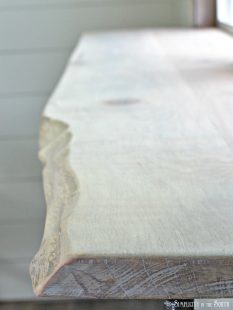
The finished bar is 7 feet long. We spaced seven paint stick joiners approximately every 10 inches apart.
Here's a simple way to join boards together using basic tools. You don't need to buy a pocket hole jig or a biscuit plate joiner. We used this method to make our live edge wood bar.
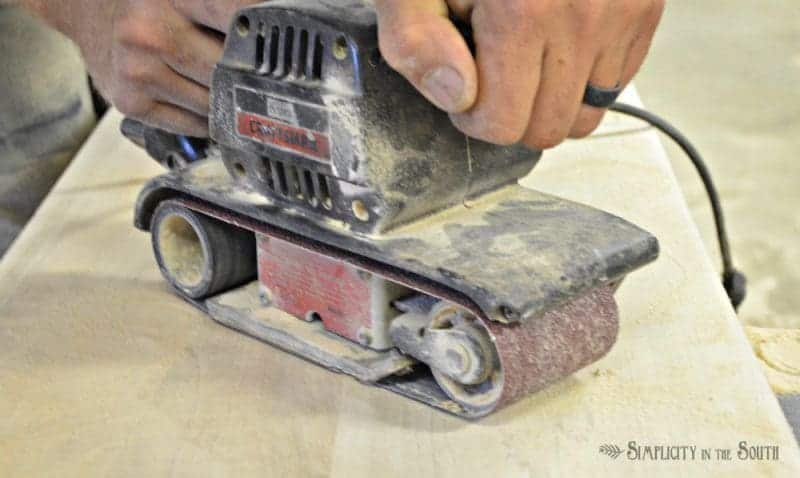
 12. Lastly, flip the bar over, sand it, give it a coat of stain, and give it a couple of coats of polyurethane.
Here's a simple way to join boards together using basic tools. You don't need to buy a pocket hole jig or a biscuit plate joiner. We used this method to make our live edge wood bar.
 Here's a simple way to join boards together using basic tools. You don't need to buy a pocket hole jig or a biscuit plate joiner. We used this method to make our live edge wood bar.
 

I hope this tutorial and video has been helpful to you! If you give it a try let me know.

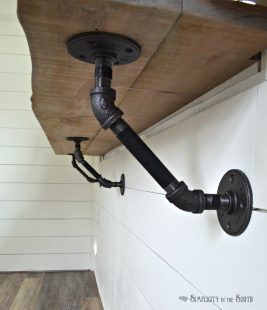
The next post will be how we made the industrial brackets that hold the bar up. DIY industrial bar or countertop brackets

The Biscuit Cheater Method for Joining Boards Together
 
 You can see how I used the Kreg Jig for pocket holes when I made the coffee table in this post:


Catch up on all the Modern Farmhouse Cottage Guest Shed Projects here:

how to make a built in trundle bed

How to Make Your Own Built-in Trundle Bed and Cabinets

how to make your countertops look like soapstone with paint

DIY Soapstone Countertops Using Paint

DIY Live Edge Bar and how to connect planks of wood using basic tools

DIY Live Edge Wood Bar & An Easy Way to Join Wood Planks Using Basic Tools (Video Tutorial)

One Room Challenge: The Modern Farmhouse Cottage Guest Shed Reveal

One Room Challenge: The Modern Farmhouse Cottage Guest Shed Reveal

We've almost completed converting our shed into a living space. We added a built-in bed, a kitchenette, a live edge bar for eating. All that's left is decorating!

Progress with the Modern Farmhouse Cottage Guest Shed: One Room Challenge Week 5

the cottage shed guest house exterior (1)

What a Difference a Weekend Makes: Exterior Improvements to The Cottage Shed Guest House

DIY Reclaimed Wood Sliding TV Cover: Now You See It. Now You Don't

DIY Reclaimed Wood Sliding TV Cover: Now You See It. Now You Don’t

built in trundle bed

ORC Week 4: The Cottage Guest Shed Flooring, Live Edge Bar, Roof, and the Beginnings of Built-Ins

DIY industrial bar or countertop brackets

How to Make Industrial Bar or Counter Brackets From Steel Pipe

Faux shiplap in the cottage guest shed

ORC Week 3: The Cottage Guest Shed Shiplap Walls, Painting & Lighting

Fixer Upper floating metal shelf

ORC Week 2: Progress With The Guest Cottage Shed

Modern farmhouse meets bohemian cottage The guest shed mood board- Week 1 One Room Challenge

ORC Week 1: Modern Farmhouse Meets Cozy Bohemian Cottage Guest Shed Plans & Before Pictures

Related Posts:

  • ORC Week 4: The Cottage Guest Shed Flooring, Live Edge Bar, Roof, and the Beginnings of Built-Ins
    ORC Week 4: The Cottage Guest Shed Flooring, Live Edge Bar,…
  • DIY Reclaimed Wood Sliding TV Cover: Now You See It. Now You Don't
    DIY Reclaimed Wood Sliding TV Cover: Now You See It. Now You…
  • How to Remove Water Stains From Wood Furniture
    How to Remove Water Stains From Wood Furniture
  • How to Distress Wood Furniture with Milk Paint and Wet Rag Sanding
    How to Distress Wood Furniture with Milk Paint and Wet Rag…
Previous Post: « One Room Challenge: The Modern Farmhouse Cottage Guest Shed Reveal
Next Post: DIY Soapstone Countertops Using Paint »

Reader Interactions

Comments

  1. Stephanie says

    Jul 03 at 11:49 am

    This is one of my favorites!!!

    Reply
  2. Donna says

    Apr 25 at 1:34 pm

    I just discovered your blog via a link from ‘The Scoop’ link up. This method of joinery is genus!! And sooo simple!! Thank you for sharing! I’m looking forward to taking a look around your blog 🙂

    Reply
    • Tricia says

      Apr 26 at 2:54 pm

      Thank you so much for stopping by! I’m so glad you like the joinery method! I hope you let me know if you get to use it.

      Reply

Leave a Reply Cancel reply

Your email address will not be published. Required fields are marked *

This site uses Akismet to reduce spam. Learn how your comment data is processed.

Primary Sidebar

shop our home

Shop our home _ Simplicity in the South

looking for something?

Categories

Footer

Simplicity is the ultimate sophistication.

As featured on

  • Home
  • Shop
  • Blog
  • DIY
  • Organization
  • Crafts
  • Decorating Ideas
  • Recipes

COPYRIGHT © 2012-2022 · SIMPLICITY IN THE SOUTH · DISCLOSURE & PRIVACY POLICY · TERMS & CONDITIONS

We use cookies to ensure that we give you the best experience on our website. If you continue to use this site we will assume that you are happy with it.Ok