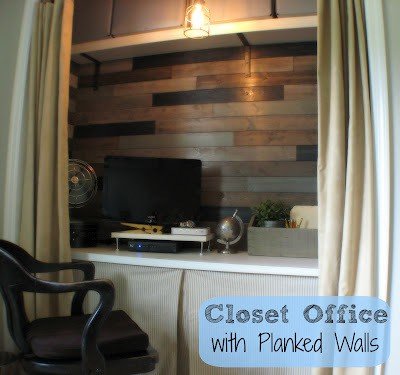
Easy Planked Walls for the Office-In-A-Closet

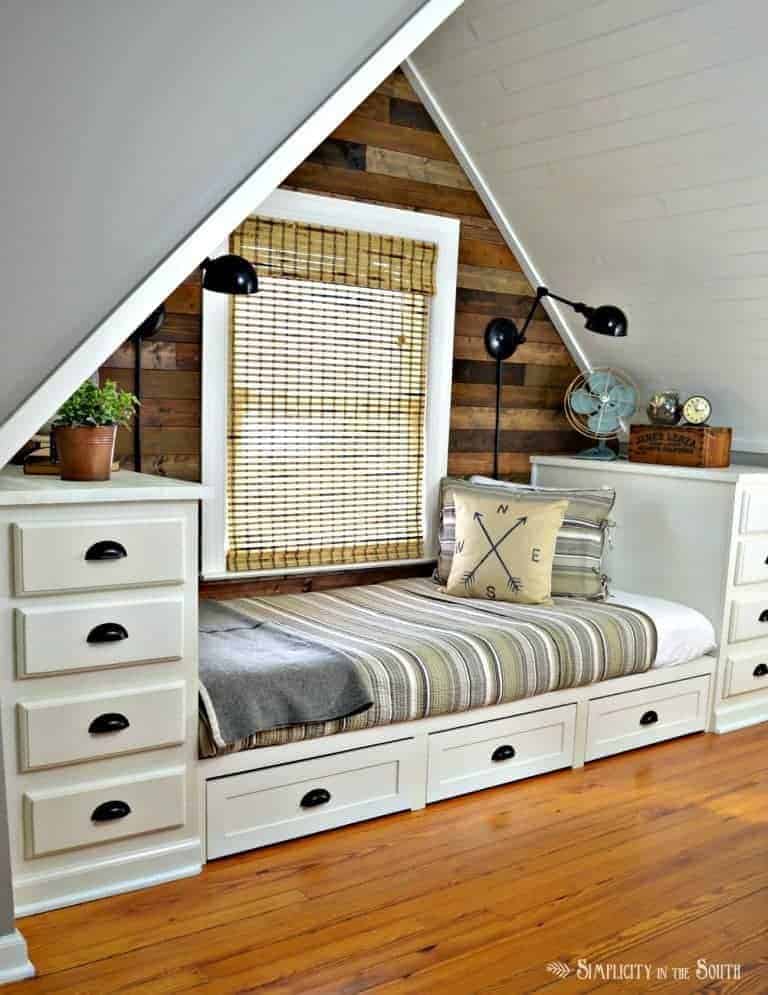
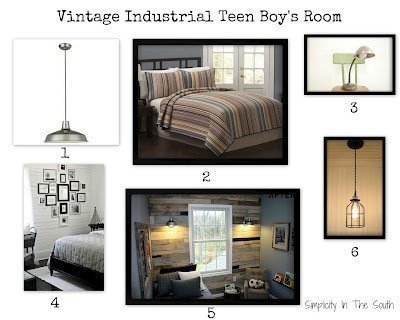
In my last post, I showed you the reveal of my oldest son’s bedroom. Today, I’ll give you a quick tutorial on how I put up the planked wall treatment.
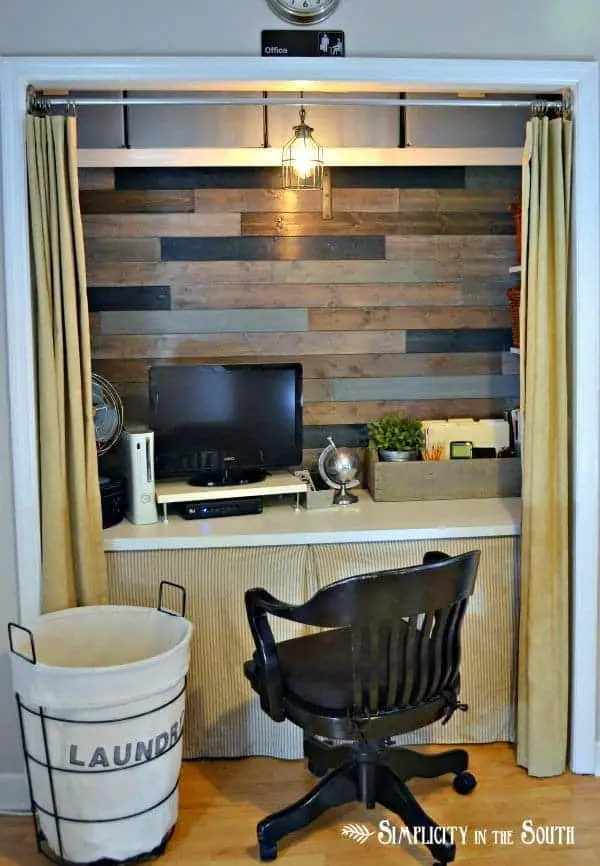
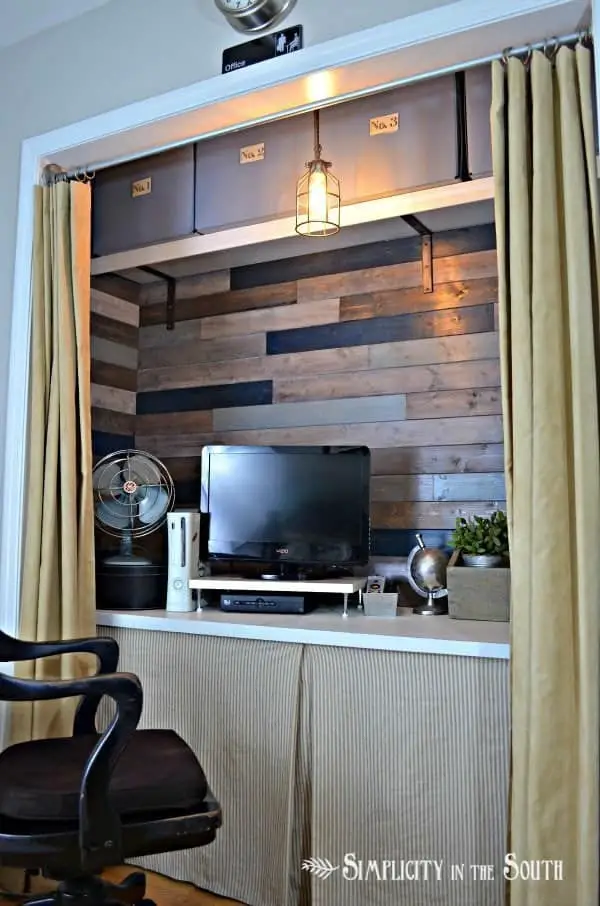
To give you a better idea of how the planked walls look in person, here are some clearer pictures from the post on how I organized his office-closet.
I had originally planned on using pallets after finding the pallet wall treatment that East Coast Creative’s blog had used. The whitewash treatment was what really caught my eye.
Knowing my level of patience and my aversion to the hundred degree weather, I knew that I didn’t want to be spending days outside breaking the pallets down and pulling out nails. Then, while perusing Pinterest, I found Creative Little Daisy’s tutorial on how to do a palletless pallet wall.
It was an “ah-ha” moment! I used both tutorials and combined the whitewash paint awesome-ness with the palletless pallet wall treatment. For the boards, I used EverTrue 8′ Pine V-Groove Plank Paneling from Lowes. The planks have grooves that help them fit together. Just make sure you level your first row. I didn’t bother with sanding and went straight to staining them with Minwax special walnut.

After it dried, I mixed left over sample paints with water and applied the watered down paint to the boards. The colors I used were a gray, a gray-blue and a white. For the navy boards, I used craft paint. You can experiment with the consistency of water and paint till you get the look you like. Some of the boards, I did two coats. There is no real science behind the whitewashing because, after all, it is supposed to look like random salvaged barn board.


The boards are thin enough to cut with a hand saw, but I used my chop saw. For the main wall, I went totally random with my lengths. For the side walls, I made them the exact depth of the closet so I wouldn’t waste any of the wood. They are simply nailed into the studs, no construction adhesive. Believe me, they are not going anywhere! After a day or two, I finished it off with a coat of polyurethane.
Here’s the before…

By the way, I was trying to decide on lighting in the before picture.
And the after…

This was so easy that I’m thinking of doing a wall in our family room, but all white!
If you have any questions, please ask!
And come back next week when I show you how to make this vintage industrial style hanging pendant. Update: tutorial on the light is here!

I linked this up to:


testing
Wow!! I found my way to your blog via Beneath My Heart’s Best DIY project highlights. I was loving your son’s room makeover and thinking that all of it would be great for my guest room, especially the closet, then I saw your link to my own pallet(less) wall. I’m so happy you found inspiration at my blog and I love your use of the planks. I am certain there is a closet makeover in my near future! The light is awesome too. Now I’m off to check our your other great projects.
This is so cool!
This is awesome! Your blog is great- can’t wait to try some of the projects 🙂
I can’t wait to see how your pallet project turns out, especially if you combine that with your painting technique. It will turn out awesome! I’m on the lookout for some pallets to put on top of an iron base as a coffee table. If you make one like that, let me know!
That turned out awesome!! You did such a great job of “faking” the pallet wood look! I need to keep this technique in mind cause I’m working on a pallet project now and like you said it isn’t exactly easy breaking down pallets! I also love how you water down your paints! That’s pretty much how I do all my paints now. It really gives the wood a cool look and it looks great in your project! Thanks for posting this and I look forward to checking out your future projects!!
Thanks,Ginger! I’m hoping I can post something at least a couple times a week. It’s a lot more work than I had expected!
Tricia
Great job with the tutorial! Looking forward to following your blog.