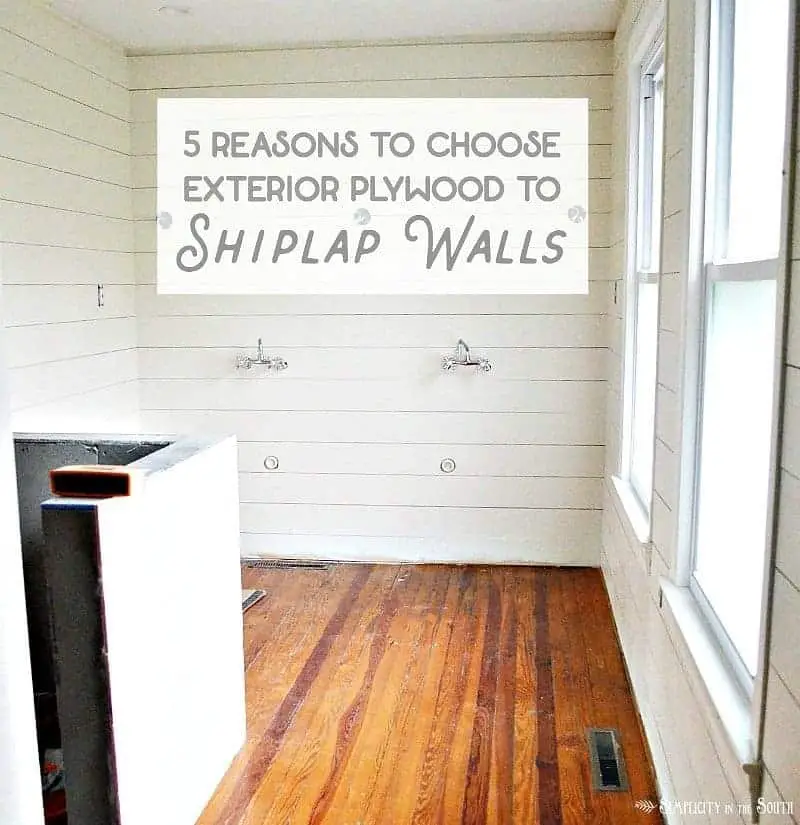
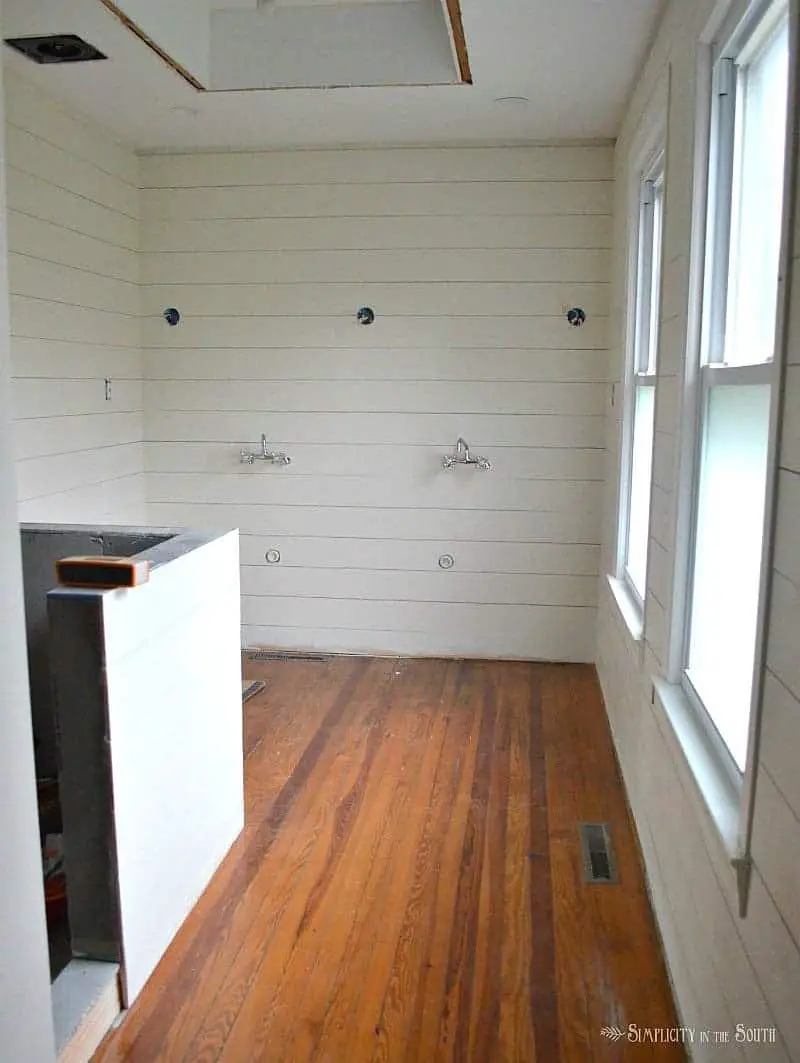
Shiplap Walls Using Plywood- 5 Reasons to Use Exterior CDX Plywood Instead of Luan Underlayment
Before I share our post on how we installed shiplap walls using plywood in our bathroom, I wanted to go over the reasons why we chose exterior plywood instead of luan (aka underlayment). After using this type of plywood, I’ll never go back to luan!
 If you’re a fan of Fixer Upper, then there’s a 75% chance you’re also a fan of shiplap walls.
I know this girl is.
*This post contains affiliate links to help you find the products we use, love, and/or recommend. Click here to see our disclosure.
Very few of us are blessed enough to find authentic shiplap under our existing wall surfaces like you see on the show. And not all of us can afford to buy actual shiplap (the kind that has a special notch cut on the edges of the board)…that’s if you can even find it in stock at your local home improvement store.
Most DIY shiplap tutorials I’ve seen use 4’ X 8’ sheets of 1/4″ luan underlayment ripped down to 6” to 8” wide planks. We’ve used 1/4″ underlayment as faux shiplap before and were happy with the results.
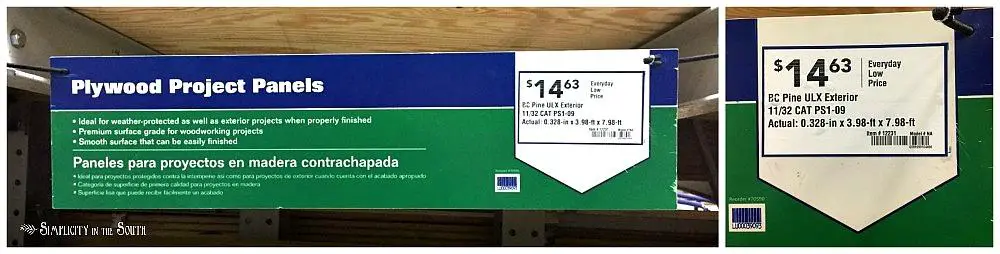
Regardless, we knew we wanted to use 3/8″ exterior plywood, also known as CDX plywood, instead of luan underlayment when we were ready to plank our bathroom walls. This type of plywood can also be called common pine sanded plywood.
Update: Someone asked a good question about the safety of using this type of plywood inside a home. From what research we did before installing, the CDX plywood is safe for indoors since the layers are bonded together with wood glue (which can withstand a little moisture). The glue is between the layers so sanding the surface wouldn’t release the glue into the air. It wouldn’t be safe to use pressure treated exterior plywood since it’s treated with chemicals.
So, what made us choose to use exterior grade plywood to shiplap our master bathroom instead of luan underlayment (or even authentic shiplap)?
Here are 5 reasons:
1. Texture
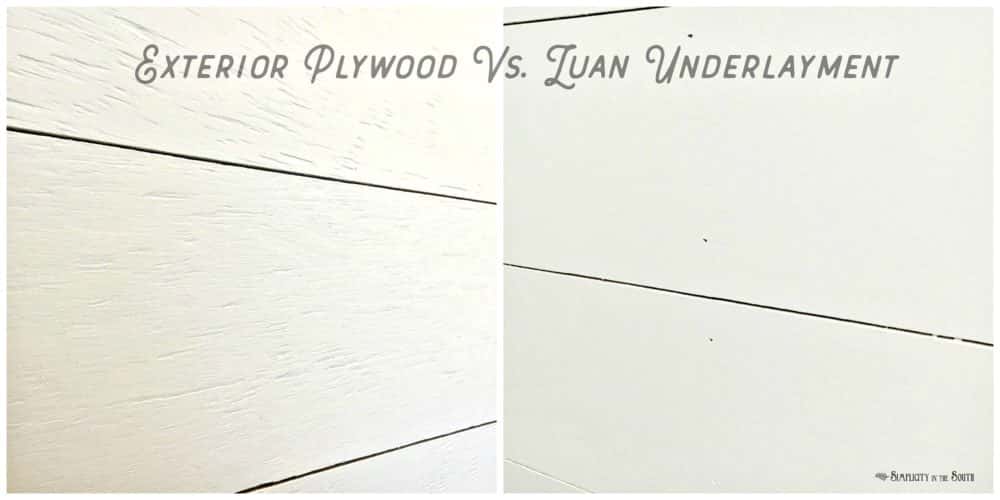
The reason we’ll go back to using exterior plywood to shiplap walls in our house time and time again is that it has so much more texture than the luan which makes it look more like the real thing. You can see in the comparison photo above the difference in the wood grain but it’s even more noticeable in person. We used a satin finish paint for our bathroom walls but a semi-gloss would show off the texture even more.
2. Humidity Resistance
The “X” in CDX means the plywood can withstand exposure to the elements over a short period of time before it’s painted or sealed. The main difference is that they use an exterior-grade resin glue to hold the layers of the wood together. Since we’re “shiplapping” our bathroom, we wanted something that would withstand the humidity and be less likely to delaminate over time. After putting the boards up, we covered the planks with primer before we painted. Speaking of humidity, it’s important that you have an adequate exhaust fan. We used this calculator to see what size fan we needed and ended up ordering this one.
3. Cost
The cost difference between exterior plywood and luan underlayment was only a couple dollars per sheet…$13 for luan and $15 for plywood. Either way, you go, it’s inexpensive. When you figure the cost of real planking at $2.20 per square foot, using exterior plywood at $0.47 per square foot will win my vote every time.
4. Durability
The 3/8″ exterior plywood is less likely to warp over time compared to 1/4″ luan. It’s also less likely to split when cut or nailed.
5. Thickness
The thicker the plywood, the more noticeable depth the gap is between the planks. This makes the faux planks feel more authentic. Also, having 3/8″ thickness of wood compared to 1/4″ gives more wood for the nails to hold onto. But, you can also run into problems if you go too thick.
Actual shiplap planks are usually an inch thick which means you’ll have to take off the window and door trim. The 3/8″ thickness is a good compromise although we did had to remove the trim below the window sill because the profile would’ve been hidden.


There are some drawbacks to having shiplap walls using plywood that you need to consider too:
Exterior plywood needs a little bit more prep work. Even though it comes pre-sanded, the surface of the CDX plywood is what I would call “hairy”. The fibers tend to stick up a little bit. Fortunately, sanding gets rid of the hairiness.
Also, you run into the occasional problem with having knots on the surface. The knots can be filled with wood filler and then sanded.
It’s really important to spot prime over the knots with B-I-N Zinsser shellac primer. This will seal the knots and prevent the from sap bleeding through the paint. Then, use an all-purpose interior/exterior primer for the rest of the walls before you paint.
Our favorite interior/exterior primer is Sherwin Williams PrepRite ProBlock.
I can’t imagine this bathroom without the shiplap.![]() I’ll be posting a tutorial on how we shiplapped our walls this coming week. It’s easier than you think!
I’ll be posting a tutorial on how we shiplapped our walls this coming week. It’s easier than you think!
* Update: Here’s our tutorial and tips post on faux shiplap
If you have any questions about how to shiplap walls using plywood, please feel free to leave a comment. If we don’t know the answer, we’ll research it for you.
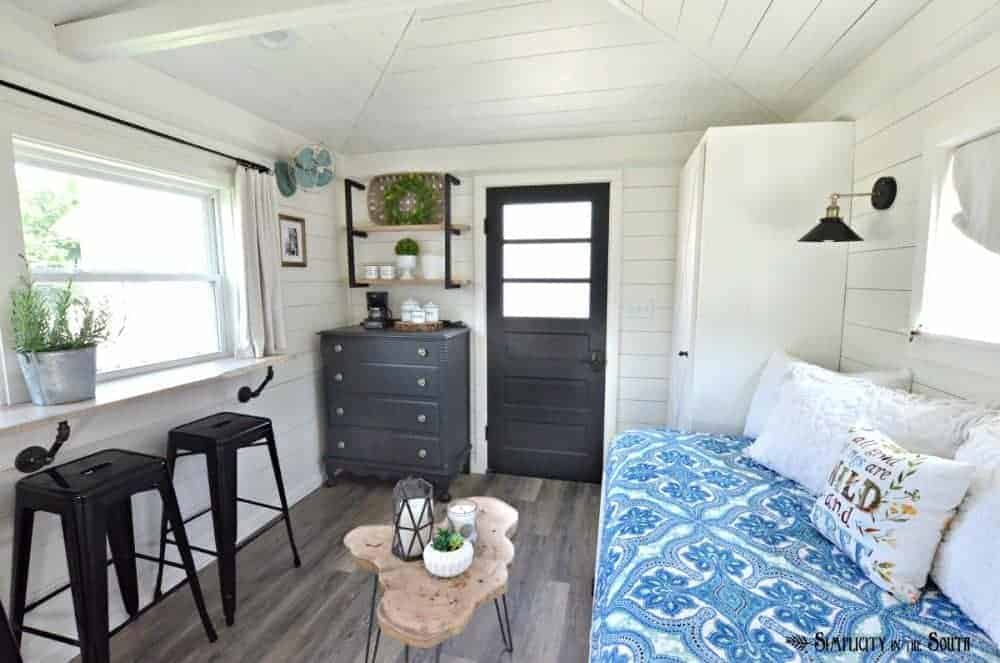
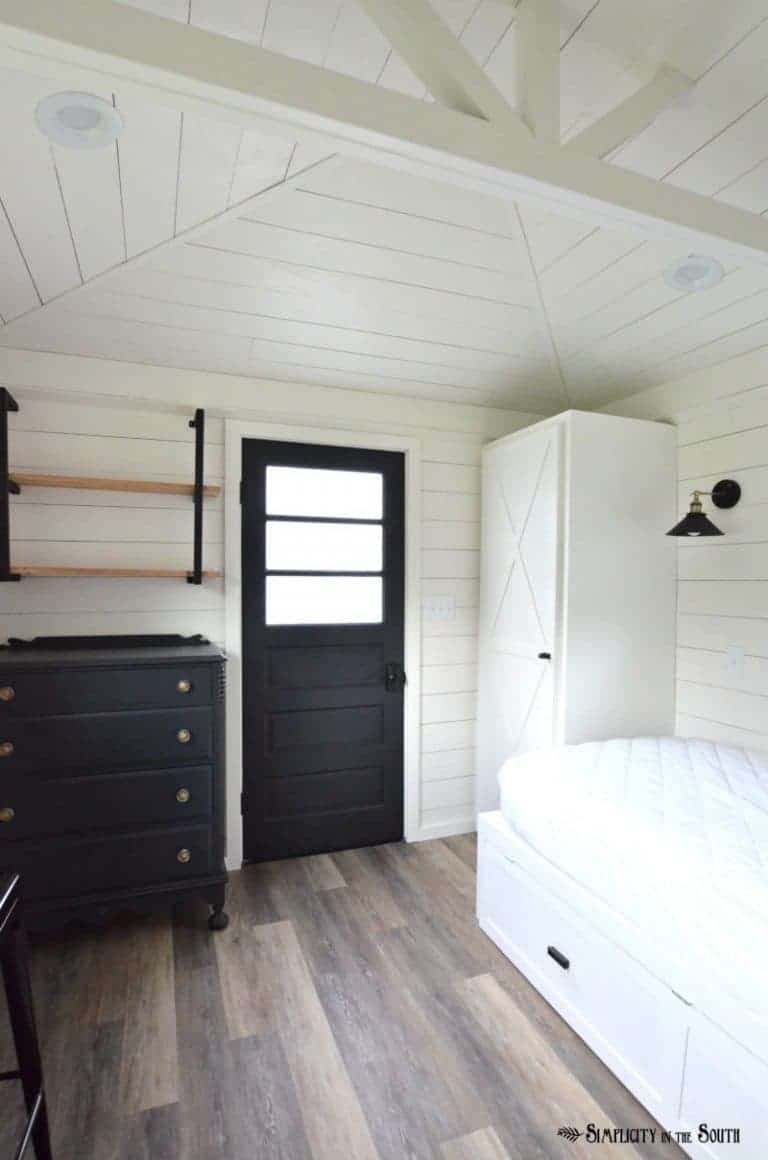
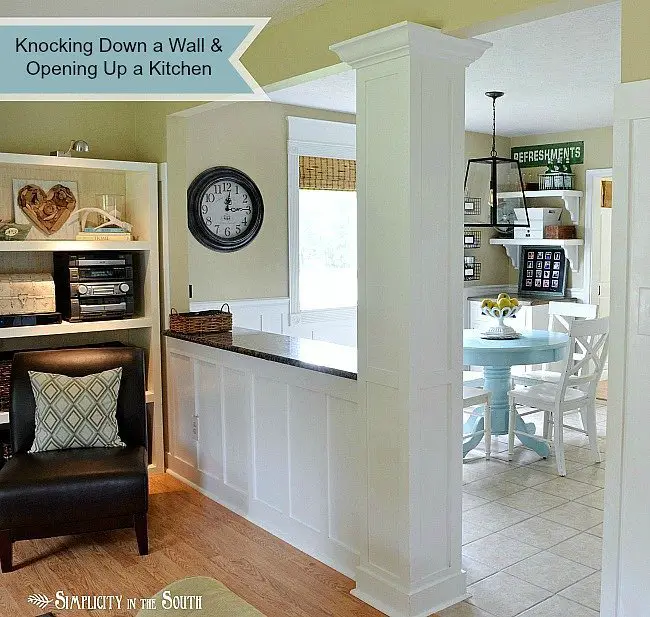
We also used exterior plywood to plank the walls and ceiling in our cottage shed guest house. Click here to see the reveal of our guest house or click the picture below.

Catch up on all the posts and projects that went into our master bathroom remodel here:
So Long, Spare Bedroom…Hello, Master Bathroom, Walk-in Closet and Half-Bathroom
Eclectic Farmhouse Master Bathroom Inspiration and Mood Board
Progress with the Master Bathroom Remodel: Up Goes the Drywall. Down Goes the Popcorn Ceiling
Shiplap Walls- 5 Reasons to Use Exterior Plywood Instead of Luan Underlayment
Shiplap Walls for the Master Bathroom: Tutorial & Tips
The Modern Farmhouse Master Bathroom Reveal: Turning a Bedroom into an En Suite Bathroom
Master Bathroom Source List, Paint Colors & Budget
Knockoff Restoration Hardware Bristol Flat Mirror
6 Ideas for Organizing the Master Bathroom Vanity, Cabinets, Shower & More
![[Room Reveal] Our Vintage Modern Powder Room Remodel](https://www.simplicityinthesouth.com/wp-content/uploads/2019/01/Vintage-Modern-Powder-Room-reveal-1-768x471.jpg)
Your article answered the exact question my husband and I just asked ourselves. I want to instal panels vertically to avoid dust collection and to make walls look taller, but beadboard panels have narrowly spaced grooves where I want the wider “plank” appearance. There aren’t any good indoor options with wider spaced grooves like the outdoor panels.
I was thrilled when I saw your heading and the tips on sealing the knots was great..
Thanks a bunch!
First off thank you so much for sharing this! We are thinking of doing a wall in our bathroom however as we are in a metal structured condo we have few options available to us to create this look. I’d really love to be able to nail everything down however that is not an option unfortunately. Any suggestions of adhesives or alternative as well as tips and tricks would be really appreciated!
I would like to use this treatment on a ceiling where there would be no moisture problem. The area is already sheetrocked but my brother used a “knock down” as the finished product and I really don’t like it. Do you think this might work?
I would like to use this in a converted garage with cinder block walls. Can I use liquid nails to attach this? Also, can you stain the plywood?
Hi Sue,
I’m not sure how well liquid nails would hold over a long period of time on cinder block. I asked Jason and he said that it would be better to attach furring strips spaced 16″ apart using tapcon screws. Here’s a youtube video that goes over how to do that: https://www.youtube.com/watch?v=UFItcIx8gmE Then you can attach your strips of plywood with nails. In our shed conversion, we put down a layer of 15-pound tar paper to act as a vapor barrier and hide what was behind the cracks between the “shiplap” And absolutely, you can stain the plywood. Try out some samples with and without using a wood conditioner first to figure out what looks best. The wood conditioner will give you a more uniform finish on this type of plywood.
After ready the post, I am a little worried about warping. since the application will be in my bathroom i was hoping the 7/16″ would help with that. will be the wall behind the sink What do you think?
That sounds amazing! I’ve never seen anything like that. Thank you for sharing your creative way of using Shiplap.
I’m planning on using 7/16″ Plywood in my bathroom with space behind it, so i can install LED Tape lights behind it and each slat/slab will have at lease 2 nickle spaces between each so the light has lots of space for the LED lights to glow between it. The wall behind it will be painted white and the slates will be the look for weathered white boards. My floor will have smooth river rock install on the floor. I also have white subway tiles in shower area and antique sideboard will be the bathroom vanity.
What size nails or brads did you use to anchor the shiplap?
Hi Doug,
We used 1-14″ 18 gauge brad nails. I hope that helps!
Tricia
Going to shiplap a bathroom (no shower large window) just trying to be clear you are using 3/8 plywood but I can’t understand is it G1S fully dressed or just rough which would look awful.
Hi Ken,
I asked my husband, Jason, and he said that what we used is similar to 15/32″ common pine sanded plywood. One side is already sanded fairly smooth but I sanded it a little more before painting. Good luck with your project and let us know if you have any other questions!
Tricia
Hi, it looks great! We’re ready to shiplap one wall in our 1/2 bath. There’s no shower and we don’t expect much moisture. The idea of shiplap is new to us. We bought farmhouse trim to put around the window, door and floor. It’s primed and ready to go… then we were began to wonder if there is any reason why we wouldn’t just buy 6 in trim to plank the whole wall. Other than cost vs cdx plywood, can you think of another reason? Would it look weird? Maybe because the edges are slightly rounded? Please let me know what you think.
Hi Val,
That’s a creative way to use trim! I don’t see why you couldn’t since the edges are only slightly rounded. If you didn’t like it once you got a few pieces up, I’m sure you could find a way to reuse the trim. If all else fails, Home Depot sells pre primed shiplap in the same width for about $10 per 8 foot plank: shiplap planks. The cost may be about the same as the trim. Have fun with your powder room remodel!
How do you transition between the Shiplap and tile of the shower surround?
Hi Ken, the shiplap butts up to the tile and we added a 1-1/4″ wide slat to cover the transition. The wooden slat is primed and painted on all sides and caulked on the side that faces the shower enclosure. The other option would’ve been a Schluter strip but it wasn’t necessary for this application. Here’s a link to a picture so you can see what the transition looks like: shiplap bathroom and shower enclosure Thanks for stopping by!
Hi! We are planning on doing this in a shed much like your guest cottage. We will probably use the tar paper behind the plywood like you mentioned in another comment. When painting, did the spray get in between the gaps and cover the black tar paper or do you just not notice the tar paper between since it’s such a small space? We may end up rolling everything, and I’m wondering if I should just quickly hit the tar paper with a paint brush as we put each board up. Your space looks beautiful!
Hi Paige, thank you! I’m so happy that you guys are planning to do a guest shed too. I just double checked to see if the paint sprayer made much of a difference between the gaps and I’d say no. You’d be just fine rolling the paint on. There’s such a small gap between our boards that I can’t even see if the paint got on the tar paper. The space between them is about the width of a penny. I hope that helps and have fun making over your shed!
Great! Thank you for taking a look! I’m so glad you’ve shared such a cost-saving and beautiful tip 🙂
You’re welcome 😊 Glad to help out any way I can
Have you done the shiplap over walls that have not been sheet rocked?
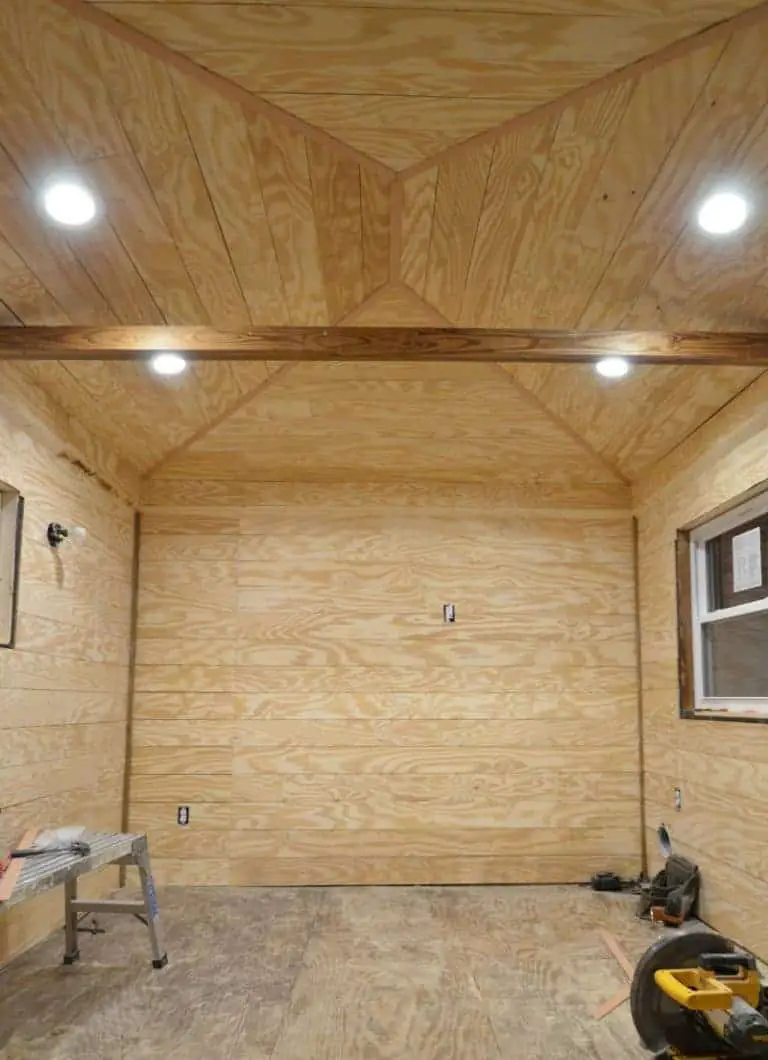
Hi Judy! Yes, when we put shiplap up in the guest cottage, we didn’t have sheetrock under it. After we insulated the walls, Jason stapled 15-pound tar paper to the studs. It serves as a vapor barrier as well. This is a trick we learned from watching This Old House. You can see the post here: https://www.simplicityinthesouth.com/orc-week-3-the-cottage-guest-shed-shiplap-walls-painting-lighting/ And the timelapse video can be seen here: https://youtu.be/cabyD1lj7lM
Hiw much of a space is between each plank?
Hi Nick,
We used a nickel as a spacer between the planks. I hope that helps!
Why do you need to use the spacers?
Hi Jo Ann,
The space between each plank gives it a more authentic look from the shadow it creates. I hope that helps!
Would it be best to use 1 or 2 nickels?
Hi Jo Ann,
Using one nickel as a spacer (instead of 2) looks the best.
I’m so glad I found your post. I will be using the exterior plywood rather than the 1/4″ underlayment. In a different post that I have read, they say to paint the boards before putting them up. I noticed you didn’t. Do you have strong feelings either way about this? Also, any other suggestions/tips would really be appreciated.
ML
I will be trying this in my kitchen and I really appreciate this post. Pinning it for later use. Thank you!
Warmly, Gloria
Interesting and I may follow your advice. Two questions:
1. I’m assuming the exterior plywood is safe for indoor use?
2. How would you apply a beach weather finish to the ship board?
Thanks!
Hi! From what research we did before installing, the CDX plywood is safe for indoors since the layers are bonded together with wood glue (which can withstand a little moisture). The glue is between the layers so sanding the surface wouldn’t release the glue into the air. It wouldn’t be safe to use pressure treated exterior plywood since it’s treated with chemicals.
To do a beach weather finish, first lightly sand and remove the dust. Then, seal the surface of the wood with clear shellac. Shellac is smelly, but it will prevent yellowing from wood tannins of your final coat of paint but still allow the wood to show through. It will also protect it from moisture if you’re using this wall treatment in a bathroom. Then water down latex paint. You can start with a 1:4 ratio of paint to water. I like doing a test sample on a scrap piece of wood. Brush on the watered down paint, then quickly wipe it off with a damp rag. Do small sections at a time. I hope this helps!
Looks great! We have planked our walls in our previous home. Cant wait to do it here at the new house.
I’m definitely trying plywood for our bedroom. Thanks for the comparison pic – I had no idea the plywood would show so much grain. I love it! Cheers, Kate xx
I’ll be giving it a try in my next shiplap project! I’ve used the 1/4″ Luan and also think it’s too thin, many times the nails just go thru, and I hate to use adhesive.