The Easiest Way to Cover a Popcorn Ceiling
Nothing dates a room quite like a popcorn ceiling. Scraping the popcorn off the ceiling is a reasonably easy DIY project. The problems are it’s messy and you still have to deal with smoothing out any imperfections before you can paint. You also have to be extra cautious if the ceilings were popcorned before 1979 because of the risk of asbestos.
For the dormer bedroom redesign, we decided that the easiest way to cover a popcorn ceiling would be with planks. And with the planks that we used, it was relatively cheap since they cost around $1 per square foot.
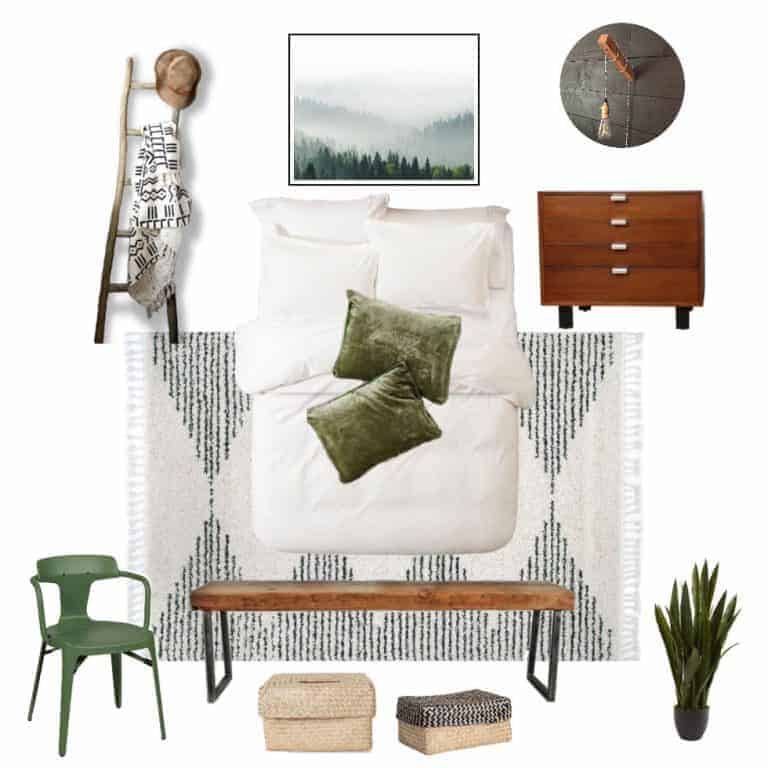
First, let’s take a look back at my last post’s inspiration photo for the ceiling.
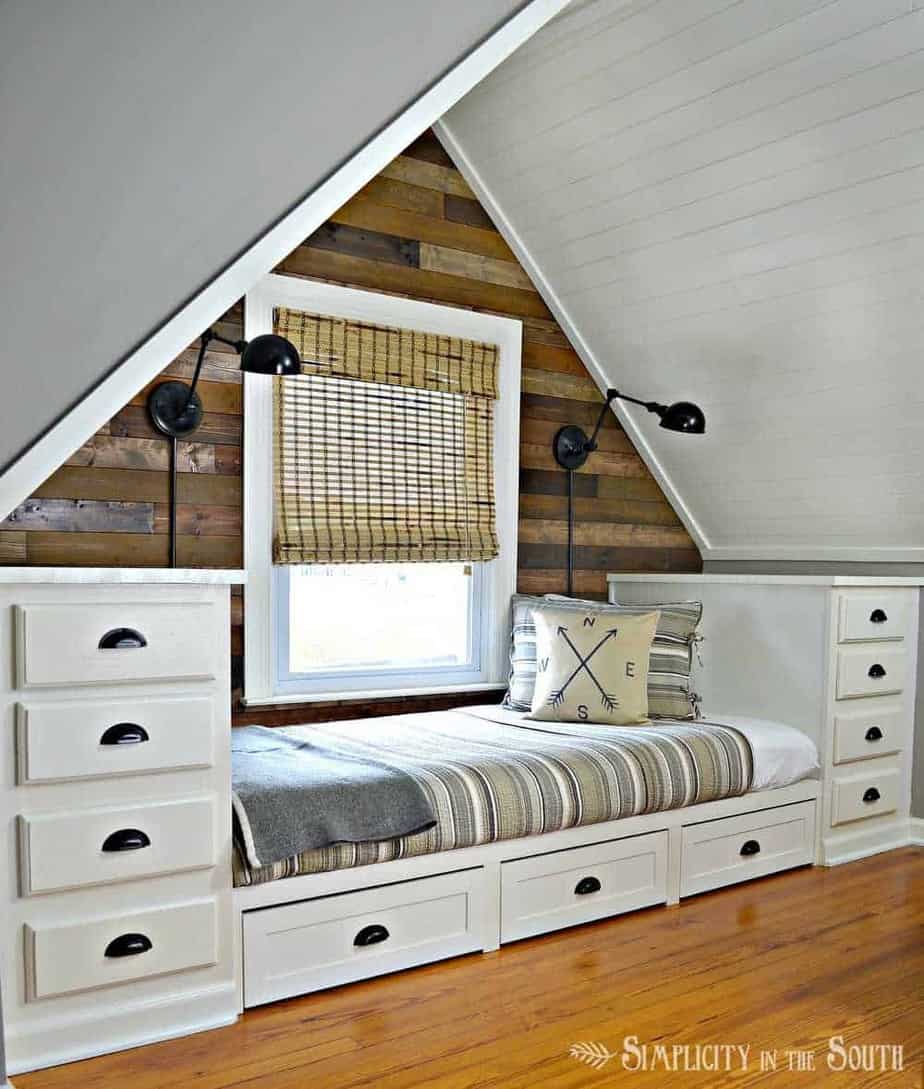
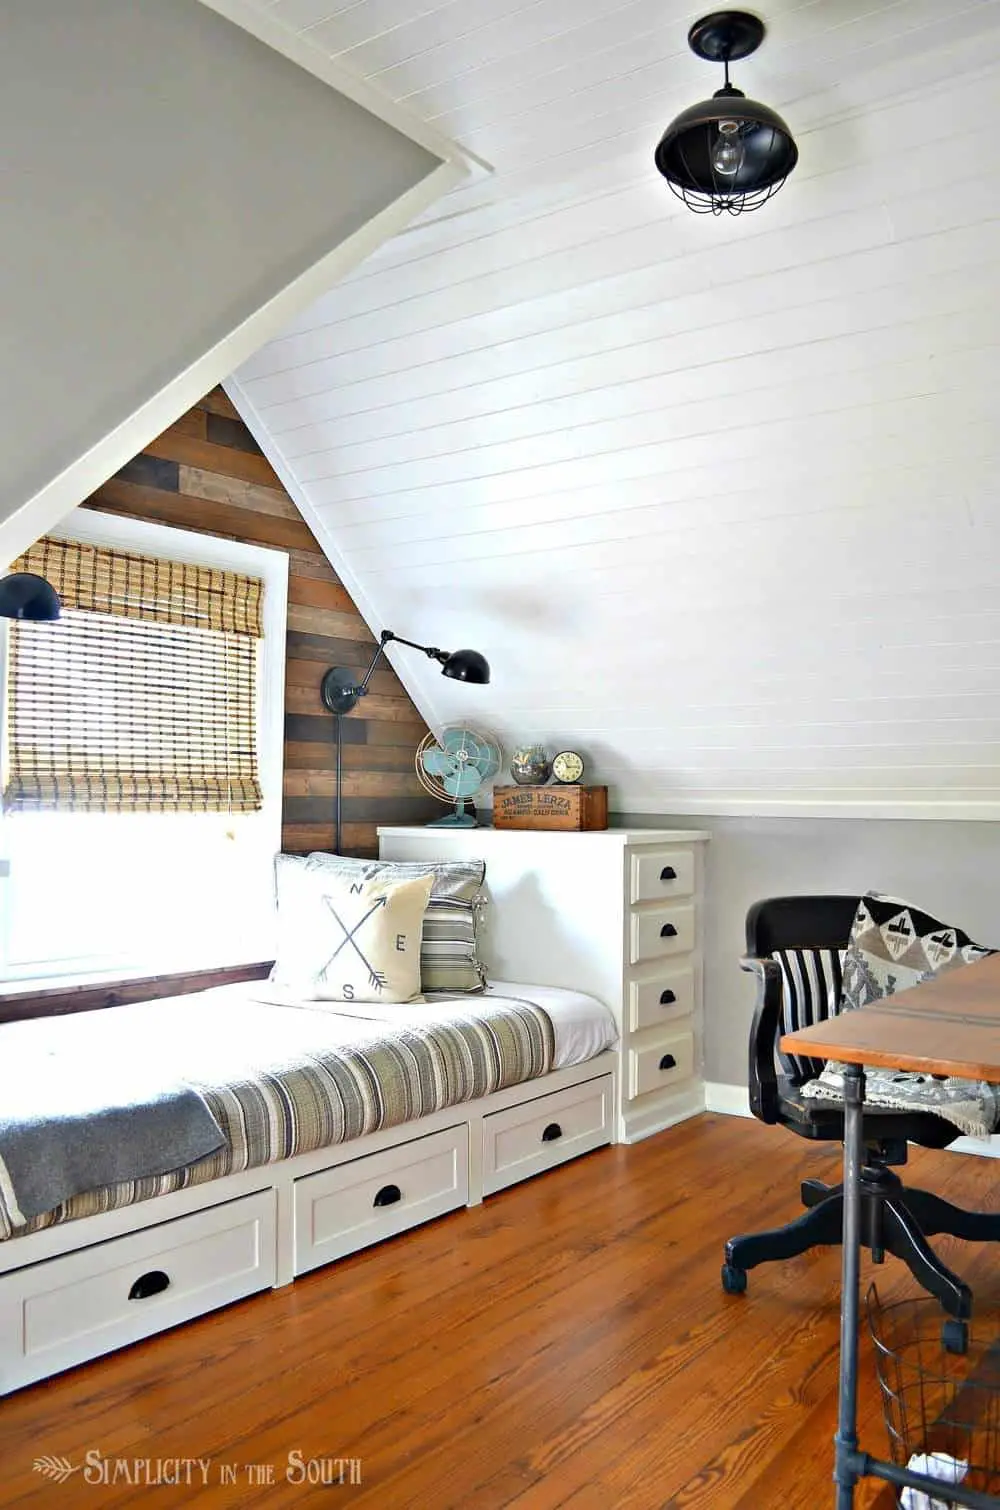
If the ceiling of this room was not planked, the room still would’ve been beautiful but not nearly as interesting.
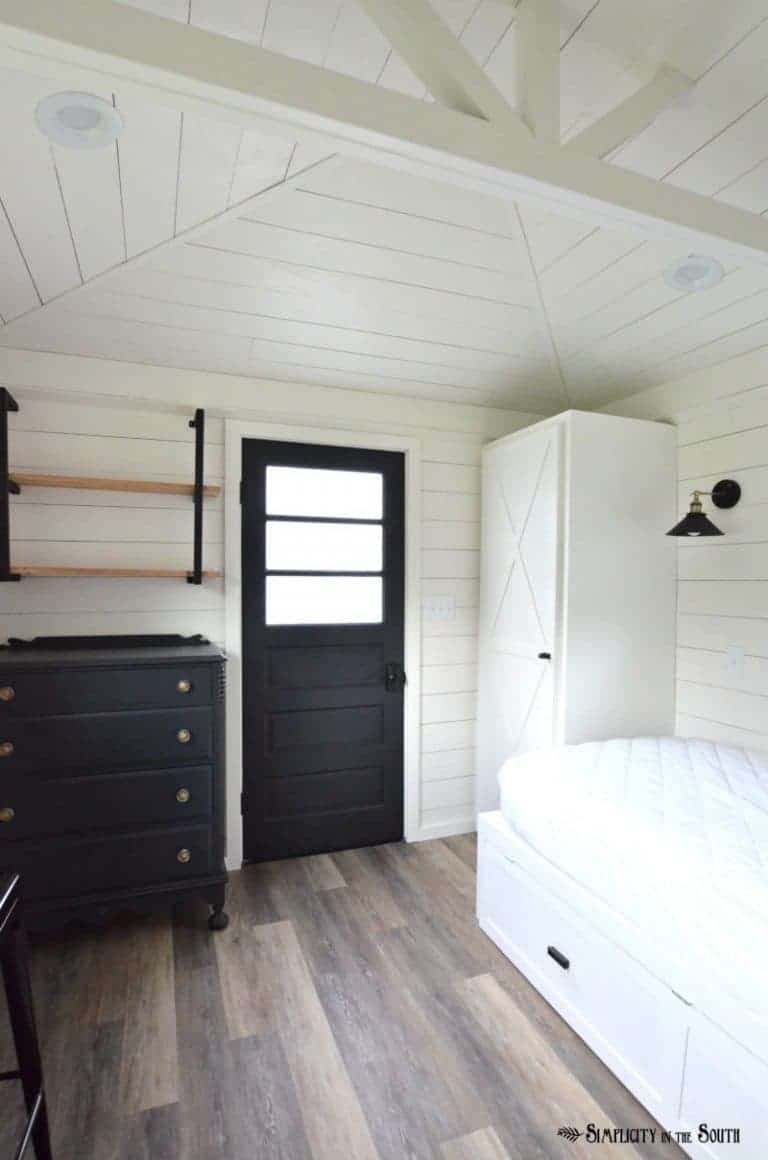
The angles of the ceiling are highlighted by the horizontal lines of the planks. The semi-gloss white paint reflects light, therefore brightening the room.
Plus, the planks turn up the coziness factor by at least 75%, don’t you agree?

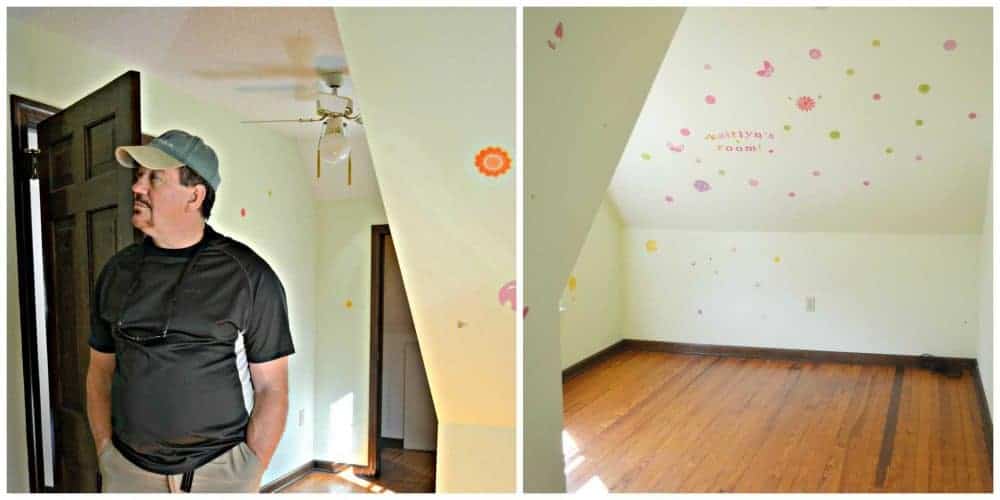
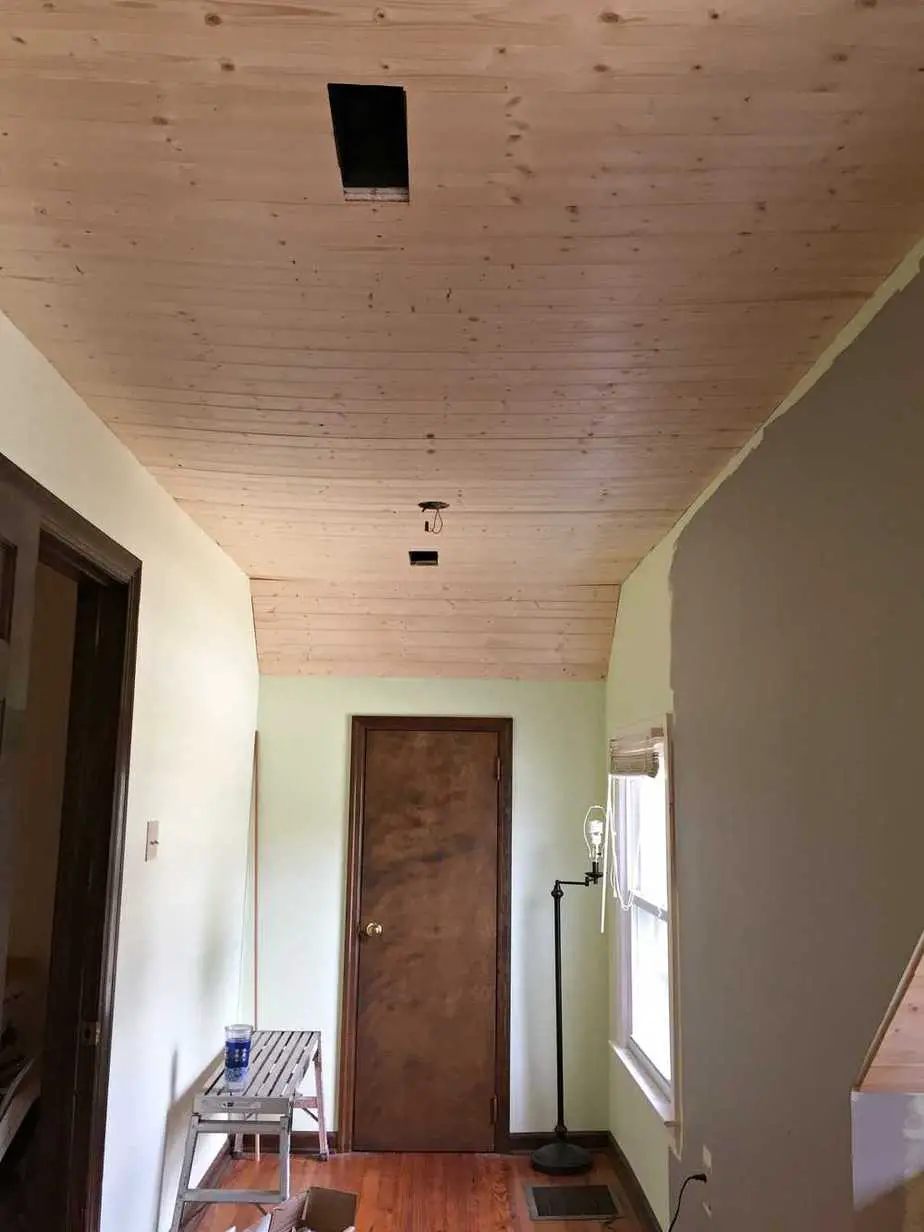
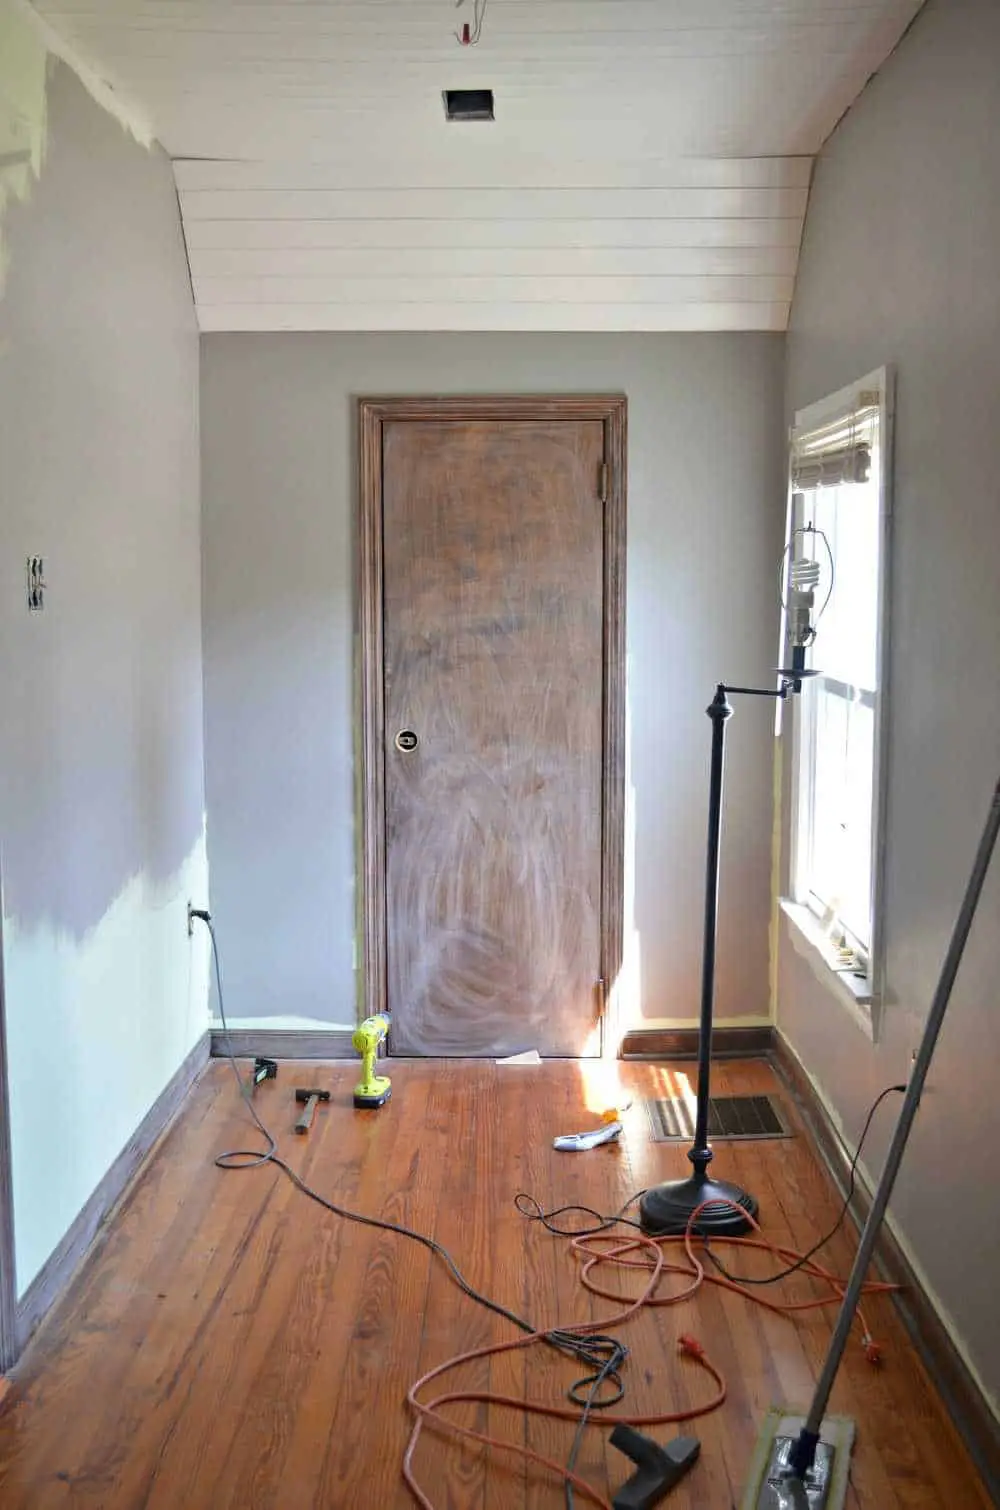
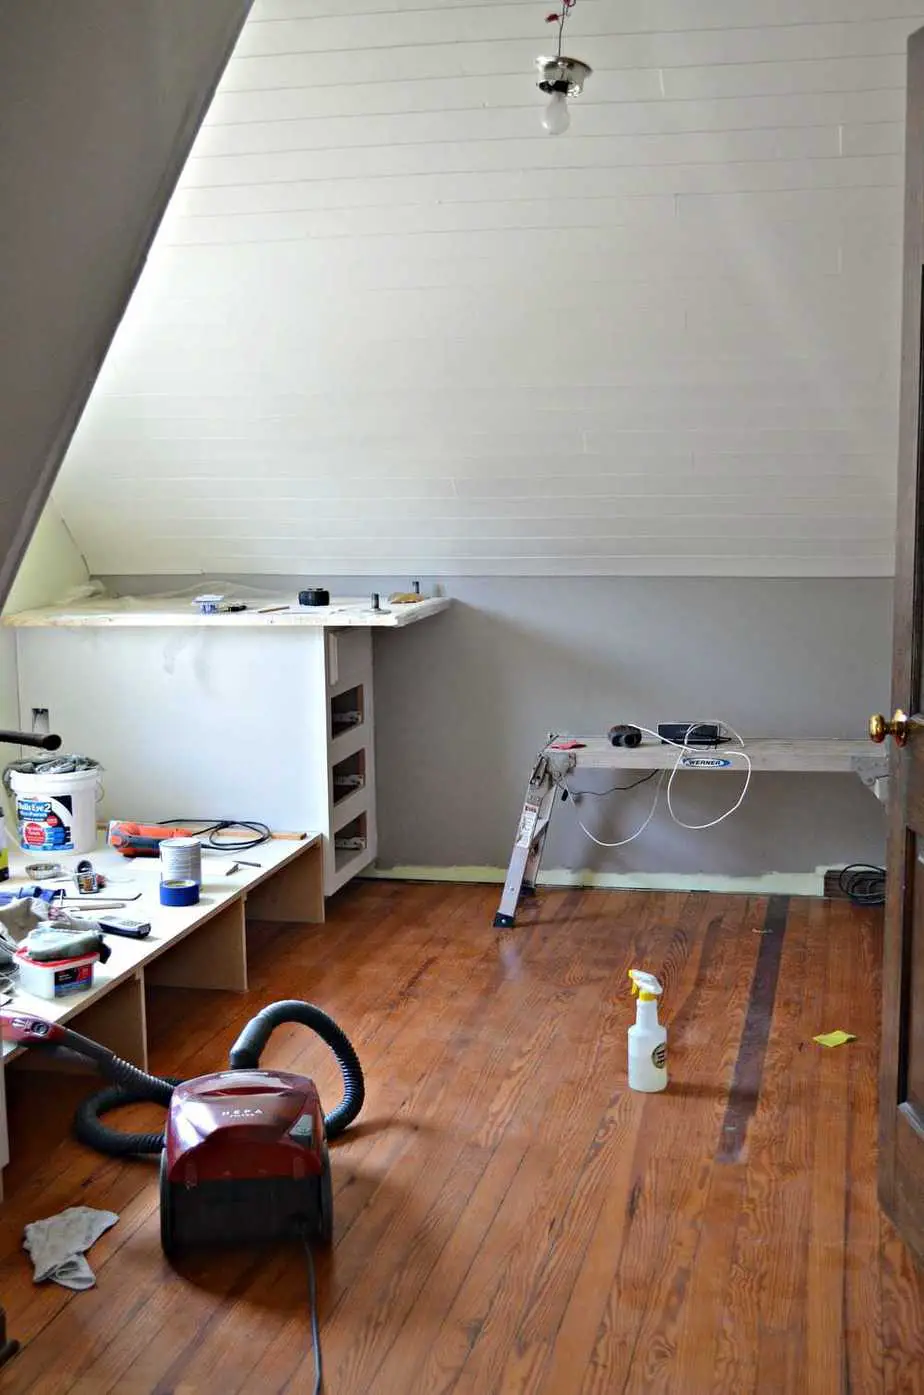
The pictures below show how the room looked before. The flat part of the ceiling was covered in popcorn. We also budgeted to cover the sloping wall in the picture on the right. By the way, that’s my dad. He came with me when I viewed the house for the first time.
 Supplies needed to cover up a popcorn ceiling with wood planks:
- Chop saw
- Brad Nailer and 1-1/2 inch brad nails
- Jig Saw
- Stud finder
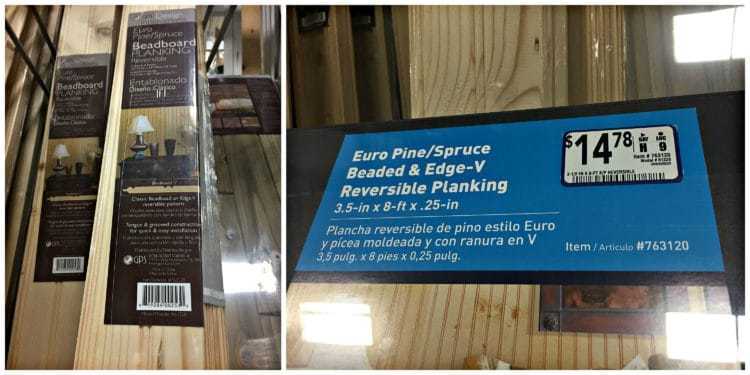
- Reversible Wood Edge V Planking from Lowes item #763120
- 1/2″ plywood cut into 1-1/2 inch strips for the trim around the ceiling
- Caulk
- Wood Filler
- Sandpaper
- Primer
- Paint
- Paint Sprayer (optional but worth the time it saves)
**Please note: some of the links in this post are affiliate links. I’ve added links to products that I’ve purchased and trust enough to recommend. If you buy something through these links, we may make a small commission at no extra cost to you. We greatly appreciate you for helping support our blog! **
These are the reversible v-groove planks you’ll pick up Lowes. We used the flat side. Each pack covers 14 square feet so we ended up buying 12 packs.
 Now, let’s jump right in to see how to cover a popcorn ceiling with planks!
We used a stud finder to locate the rafters and marked their location. Once we cut down the planks, we nailed them into the rafters and a 1/2″ away from the walls. When you cut the planks, leave a 1/4″ gap on each side for expansion.
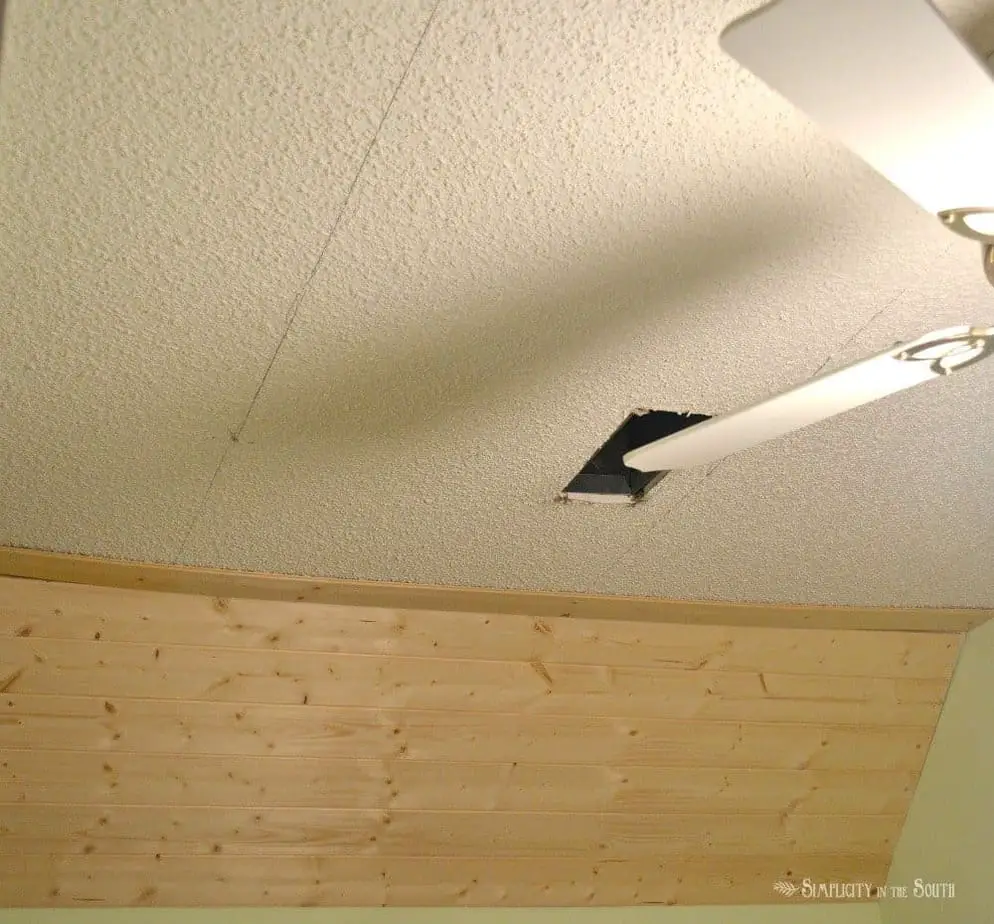
Use the jigsaw to cut out the holes for the light fixtures and vents.
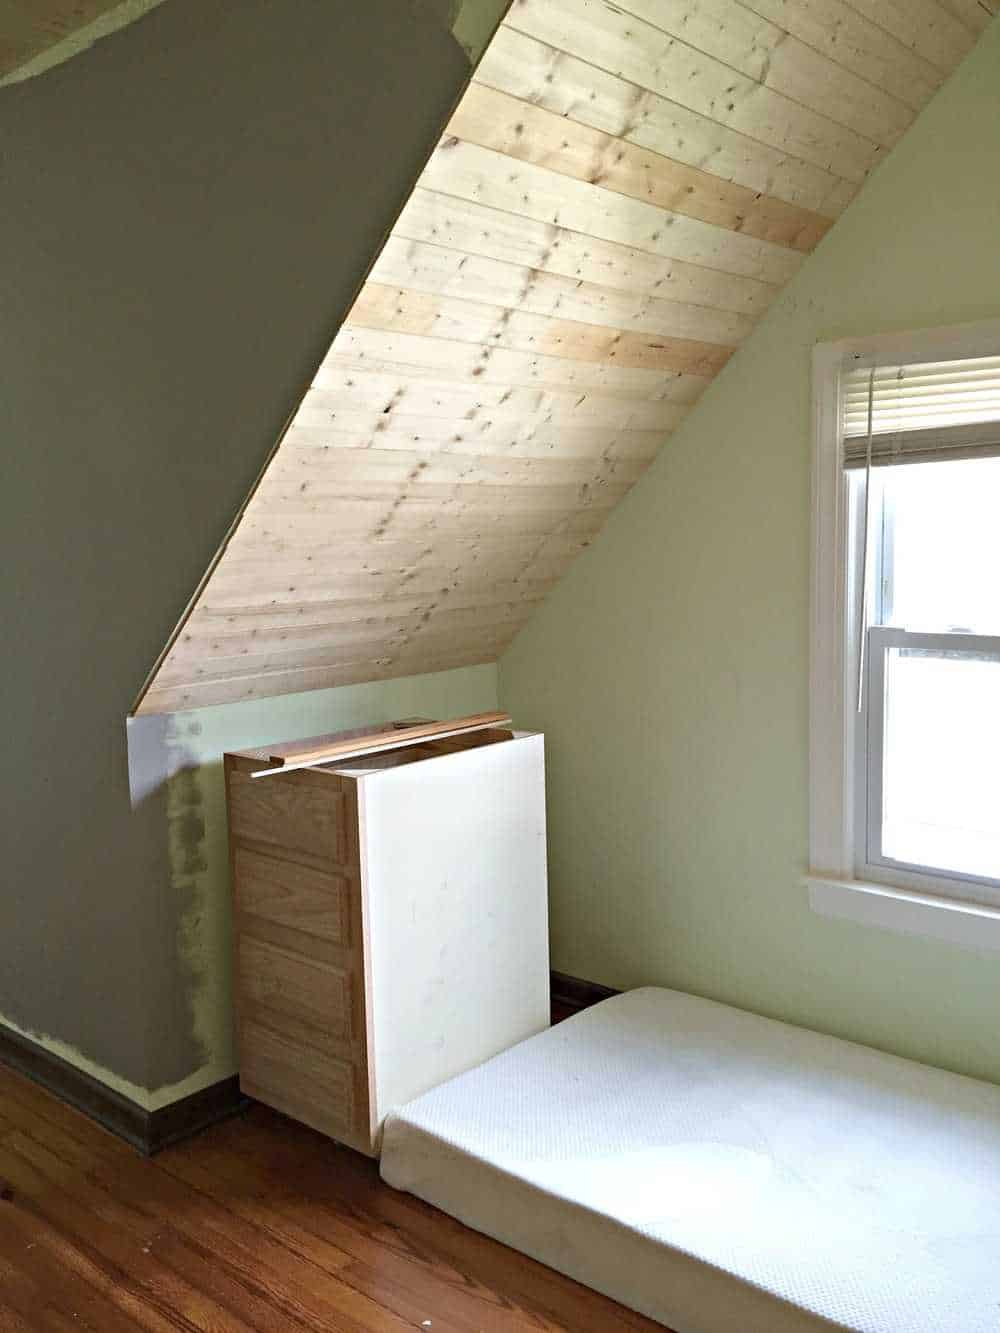
Once we got to the larger sloped wall, we staggered the planks.
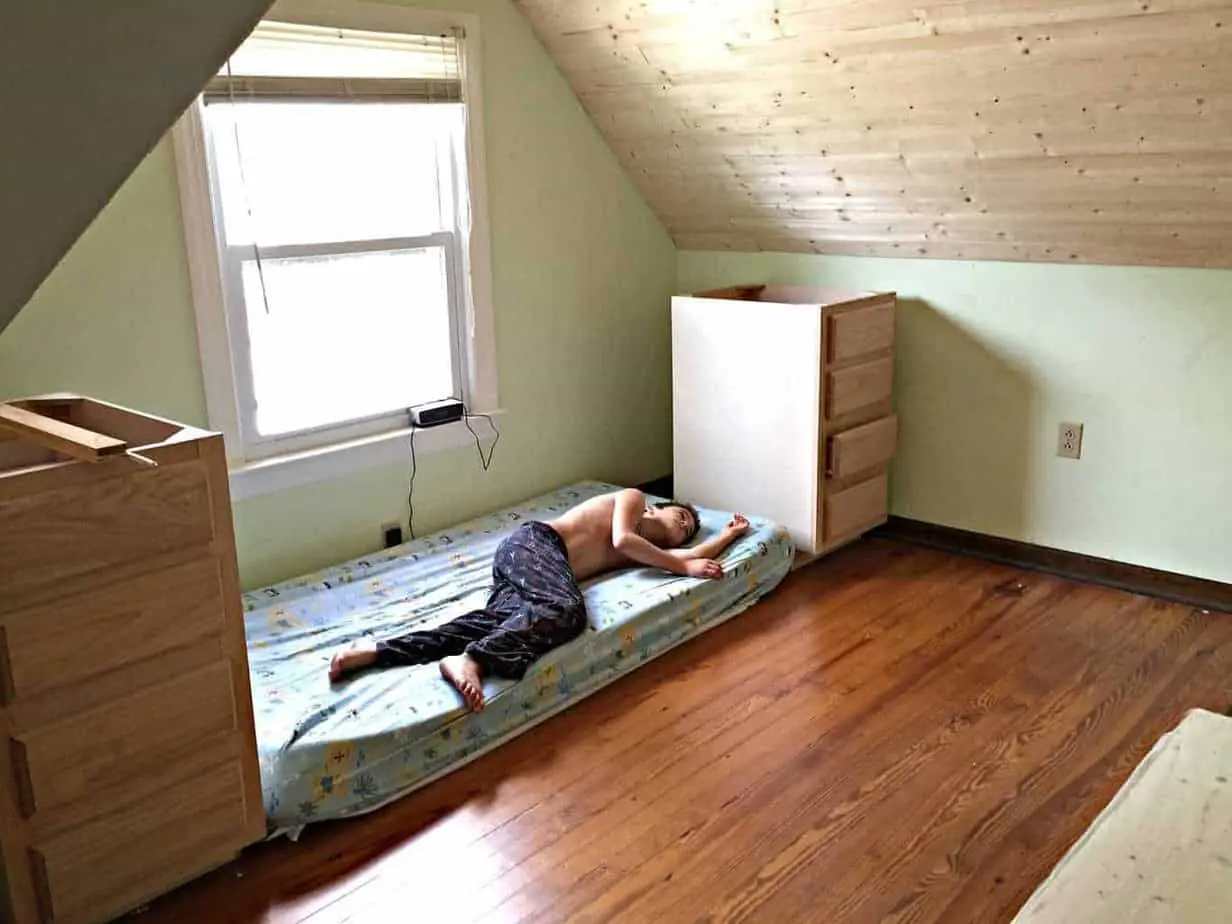
My youngest, Mason, dreamed of this being his room one day. Yeah, me too, kid. 🙂
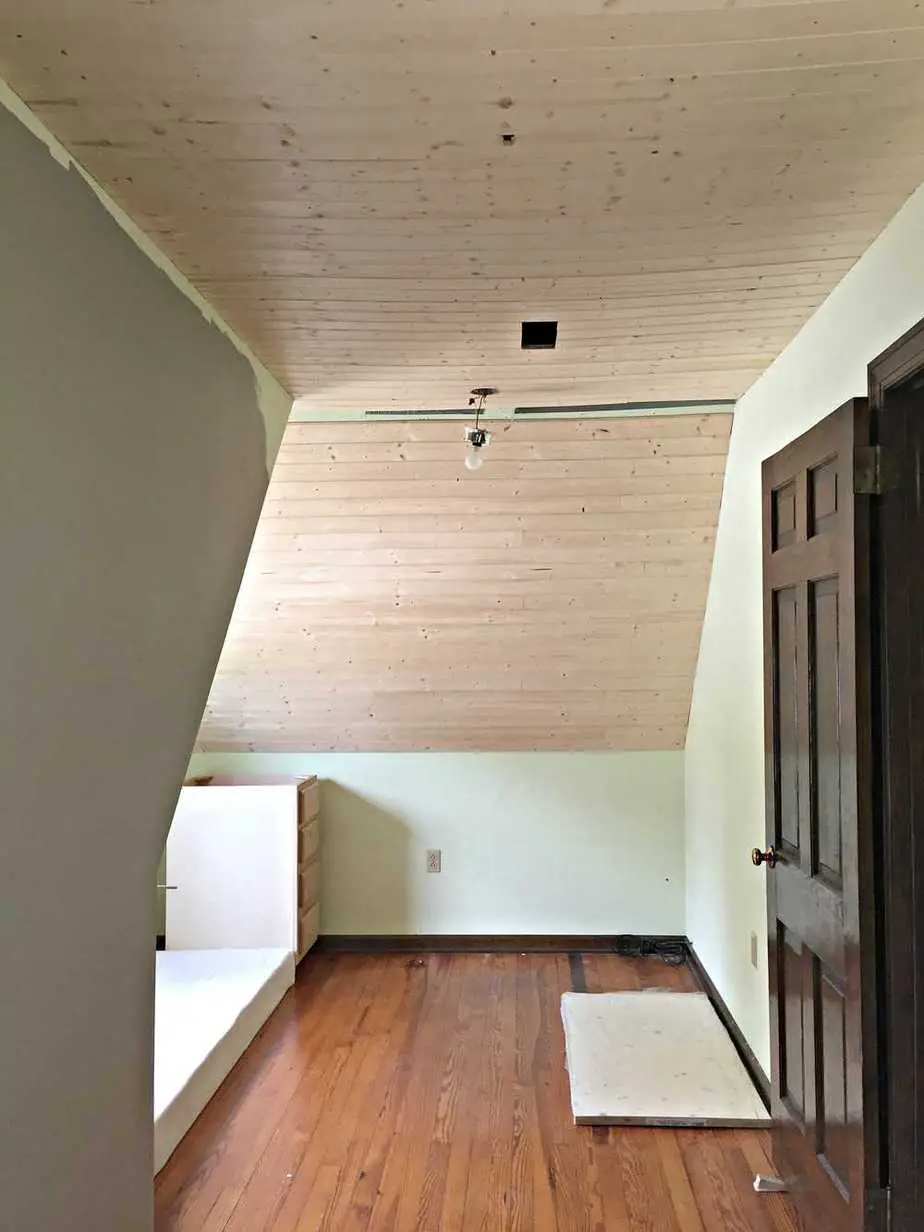
 After filling the nail holes with wood filler and giving the ceiling a light sanding, the planks were ready for a coat of primer and a couple coats of semi-gloss latex. I used a paint sprayer to save time and to get the smoothest finish possible. The paint I used was Sherwin Williams Alabaster in semi-gloss.
Here’s a sneak peek of the built-in bed and drawers we added. I’ll share details of the built-ins soon!
Update: Click here to see the built-in bed tutorial
Painting tip: If you have any knots that show through the paint, seal them with a shellac primer such as Zinsser 00908 B-I-N Primer Sealer. It prevents the resin from the knots from bleeding through.
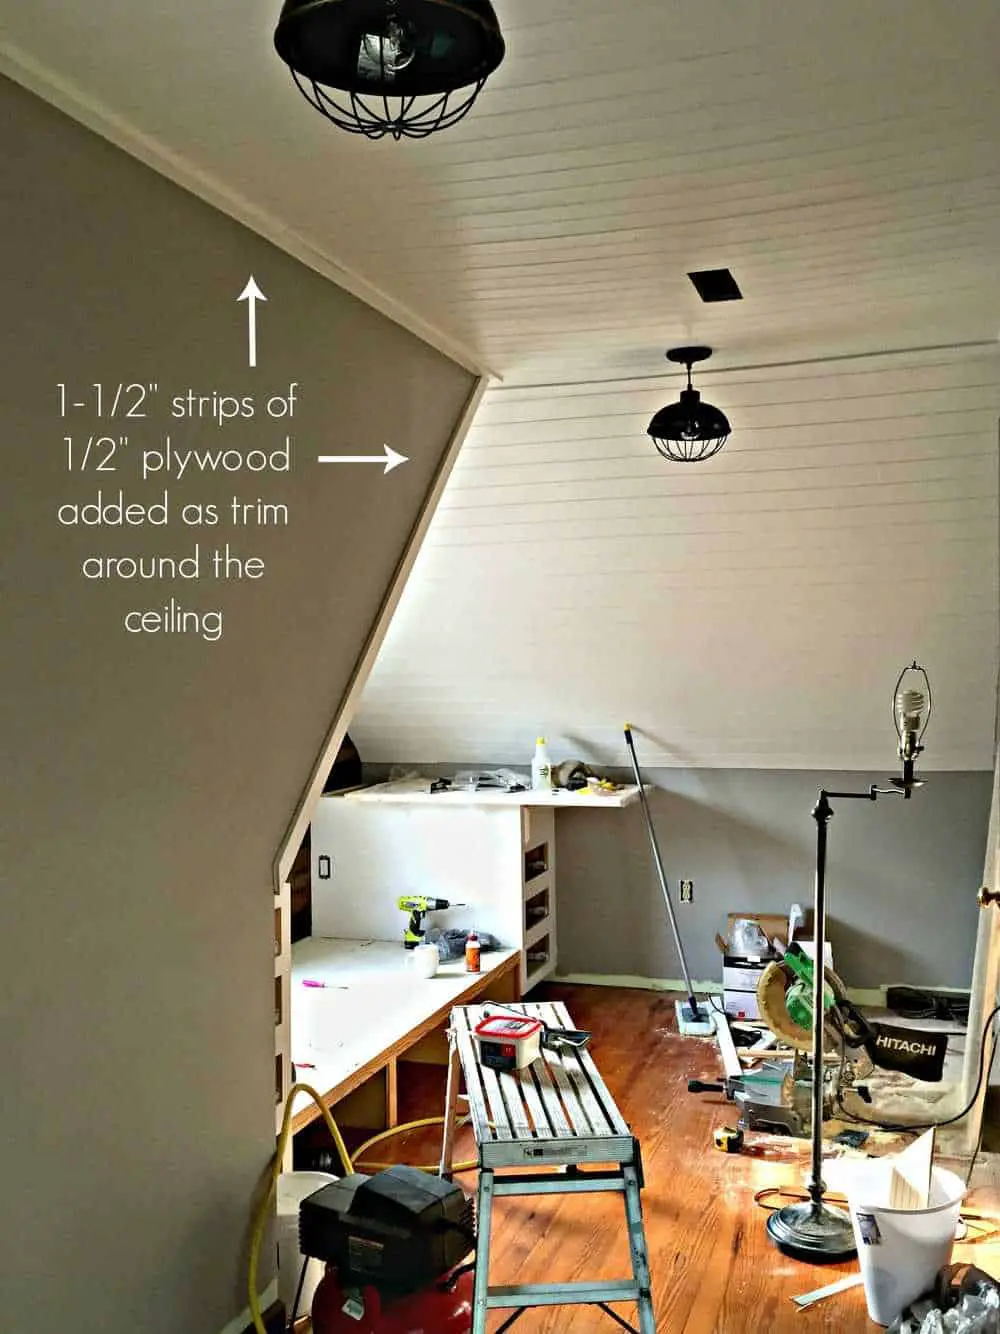
We then nailed in strips of 1/2″ thick plywood that was cut into 1-1/2″ wide strips around the perimeter of the ceiling. The edges of the plywood were sanded and then given a thin coat of caulk before primer and paint.
Trust me, it gets messier before it gets prettier.
Much better, right?

All’s that’s left are details on the built-ins and the rustic planked wall behind the bed. Then, we’ll be ready to show you the reveal for the rustic, industrial dormer bedroom!
Click here to see the rustic industrial dormer bedroom reveal
If you have any questions on how to cover popcorn ceilings with planks, then leave me a comment and I’d be happy to help.
If you’re looking for another way to cover popcorn ceilings, check out our this post:
7 EASY STEPS FOR INSTALLING FAUX TIN CEILING TILES

Sharing with some of my favorite blogs:

Thanks for share….
Tricia, On your popcorn ceiling, refurbing, Wouldn’t it make your room warmer also?
Instead of individual planking we used bead board. It takes 2 people to put in place on a ceiling but with 4x8sheets it goes up quickly.
You just gave me an idea for our long hallway upstairs that has popcorn ceilings. 🙂