Master Bathroom Progress: Lighting, Faucets, Vanity, & Glass Shower Enclosure
We’re not totally finished with the master bathroom but it’s finally at the functional stage. Today I get to share the fun stuff with you guys… the finishing touches! My absolute favorite part of the remodeling process is seeing all the plans from the original mood board finally come to fruition.
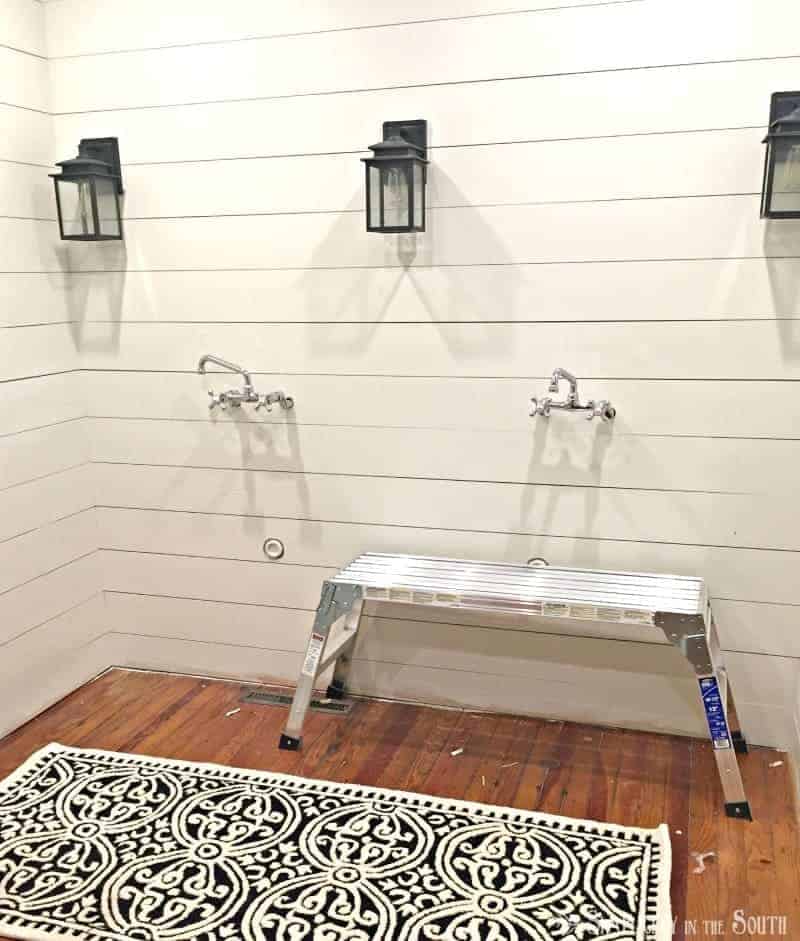
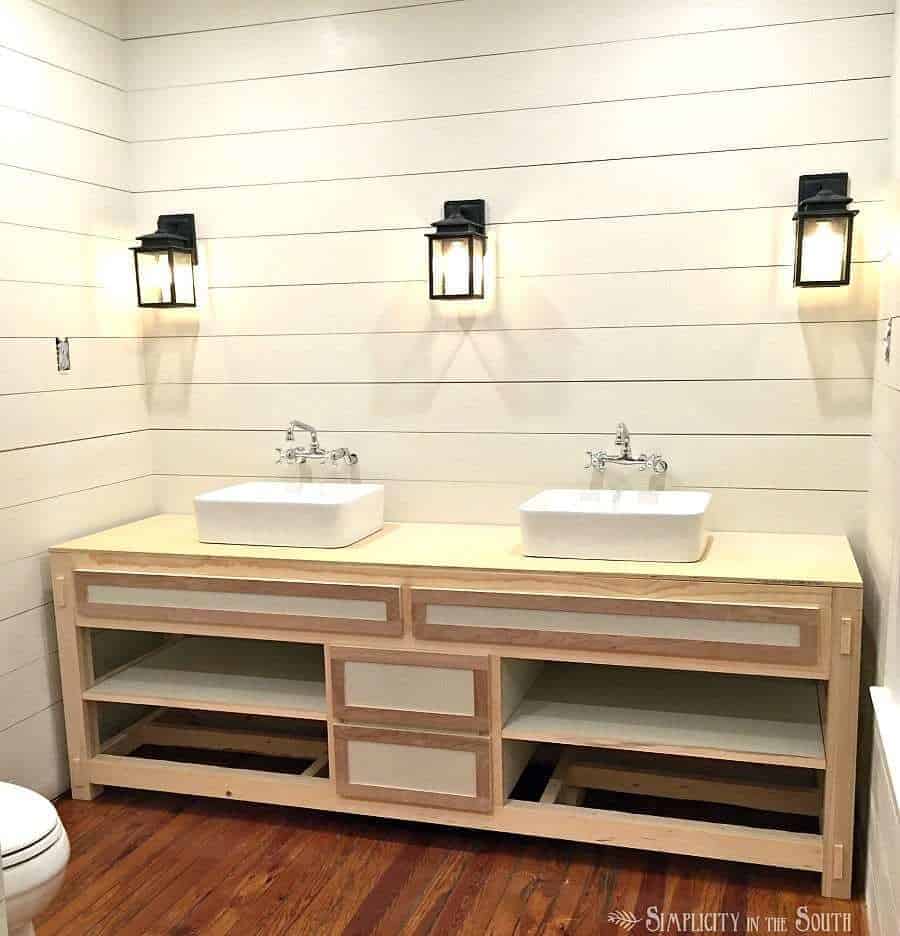
Earlier this week, we talked about how we installed shiplap walls using plywood. Once the shiplap was up, we installed the light fixtures that go over the vanity. Just like in the inspiration pictures and mood board, we chose rustic black outdoor fixtures with seedy glass but these sconces are about 1/4 of the cost. Considering we had 3 vanity lights to buy, I’m more than happy with the look we got for much less! And they go with the whole combination of black, white, and wood that I was after.
We added texture to the cove ceiling with rustic pallet wood.
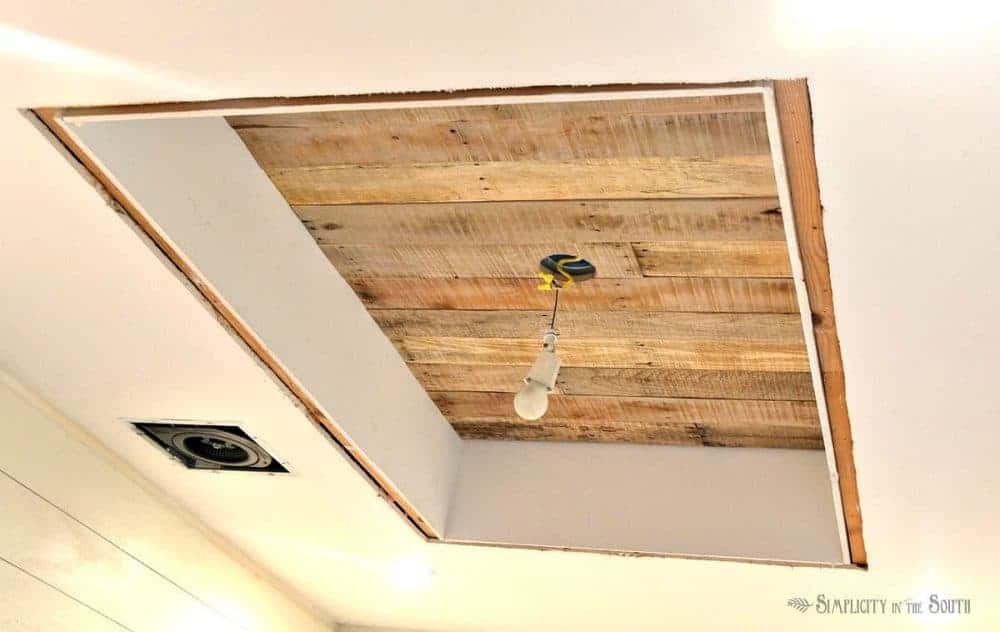
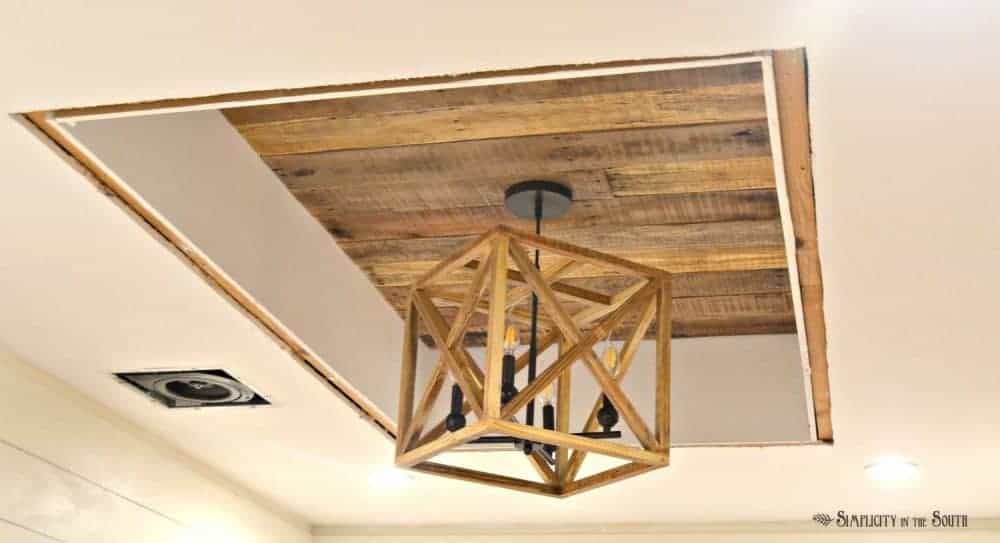
Light is spread throughout the rest of the room with recessed cans and energy-saving LEDs that are safe for wet areas. Jason built a gorgeous reclaimed wood geometric chandelier. I saw one just like it on several episodes of Fixer Upper but it was sold out in the Magnolia Homes store.
Stay tuned for the wooden chandelier tutorial and a giveaway after the bathroom reveal!
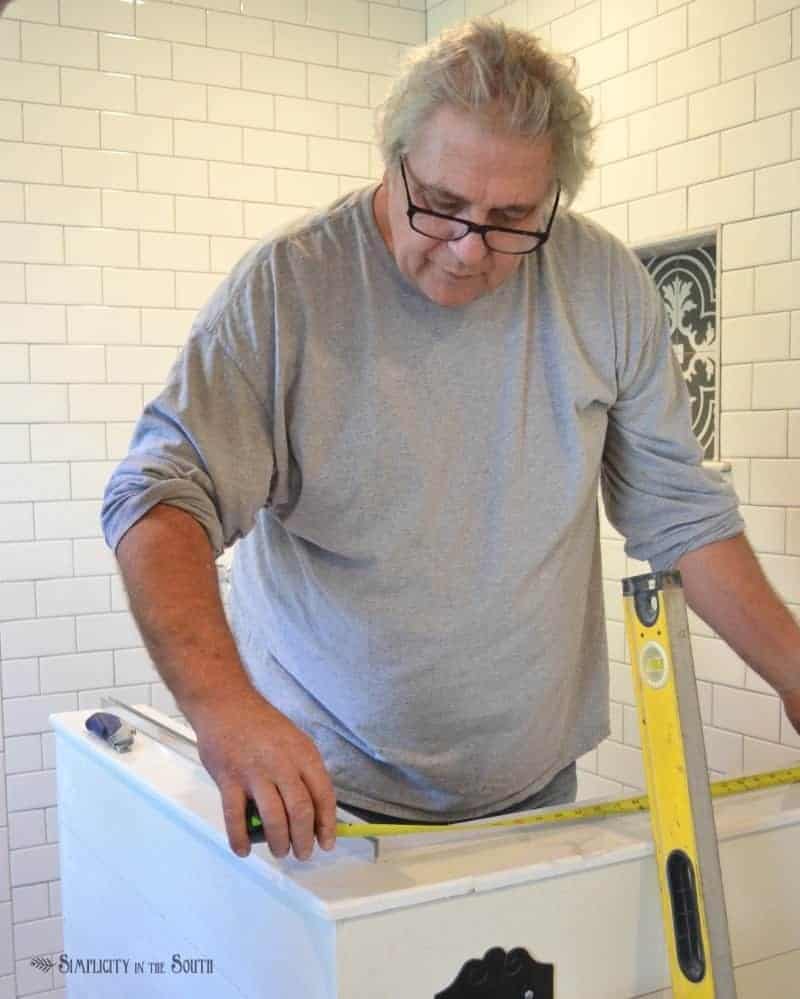
 I’m so blessed to have my mom and stepdad in my life. They’re some of the sweetest and most humble people you’ll ever meet. They own Conway Glass near Myrtle Beach, SC so if you’re ever in the area, you can attend one of their free glass blowing demonstrations. As a combination wedding and birthday gift, they gave us our glass shower enclosure. My stepdad and Jason installed it in about an hour.
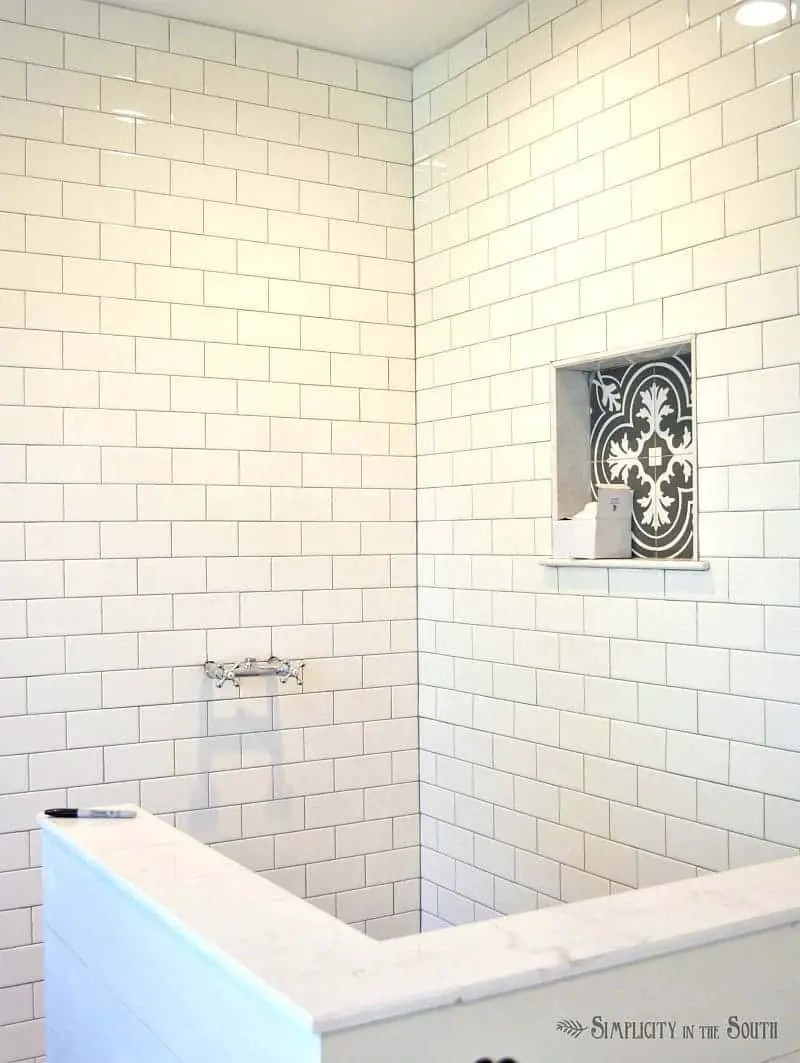

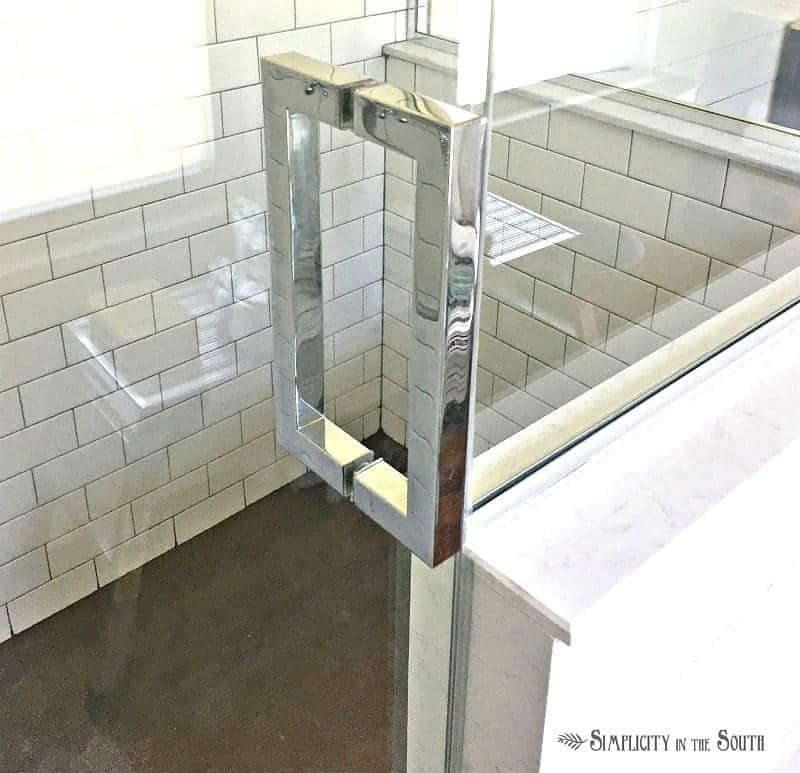
The square door handle matches the drawer pulls I ordered for the vanity perfectly.
Speaking of vanity…I’m so excited about the double vanity that Jason built! The final cost for the vanity including drawer slides came close to $200.
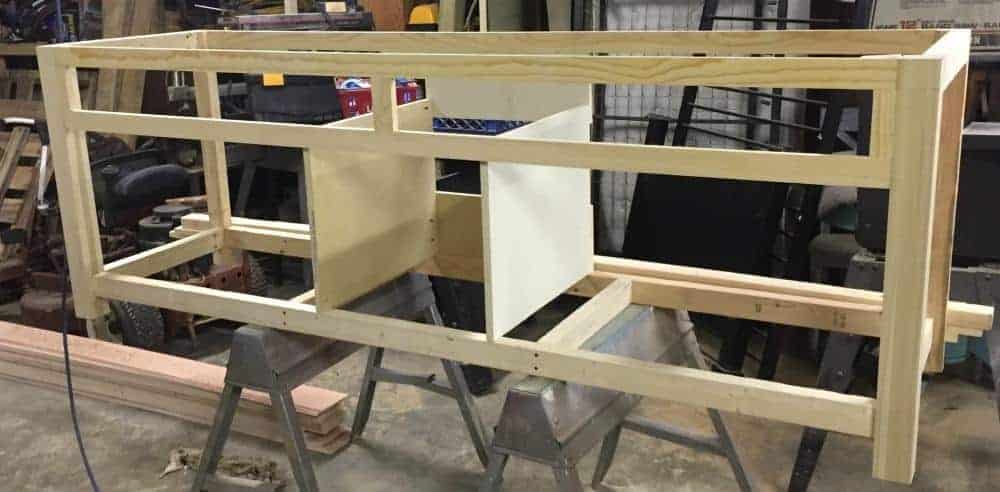
Finally, a place to put all my makeup and hair products! I forsee a bathroom organization post in the future!
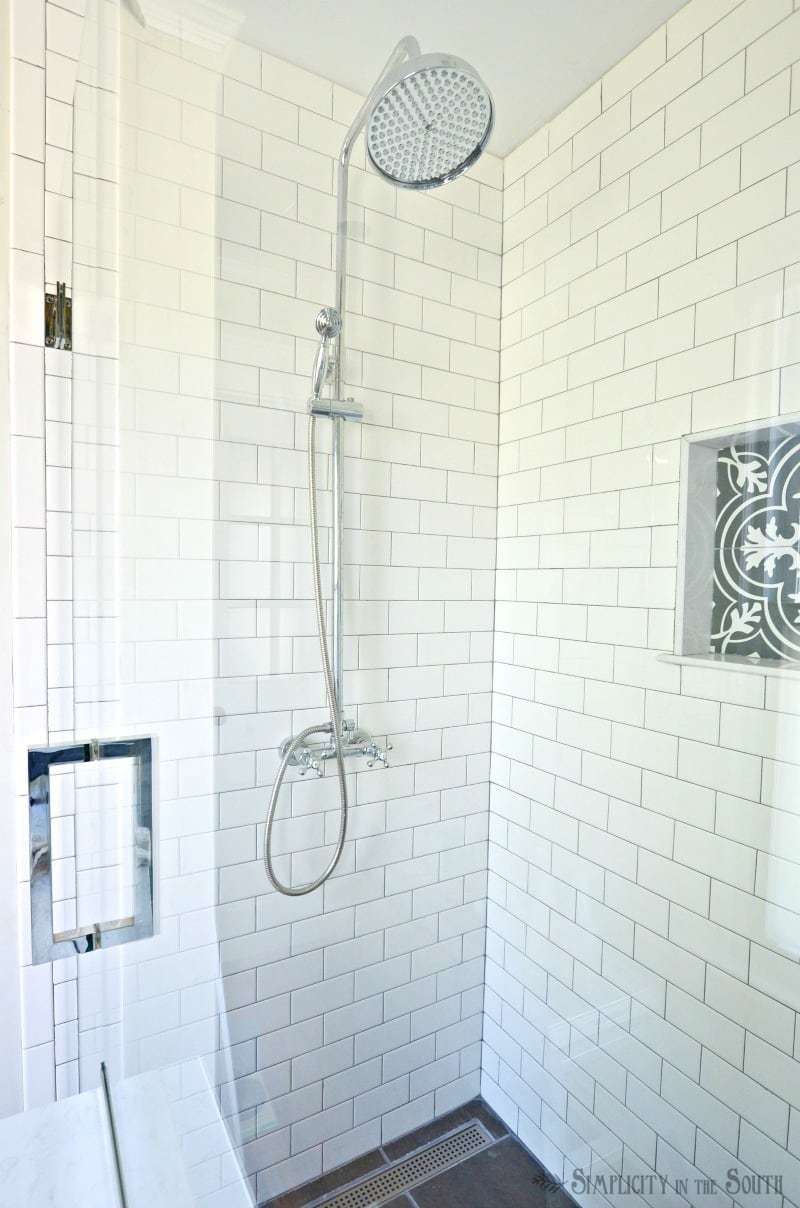
I was a little apprehensive about installing wall mount faucets but Jason talked me into it. I’m pretty sure he wishes he hadn’t because the plumbing was a little challenging for him to install but he knew that’s what I really would want from all the inspiration pictures I showed him. In the end, they are the perfect partner for the rectangular vessel sinks.
Here’s a rundown of what’s left:
Adding the bottom shelves of the vanity
Painting the vanity after I decide on a paint color. Eek!
Pouring the concrete countertops
Crown molding, baseboards, and trim around the cove ceiling
Making the vanity mirrors
Building the cubby cabinets near the shower
Catch up on all the posts and projects that went into our master bathroom remodel here:
So Long, Spare Bedroom…Hello, Master Bathroom, Walk-in Closet and Half-Bathroom
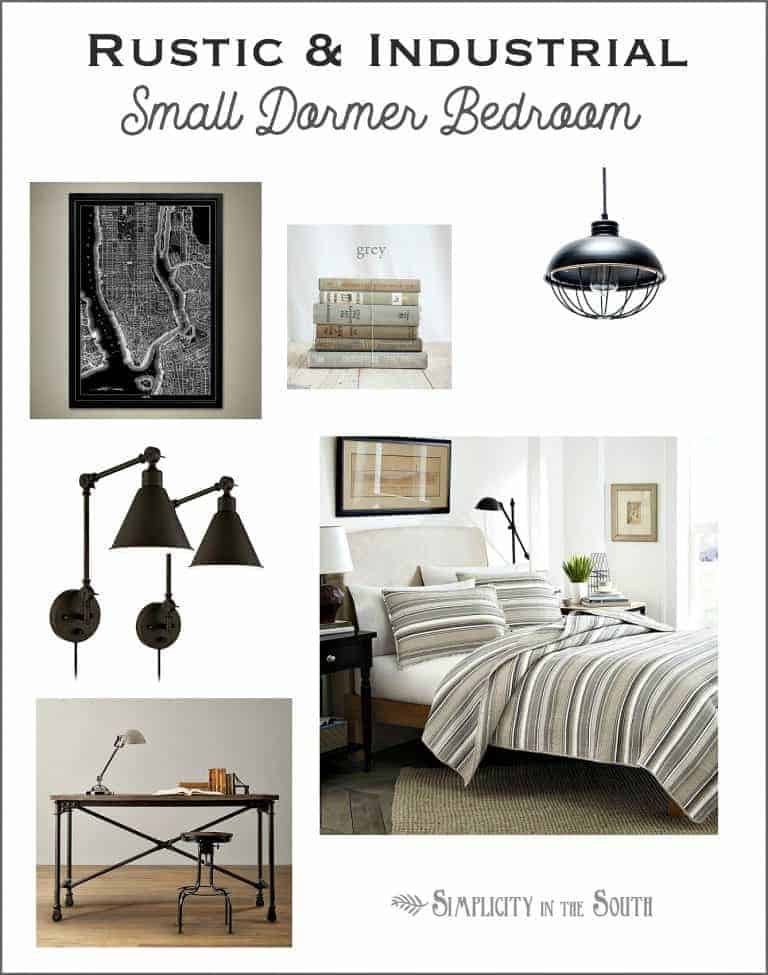
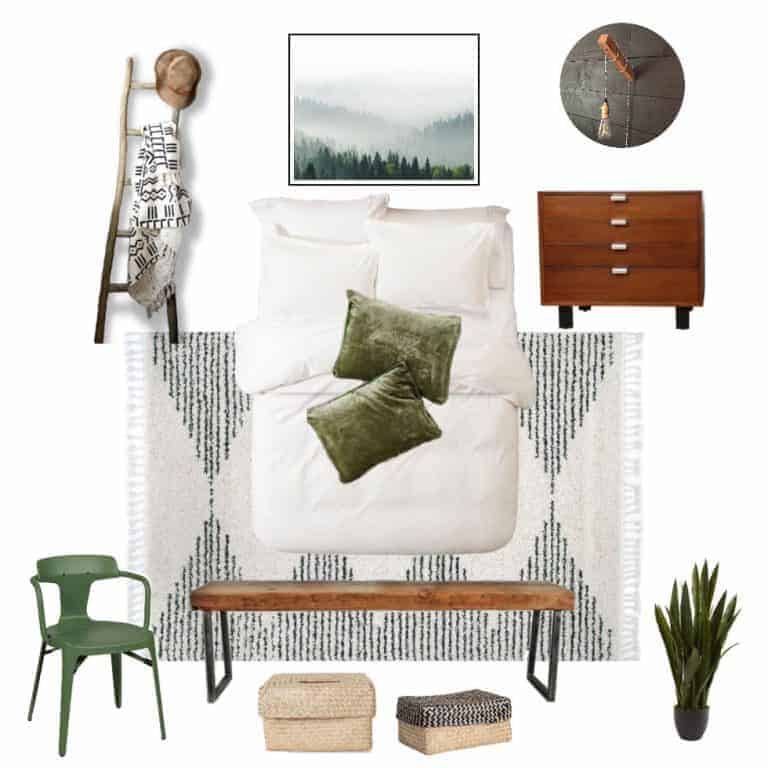
Eclectic Farmhouse Master Bathroom Inspiration and Mood Board
Progress with the Master Bathroom Remodel: Up Goes the Drywall. Down Goes the Popcorn Ceiling
Shiplap Walls- 5 Reasons to Use Exterior Plywood Instead of Luan Underlayment
Shiplap Walls for the Master Bathroom: Tutorial & Tips
The Modern Farmhouse Master Bathroom Reveal: Turning a Bedroom into an En Suite Bathroom
P.S. I appreciate any suggestions you have for a vanity paint color!

Love to read a detail article about bathroom vanities. Thanks for sharing such a beautiful information with us. I appreciate your project
Such a gorgeous project! That’s amazing that you and your husband are such awesome craftsman! Every tiny detail is perfect! What color or grey grout did you use in your shower? I’m having a hard time deciding in our bathroom. Thank you!
Thank you for your kind words! The grout we used was Pearl Gray by Mapei with the built in sealer from Lowes. I hope that helps and good luck with your project!
No matter the number of bathrooms in your house, the master suite deserves the grandest look. Efficiency is just as important as comfort in a master bath. I’m happy that you shared this helpful information with us.
The details you have added already look amazing! Loving the black outdoor lights and the wooden light! Personally I love navy, because it can give a space a more elegant feel.
Truly beautiful! Love everything – from your bathroom,You did an amazing job.