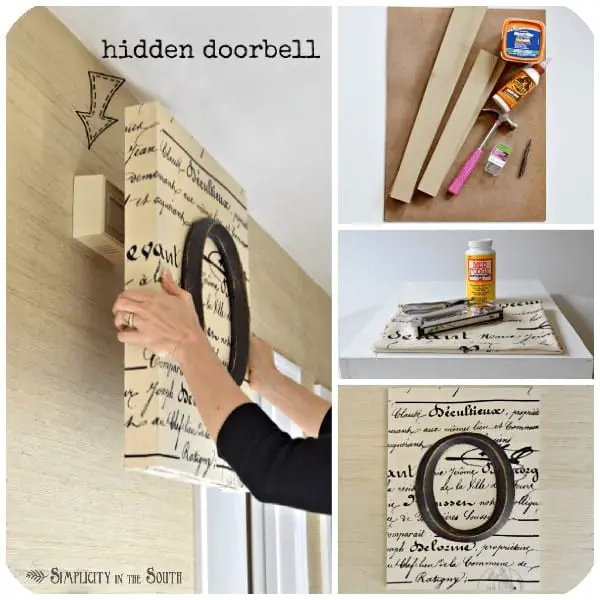
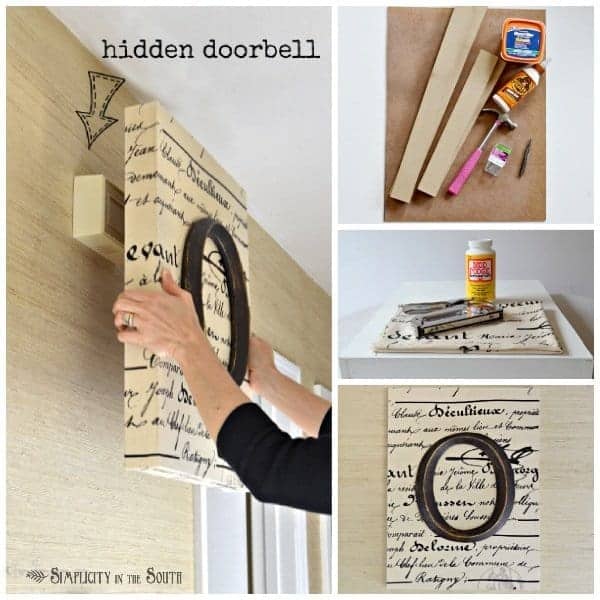
Double-Duty DIY: Hide the Doorbell with Monogrammed Art
I’ll be back later this week to show you how I made the HVAC air return cover from the hallway reveal. First, I’d like to share with you another project I did for our hallway last month.
One of my favorite tricks when decorating our small home is using things that have two purposes. Usually before I buy something for our home is has to pass the “is it beautiful AND functional?” test. If the answer is yes, then I will consider buying it. But only if it passes the 2nd test, “can I buy it cheaper than I can make it?”
Take for instance, the monogrammed art that I have hanging in our hallway. It just happens to disguise our 30+ year old doorbell.
Maybe your door bell isn’t as ugly as ours. I don’t recall meeting a beautiful doorbell, but I’m sure there’s one out there…somewhere.
When I redecorated our hallway last month, I was on the look-out for artwork to fill the empty space along one wall but also wanted to find a way to conceal the doorbell that was sticking out like a sore thumb.
Making my own piece of personalized art with some scrap wood seemed like the perfect solution. I love typography, decoupaging, and simple woodworking projects. This monogrammed and decoupaged art combines all three.
There are two main parts to making your monogrammed artwork; first, building the frame and then decoupaging the frame with fabric.
These are the supplies you will need for building the frame:
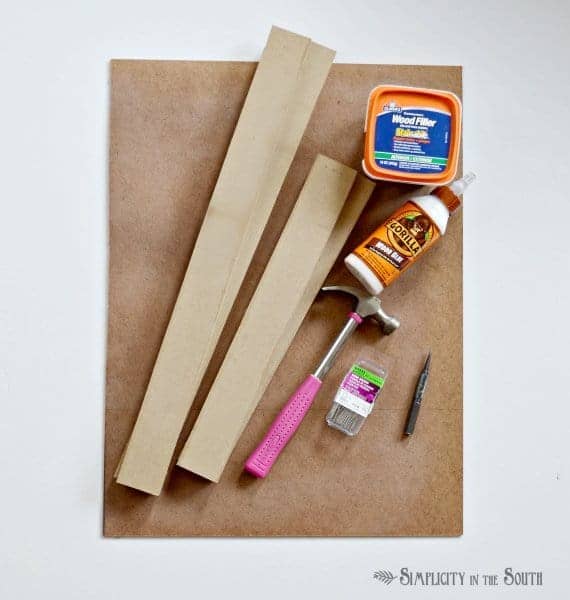
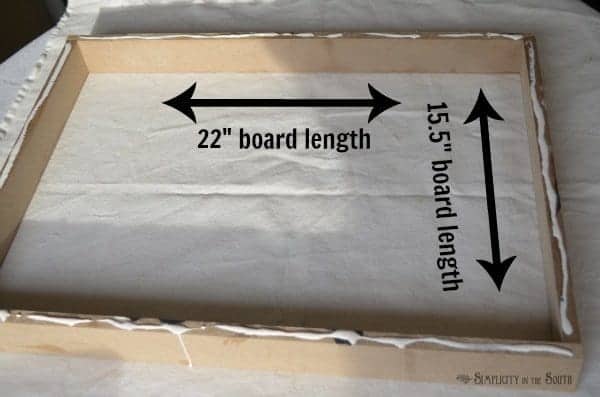
1. Tempered Hardboard or Lauan Plywood cut down to 22″ x 16.5″
2. I used 1/2″ strips of MDF left over from our hallway board and batten project. The measurements are shown in the picture below. If you use 1 x 3″ boards instead, your lengths will be different due to the thickness of the wood. Home improvement stores will usually do three cuts of wood for free and then charge a small amount for anything over that.
3. Wood glue and wood filler
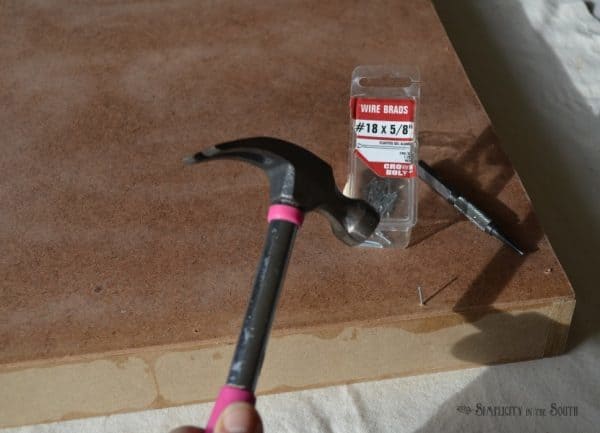
4. Hammer, 5/8″ brad nails, 1″ brad nails, and a nail punch
5. Primer is optional. If you are using a lighter colored fabric, I recommend priming the frame so the wood does not show through.
Directions:
Put a thin strip of wood glue along the top edge of the strips of wood.
Lay the tempered hardboard on top and nail it down with 5/8″ brad nails. Nail the corners with 1″ brad nails. Countersink the nails and fill the holes with wood filler. After the wood filler is dry, give the frame a light sanding. Prime the frame if you are using a light-colored fabric.
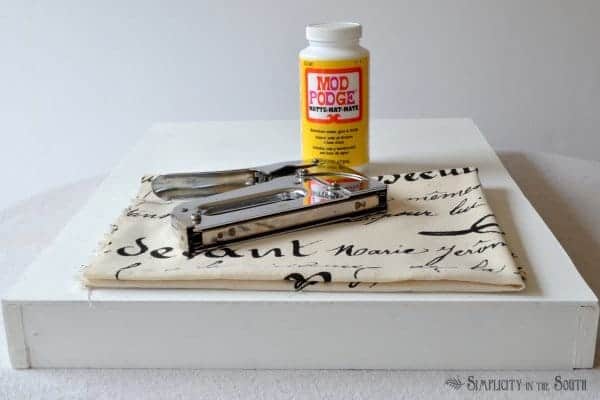
To decoupage the fabric to the frame, you will need:
1. Fabric that is cut large enough to wrap around the sides of the frame plus 2 inches on all sides. I found my fabric at Hobby Lobby. You will need to iron out any wrinkles.
2. Mod Podge
3. Staple gun
Put a coat of Mod Podge on the front of the frame and smooth the fabric down.
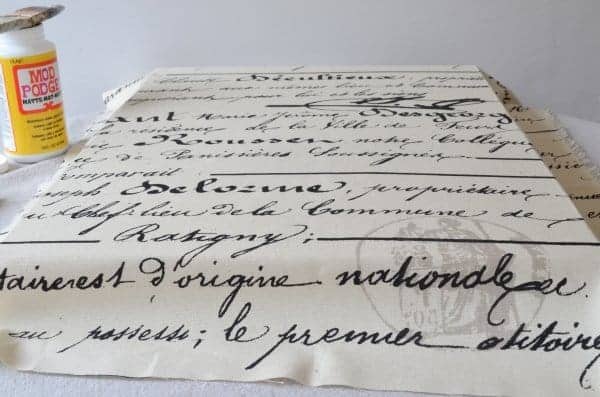
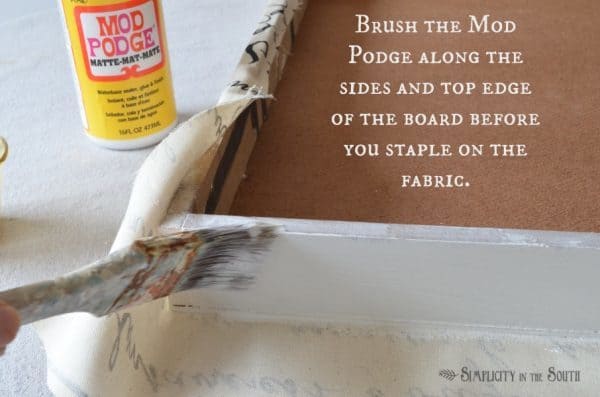
Flip the frame over and coat the top edge and sides of the frame. Smooth the fabric down, making sure it is taut. Then, staple along the inside edge.
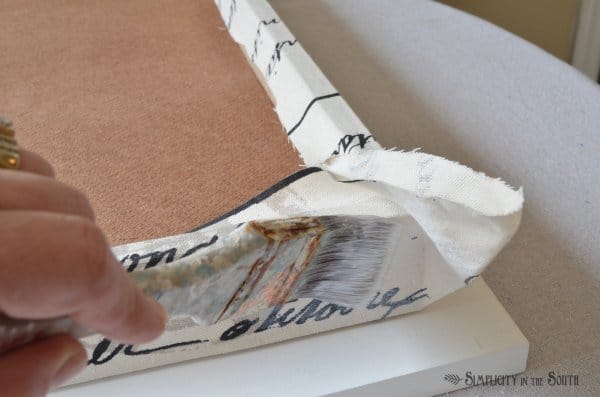
For the corners, add some Mod Podge before you fold and staple your corners like you’re wrapping a gift.
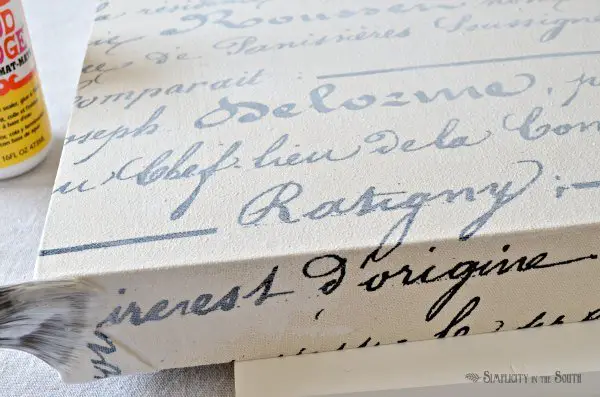
Finish it off by coating the fabric with a thin layer of Mod Podge.
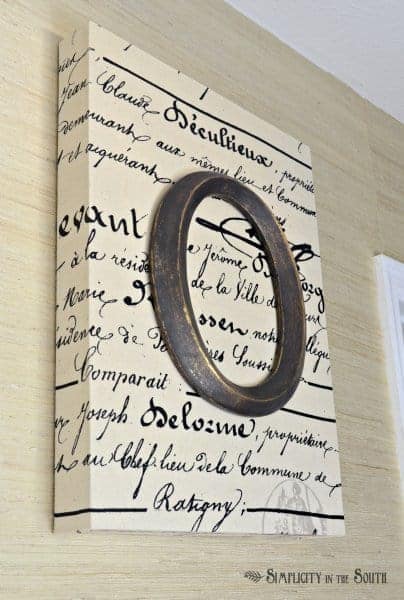
After the frame dries overnight, you can hang the letter with a couple of screws. The letter that I purchased from Hobby Lobby has keyhole hangers on the back. They only letter “O” in stock was gold, so I brushed on a mix of brown and black craft paint and then sanded it down to let a little of the gold peek through.

Not only do I now have a piece of personalized artwork to fill that empty space, but I can also sit it on top of the doorbell to hide it.
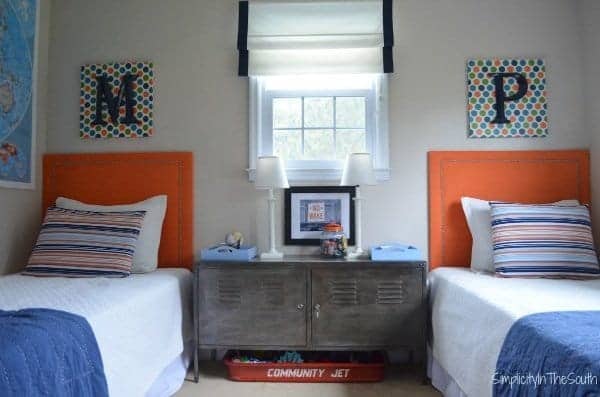
You may also want to check out the ones I made to go over our boys’ beds from their room reveal.
I’m linking this up to some of my favorite blogs such as:


What’s Heading down i am a novice to this, I discovered this I’ve found It absolutely helpful and features helped
me out loads. I’m hoping to provide a contribution & aid different users like its
helped me. Great job.
The more sophisticated the sellers, the less they are surprised
or upset by a detailed comprehensive list of items needed
for a complete due diligence. The following is a list of 6 tips to help take your real
estate investing to the next level. This means you have more time and freedom to spend with your family, doing the things you absolutely love to do.
He discusses in this article stating that when people develop their businesses, people are get tied up everywhere, how is it
possible to enjoy the safety and security factors while accessing the
data away from your workplace. For example, with the US
IP, you can use Netflix, Hulu, Pandora and Spotify.
One of the major problems caused due to internet is security factor.
I create a comment each time I especially
enjoy a article on a site or I have something to contribute to the conversation. Usually it’s triggered
by the passion communicated in the article I looked at.
And after this post Double-Duty DIY: Hide the Doorbell with Monogrammed Art – Simplicity in the
South. I was excited enough to post a thought 😉 I
do have a couple of questions for you if it’s okay. Is it only me or do
a few of the remarks come across like written by brain dead visitors?
😛 And, if you are posting at additional social sites,
I would like to keep up with everything fresh you have to post.
Could you list all of your communal sites like your Facebook page, twitter feed, or linkedin profile?
I like the helpful information you provide in your articles.
I will bookmark your blog and check again here frequently.
I’m quite sure I will learn plenty of new stuff right
here! Best of luck for the next!
That is beautiful! I love everything about it!
Thank you so much for this tutorial. Great explanations and photos for a lovely Doorbell.. Do use Decorative Screens to groom home more 🙂
Great idea! I need to do this for my doorbell!
Love this idea! I wonder if it would work on a programmable thermostat? Found you thru Mod Podge Rocks.
Thanks, Edith! As much as I’d like to hide my thermostat, too, it would block the airflow around it and keep it from working properly. Glad you stopped by!
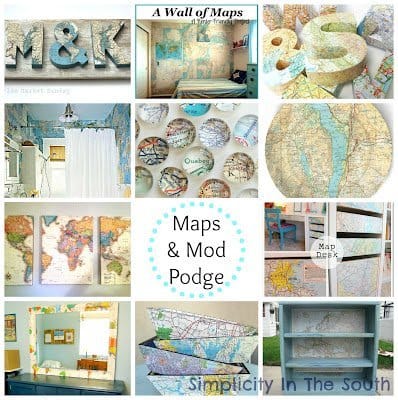
I love this! And you’re a fellow Haven Maven (unless I’m just imagining that), too! I’m going to include this in a Friday Favorites post tomorrow all about DIY Initial Art! 🙂
Hi Brooke! Sure enough, I was at Haven but I didn’t get to meet 1/2 the bloggers I wanted to. Hope I get to see you there next year! Thanks so much for featuring my initial art!
Tricia,
I just love this project. You really did an amazing job. Doorbells are really ugly, aren’t they?
I did something similar to this but I was lazy and just used a cut-down cracker box that I covered with pretty paper to pop over the doorbell thingie. :^) It occurs to me that for those who don’t want to mess with creating our own box, a 40% off coupon to Hobby Lobby and a deep-width canvas would work equally well…might let the sound through a little better too. Very cute idea, I love how yours turned out.
Thank you! That’s a good idea with the box and paper! I tried the canvas when I did the ones over my boy’s beds but I had a problem with the letters on the large canvas. It wasn’t a month before it started sagging from the weight. I had to redo them. Live and learn!
You are so smart! I love this fix. And the bonus that it is totally cute to boot!! Off to pin 😉
Your post made me smile Krista, I feel the same way about a lot stuff on my wall, like the air filter for example! Wish I could cover it up! you did a wonderful job of disguising it! love it! and glad your getting a Target there soon!
This is such a brilliant idea and gorgeous to boot!
Jen @ Noting Grace
Great idea!! I adore that fabric 🙂 Found you linked up at Tatertots and Jello!
Fotini
Omg our doorbell cover is off due to painting the walls. So wires and brass is what I’ve been staring at for a week now, trying to figure out how to make it pretty lol. I am definitely going to make something similar, thanks for the tutorial and inspiration! Great idea!!
Wow! What a great idea!!
Thanks, Amy!