
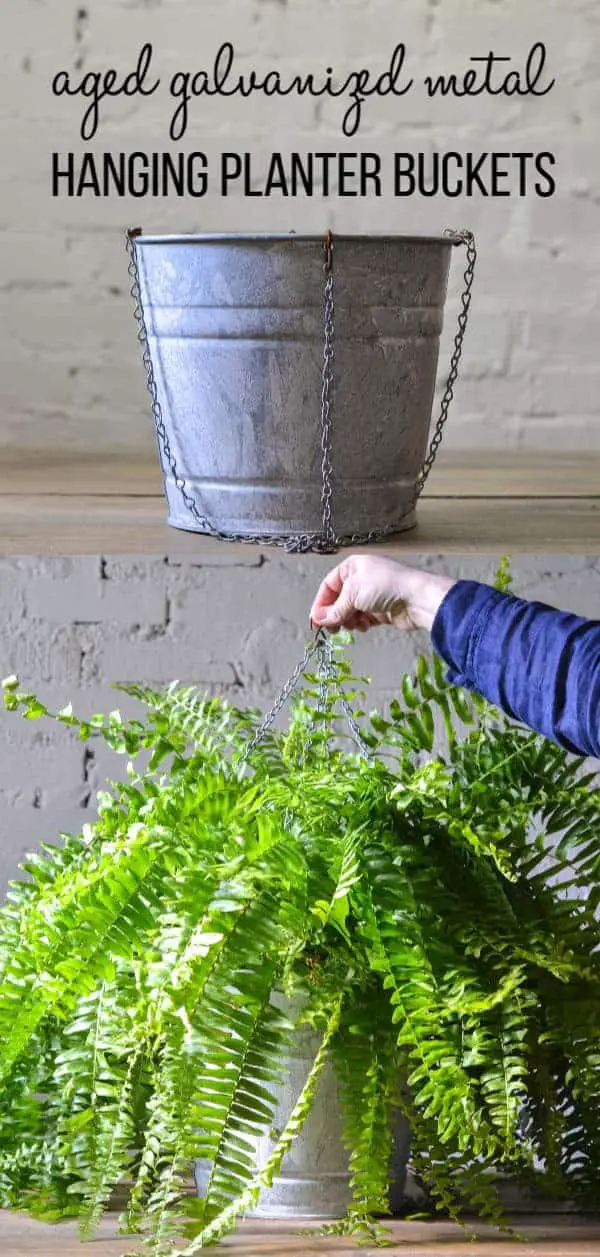
DIY Farmhouse-Style Aged Galvanized Hanging Bucket Planters
Do you ever just get in one of those crafty moods?
Like the urge suddenly strikes and your brain goes into “I MUST CREATE SOMETHING” mode?
You’d think that spark of creativity would happen in somewhere like the craft store.
But no.
This happened while I was in Tractor Supply of all places.
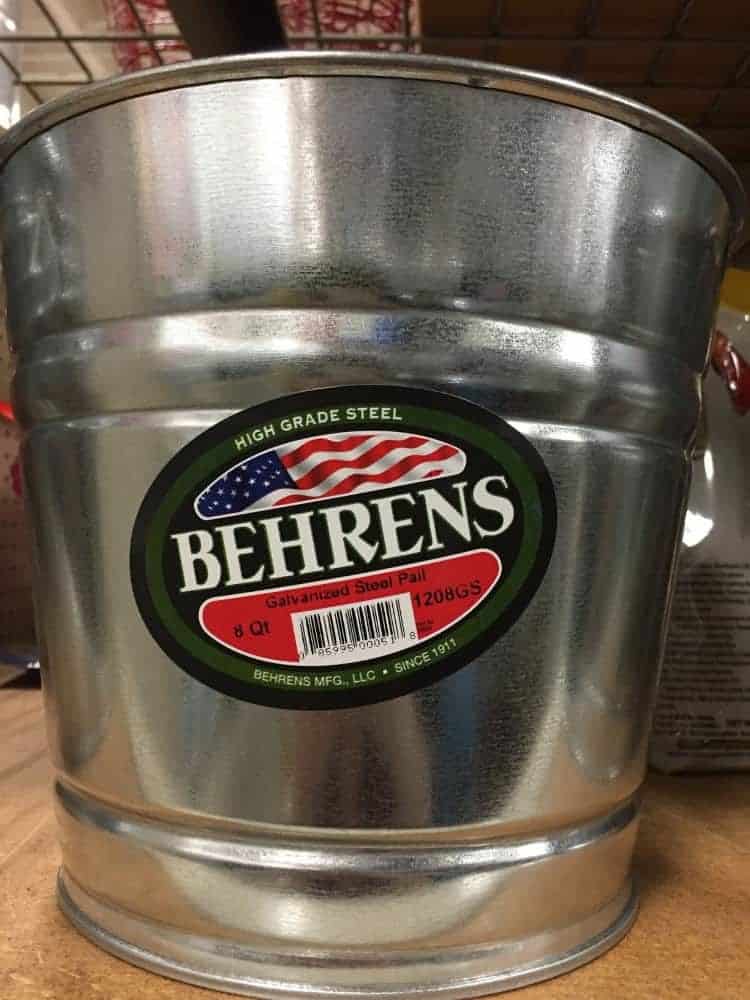
First, I spotted this galvanized bucket.
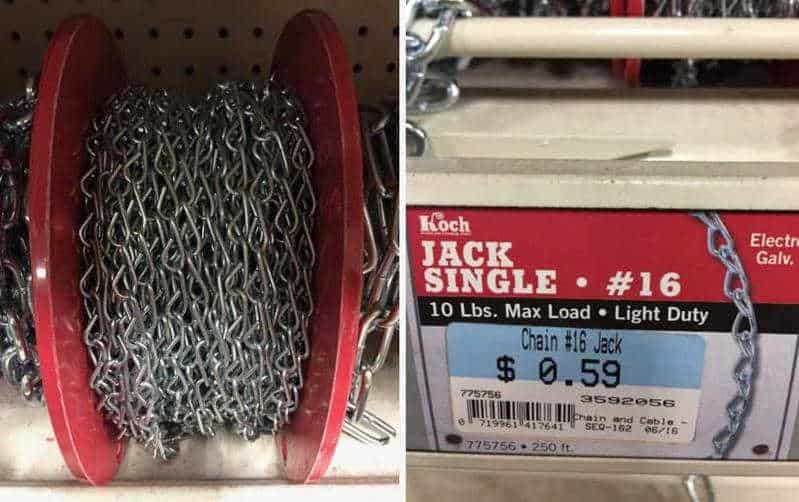
Then, this chain caught my eye.
And low and behold came the idea to make some farmhouse style aged galvanized hanging bucket planters!

So, I came home with 4 galvanized buckets and a bag full of chains and my husband (once again) gives me that “what the heck did she find on Pinterest now?” look.
But before I could devise a way to transform the buckets into planters, I decided to give them some farmhouse charm by aging them.
I’ve been wanting to try the technique on how to age galvanized metal from The Graphics Fairy, so what better time than now, right?

How to age galvanized steel buckets:
*Affiliate links are added for your crafting convenience. See my full disclosure here.
- 8-quart galvanized steel bucket found here or here or here
- Paintbrush or chip brush
- Gloves to protect your hands
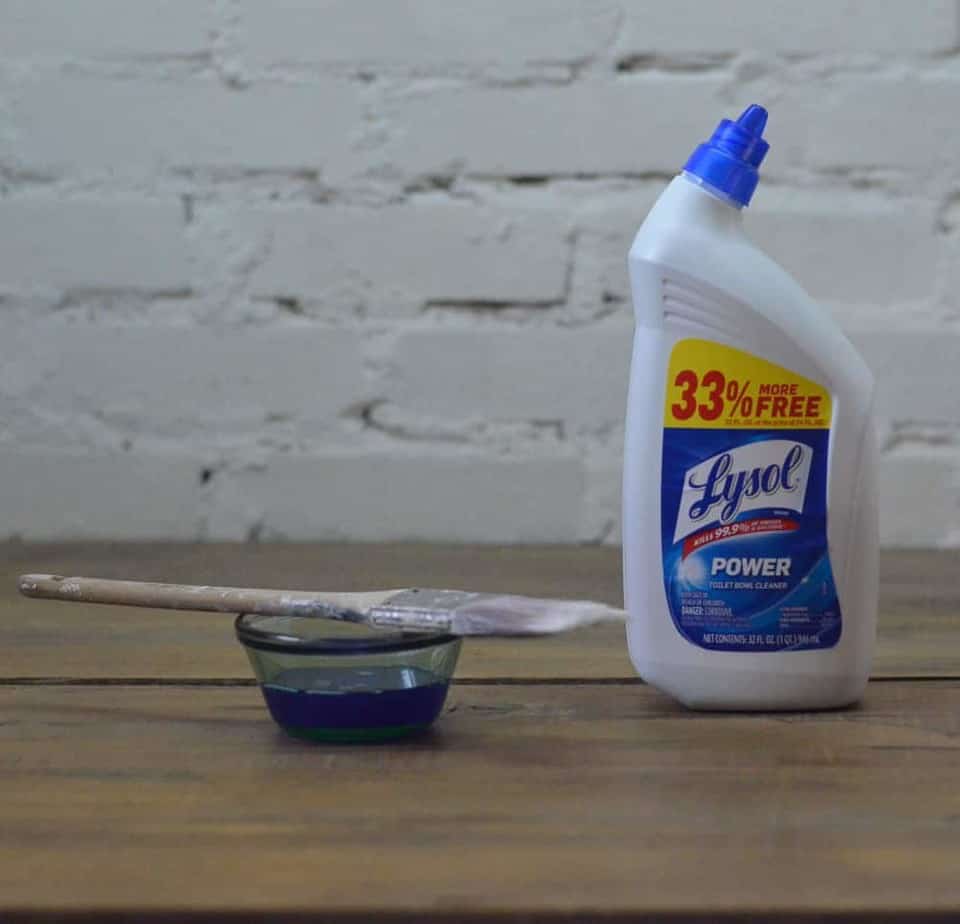
- Lysol Toilet Bowl Cleaner (Note: if you’re looking for an all-natural product to age steel, you can use 100% Lye instead. It’s the same ingredient that soap makers use, but it can be hard to find in stores.)
- Plastic grocery bags
- Gloves to protect your hands (You’ll need these for either the cleanser or the Lye)
The steps to aging the galvanized pails are pretty simple. You’re essentially stripping off the protective zinc coating off the galvanized metal using a household cleaner.
Tip: If you have trouble getting the sticker off the pail, warm it up with a hairdryer to soften the glue. It usually comes right off.
First, sand the outside of the bucket with either sandpaper or steel wool.
Then, brush on the Lysol cleaner.
To speed up the process and to give the buckets a cool texture, I sat them inside a grocery bag and smoothed out any air pockets. This prevents the solution from drying out before it has time to work its magic.
To age the chains, I put them in a glass bowl and covered them with the Lysol cleaner.

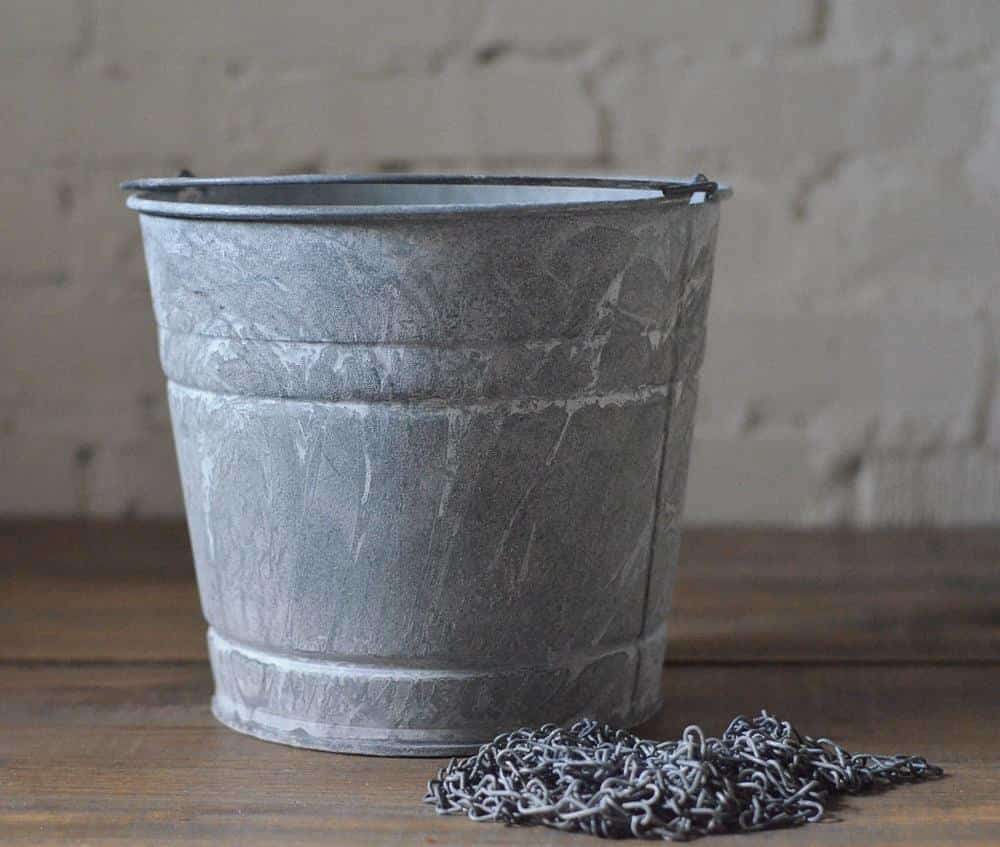
After they sat overnight, the buckets ended up with a beautiful patina!
Of course, you can age the buckets, fill them with plants and call it a day, but I wanted something different to place my hanging pots on the porch into.
How to turn a galvanized bucket into a hanging planter:
You’ll need the following supplies for each bucket:
- 4 total feet of light-duty #16 chain to make (4) 12″ lengths of chain (Lowes or Home Depot also sells this in packs instead of by-the-foot)
- 5 S-Hooks
- Side cutter pliers to cut the chain (or the store can cut it to length for you if they sell it by-the-foot)
- 11/64″ Split Point Drill bit made for drilling metal
-
- Pliers

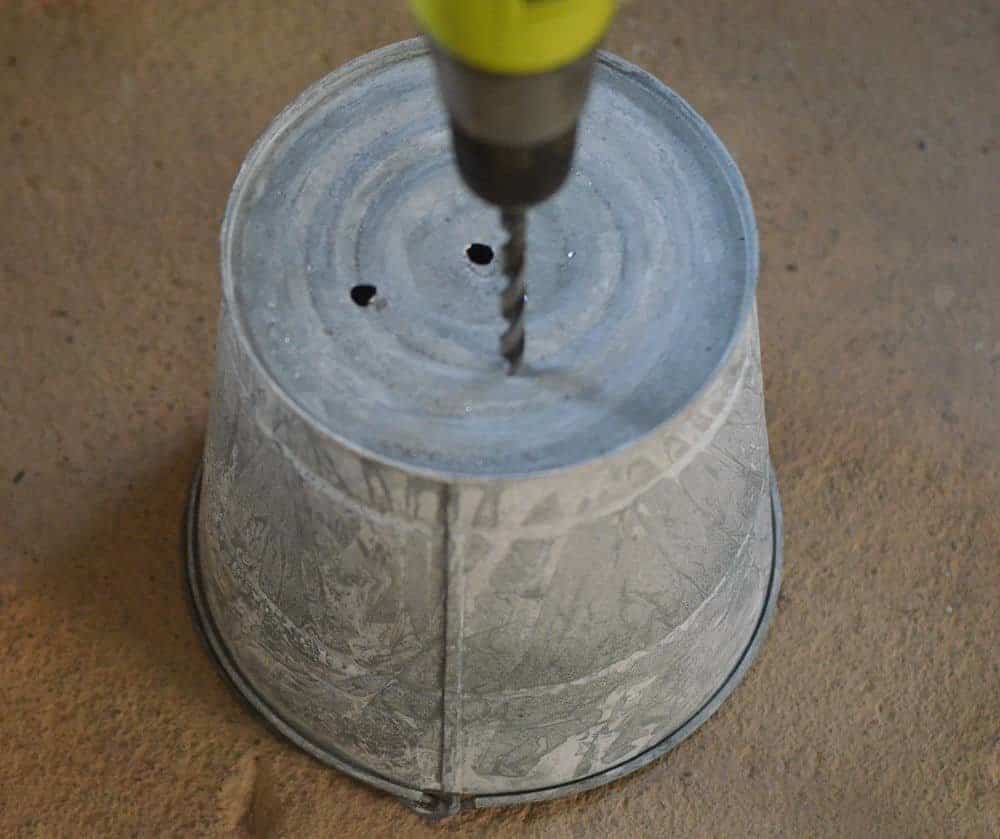
First, drill holes in the bottom of the pail for drainage.

After that, drill a couple of holes on sides. You can use a metal file to remove the sharp edges left from drilling the holes.

Next, remove the pail handle using the pliers.
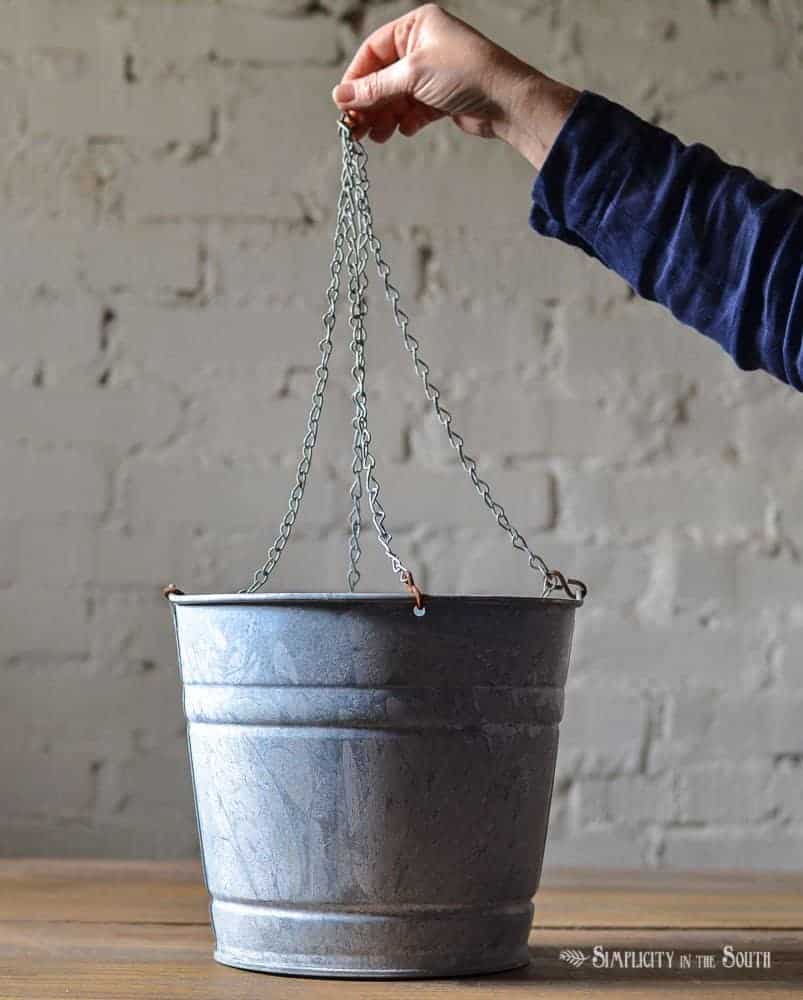
Cut the chain into (4) 12″ lengths.
Then attach the chain to the sides of the pails with S-hooks. Two of the S-hooks will go where the handle was attached and the other 2 will go in the holes you drilled.
The 4 pieces of chain fit onto another S-hook at the top. Clamp the S-hooks closed with the pliers.

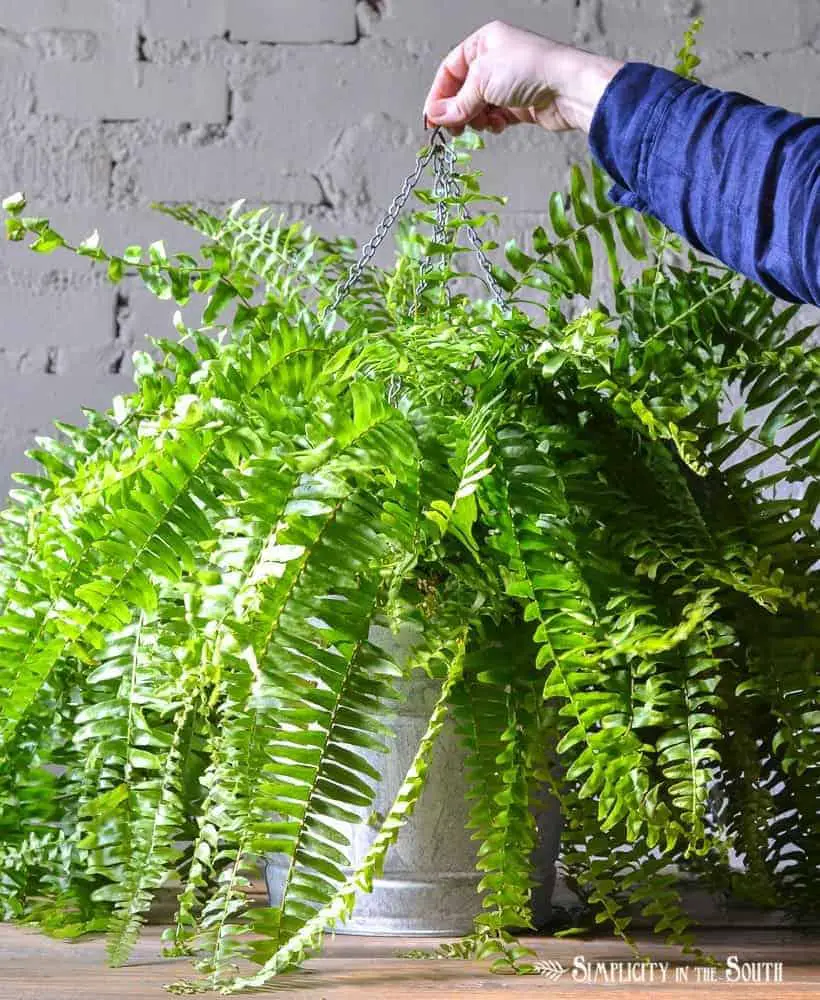
For big, fluffy ferns, leave one of the chains unattached until after you place the plant in the bucket.

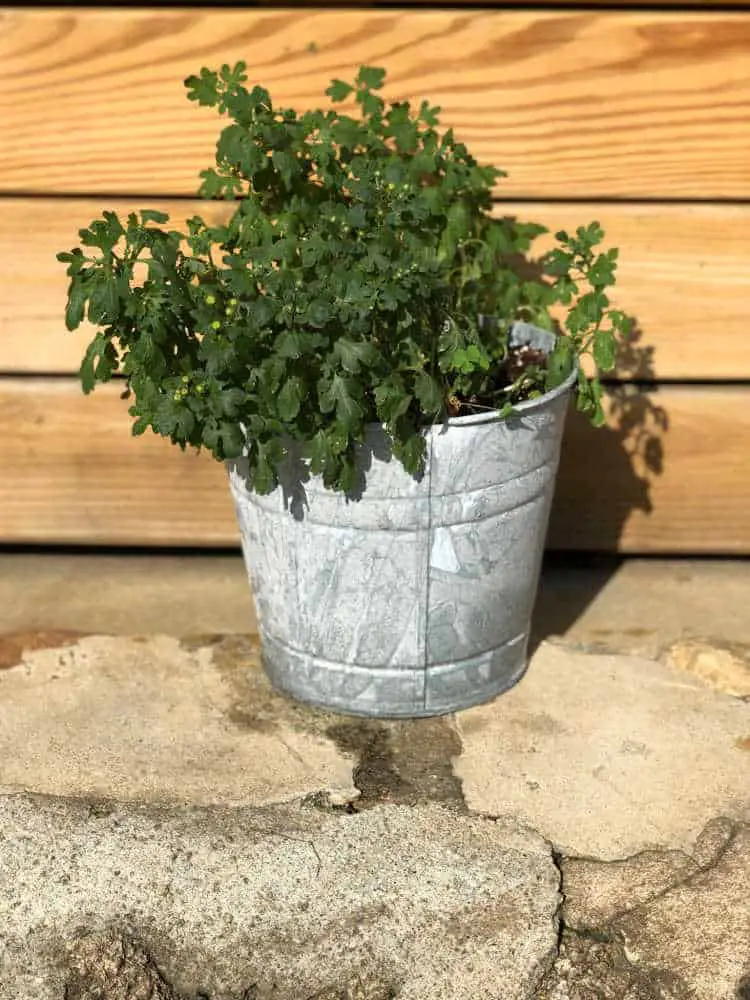
In the fall, I took the chains off and used the buckets for my mums. I’ve stored them over the winter in my basement window and the picture below is one that is getting ready to bloom again.

And there you have it! Two tutorials in one handy dandy post.
Whether you decide to just age some galvanized buckets or make a bucket into a hanging planter, I hope this gave you some ideas for decorating your porch this spring!
To see more seasonal decorating ideas, click this link.
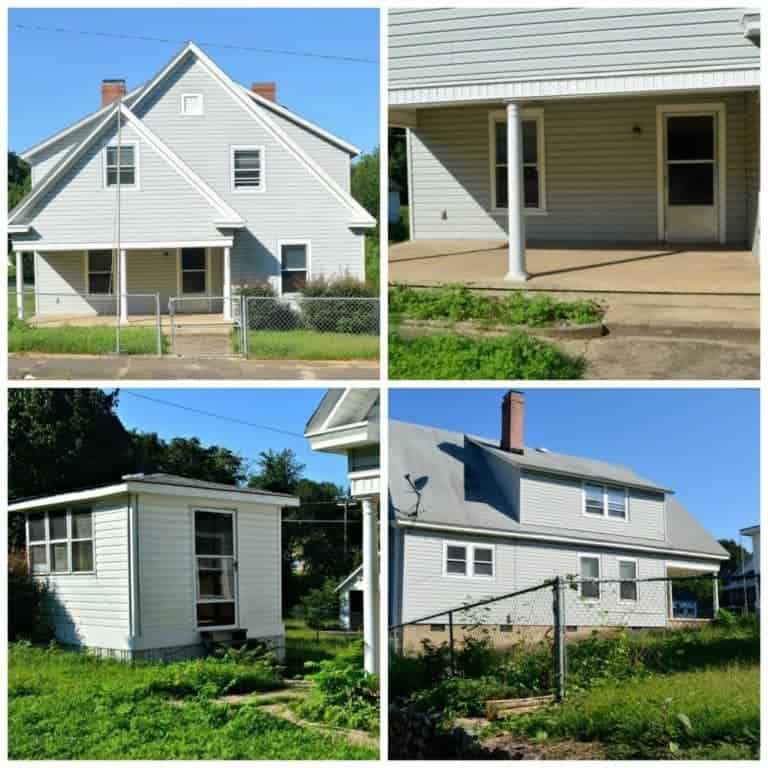
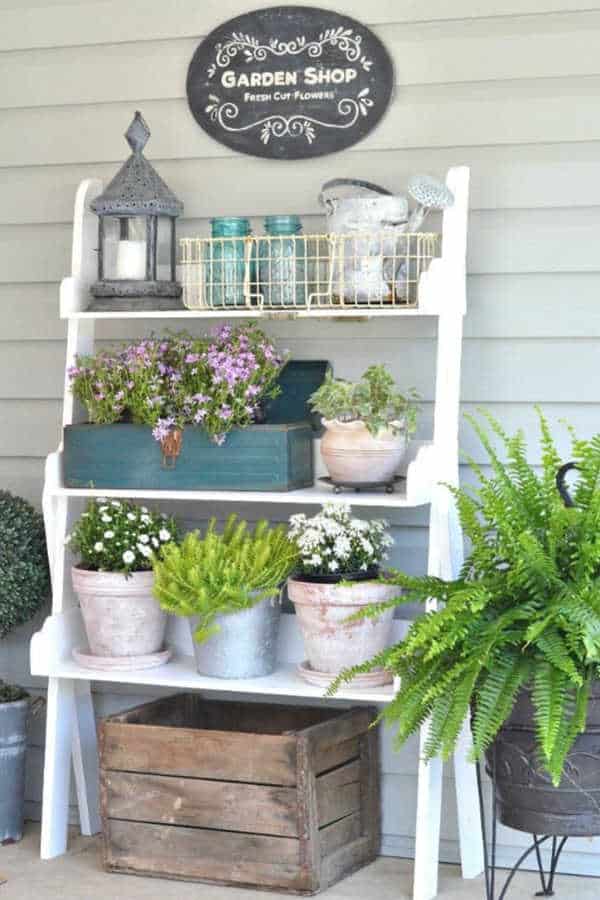
I have to admit, my front porch is far, far away from being ready for spring. The pictures of my porch in this post are from my last home tour. Thank goodness I took a gazillion pictures so I could choose from a few close-ups.
In the background is my stepdaughter’s cottage that was once a garden shed. It was in pretty bad shape when we started but it’s come all long way since the renovation.

So, tell me, is it a just a southern thing to have ferns hanging on the front porch or is it just as common where you live?
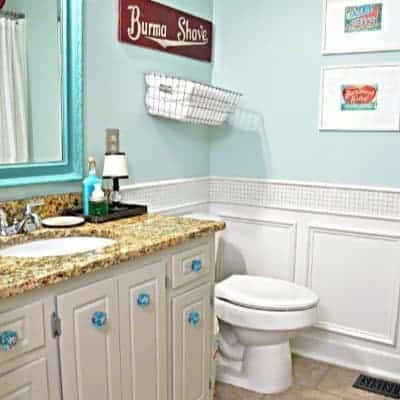
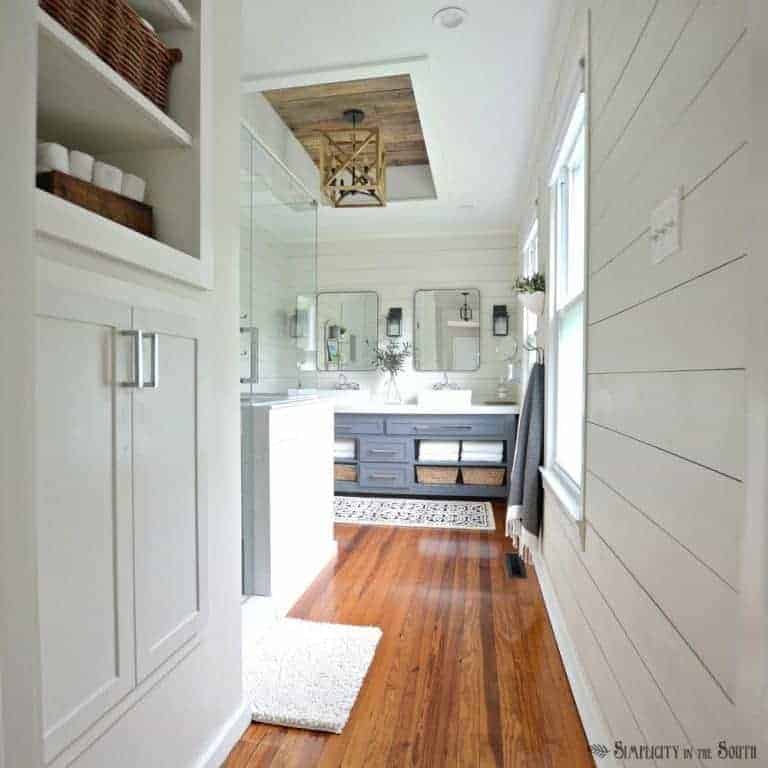
In just a couple of weeks, the One Room Challenge will begin. I’m super excited because we’re turning our old bathroom into a pantry. I’m also a little frantic because I still have wallpaper to remove and supplies to order before we get started. I hope you follow along!

RELATED POSTS:
DIY Galvanized Pipe Curtain Rods Made from Plumbing Parts
How to Decoupage a Galvanized Pail with Fabric and Mod Podge
PIN THIS IDEA FOR LATER

I’m sharing this project with some of my favorite blogs such as:
Dwellings of Your Heart & Home


Did you plant the ferns directly into the buckets or leave them in plastic nursery pots?
Hi Judy, I left the ferns in the nursery pots they came in. I’ve also used the pails to directly plant my mums into in the fall and they’ve done well. I like to keep my ferns in their original plastic pots because I bring them in the house in the winter and place them in baskets. Thank you so much for stopping by!
Wow! What a fantastic tutorial! These planters are beautiful! Thank you bunches for linking up and sharing with us this week! This is fabulous! xoxo
I love them ? I am going to do this, here in Australia, we are in “autumn” what you cal “fall”, so I will keep this idea to spring, and I will have these hanging too on my back veranda (porch)that looks over the paddocks.
Thanks for the Great idea ???
Hi Penny! I’m so glad you’re going to try this project out! Thanks for stopping by all the way from Australia.
I’m going to have to try this! And I love the ferns, we still have snow on the ground here in Oregon – so it might be a while before it’s time to put out the outdoor plants! visiting from the Saturday Sharefest link-up. 🙂
Hi Tiffany! I hope it warms up soon so you can try this out. Thanks for stopping by! I dropped by your blog and pinned your cute spice drawer idea.