Progress with the Master Bathroom Remodel: Up Goes the Drywall. Down Goes the Popcorn Ceiling
Things are moving along quickly with the master bathroom remodel. With family, jobs, and all the necessary being-an-adult stuff we have to do, we tend to be late-night and weekend warriors with our home improvement projects. But, I’m excited to say that we’re about 85% done with the master bathroom!
In case you missed the previous posts on the remodel, let me catch you up. We decided to turn the 144 square foot spare bedroom adjacent to the master bedroom into 3 functional spaces… a master bathroom, a walk-in closet and a half bathroom. Previously, the main bathroom on the first floor was down the hall from the master bedroom. You can see the before and after pictures of the floor plans in this link and then you can see all the ideas to make this space look pretty in this link.
So, let me show you all we’ve accomplished so far.
This is the spare bedroom before we started.
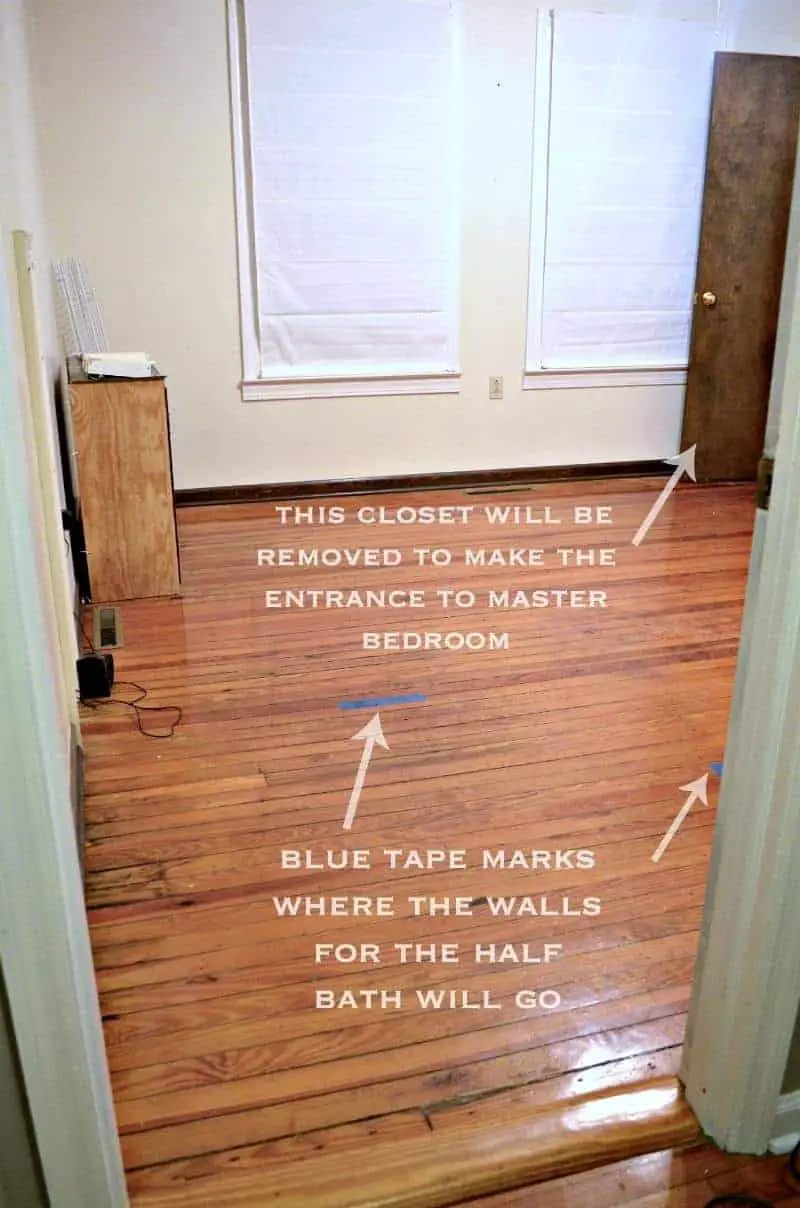 First on the list was demoing the back wall where the previous owners covered up the fireplace. We also removed the closets that flanked each side.
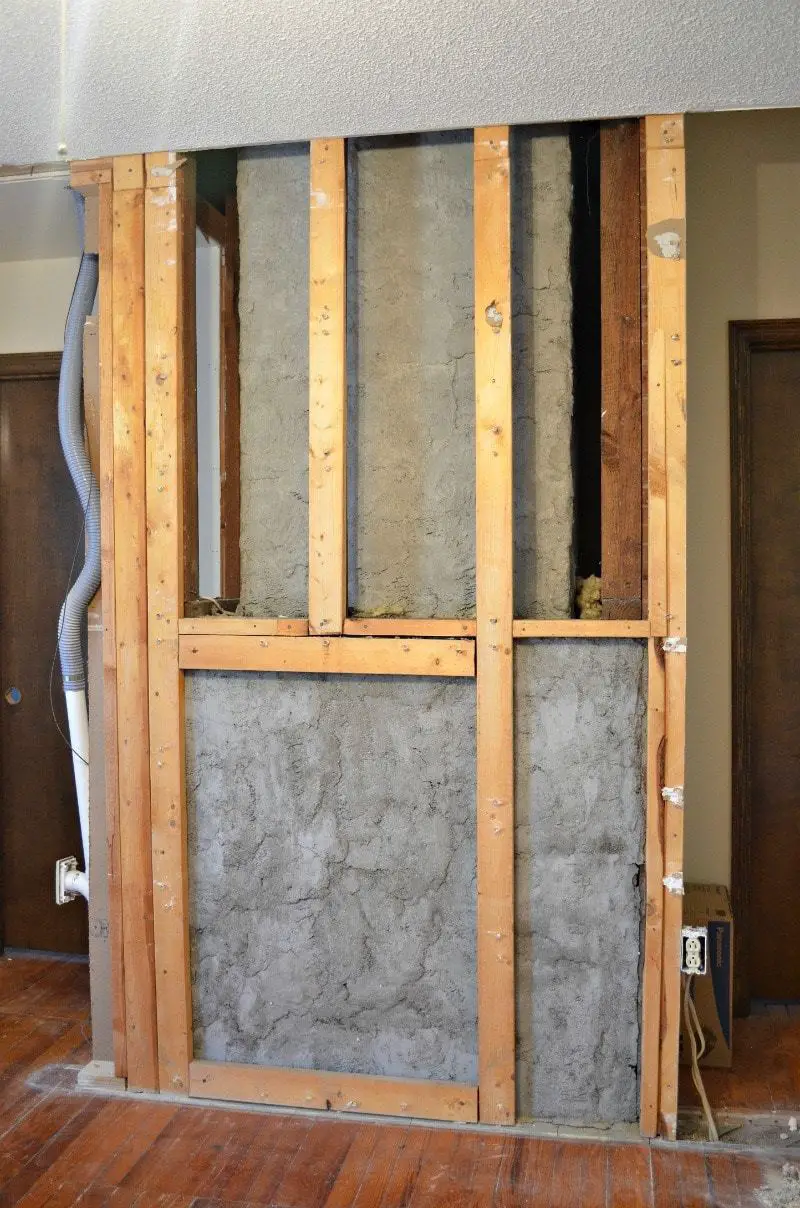
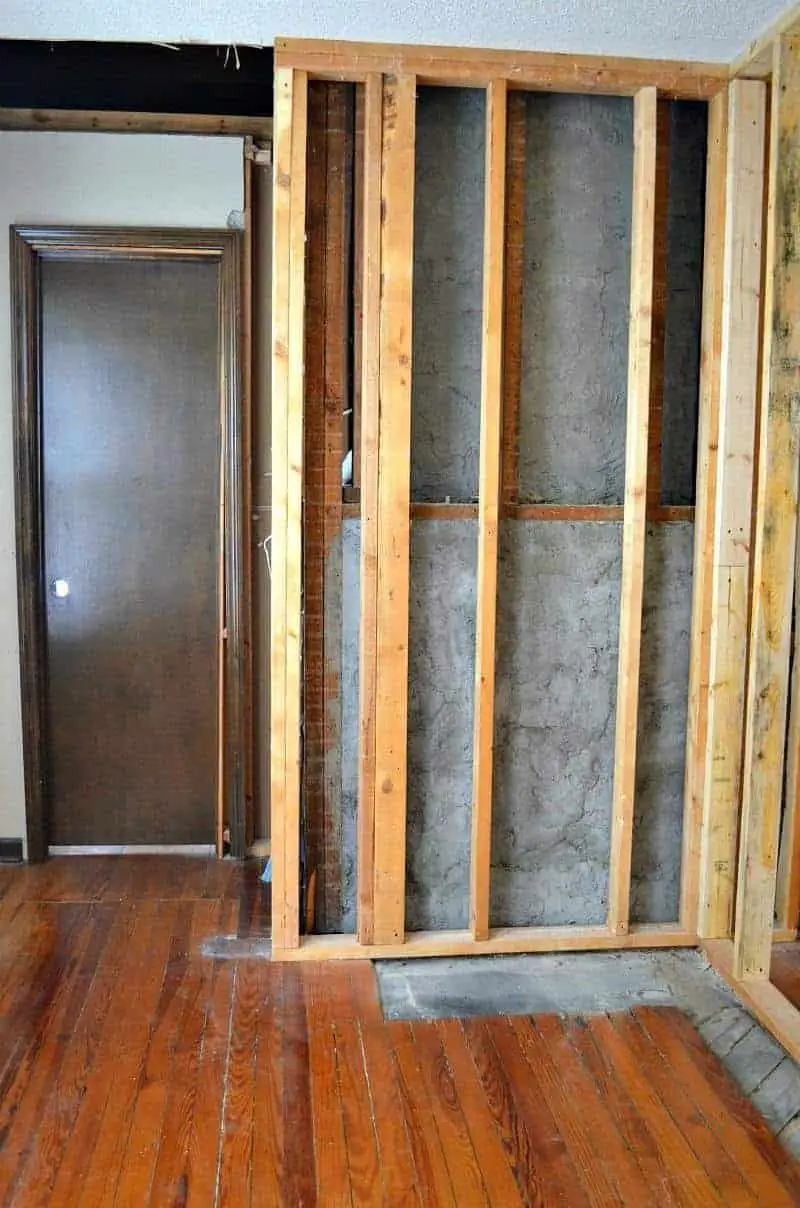
Then, we reworked the framing where the plumbing for the shower would go. This would allow the right depth for plumbing.
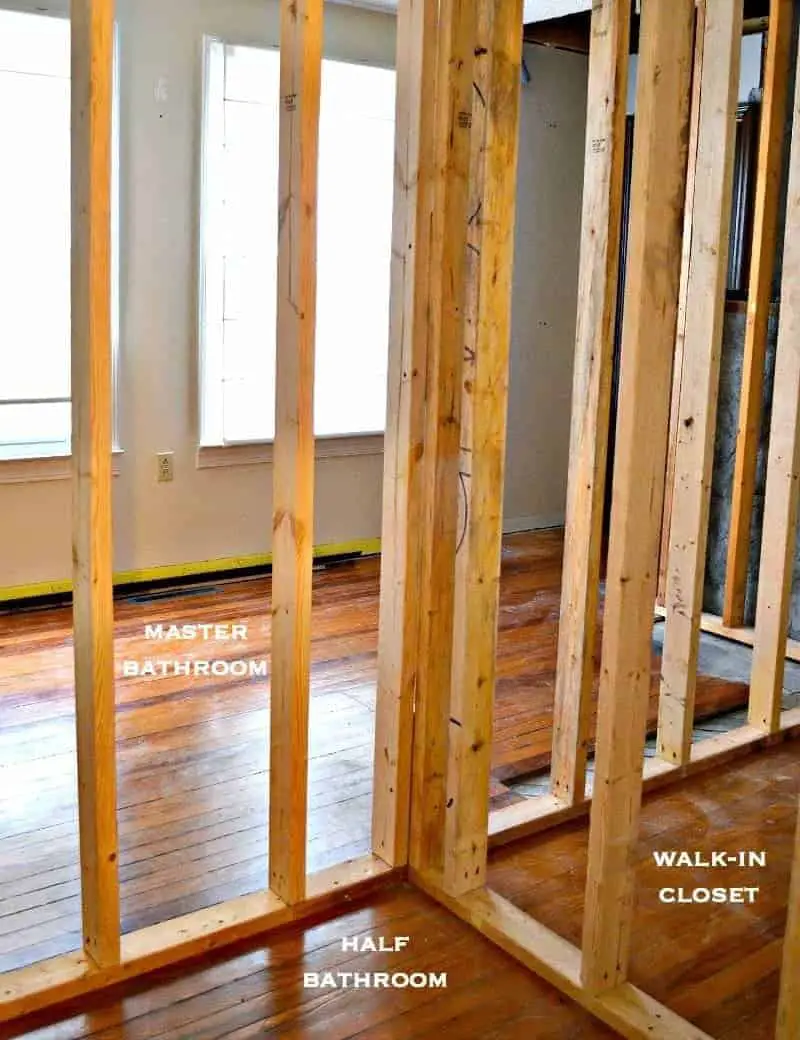
 We framed the walls that would become all three rooms. I’m still amazed at how much function we squeezed into such a small room.
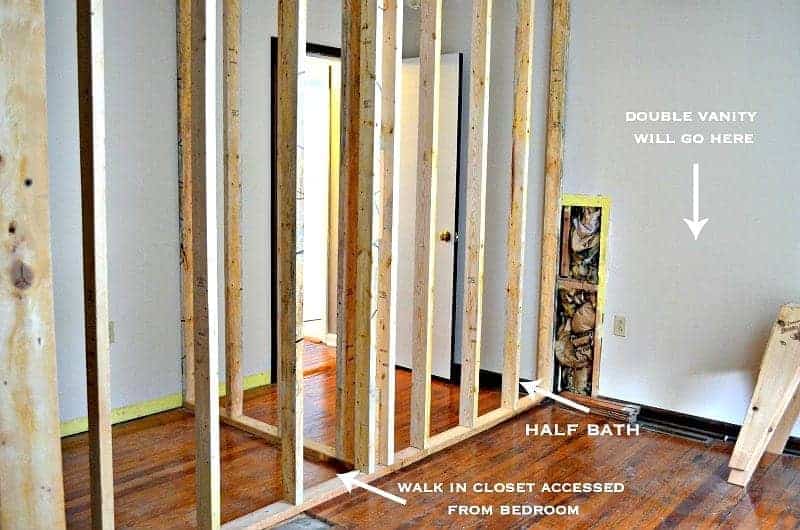
In order to figure out the minimal size we could make the half-bath, we used the diagram in this link.
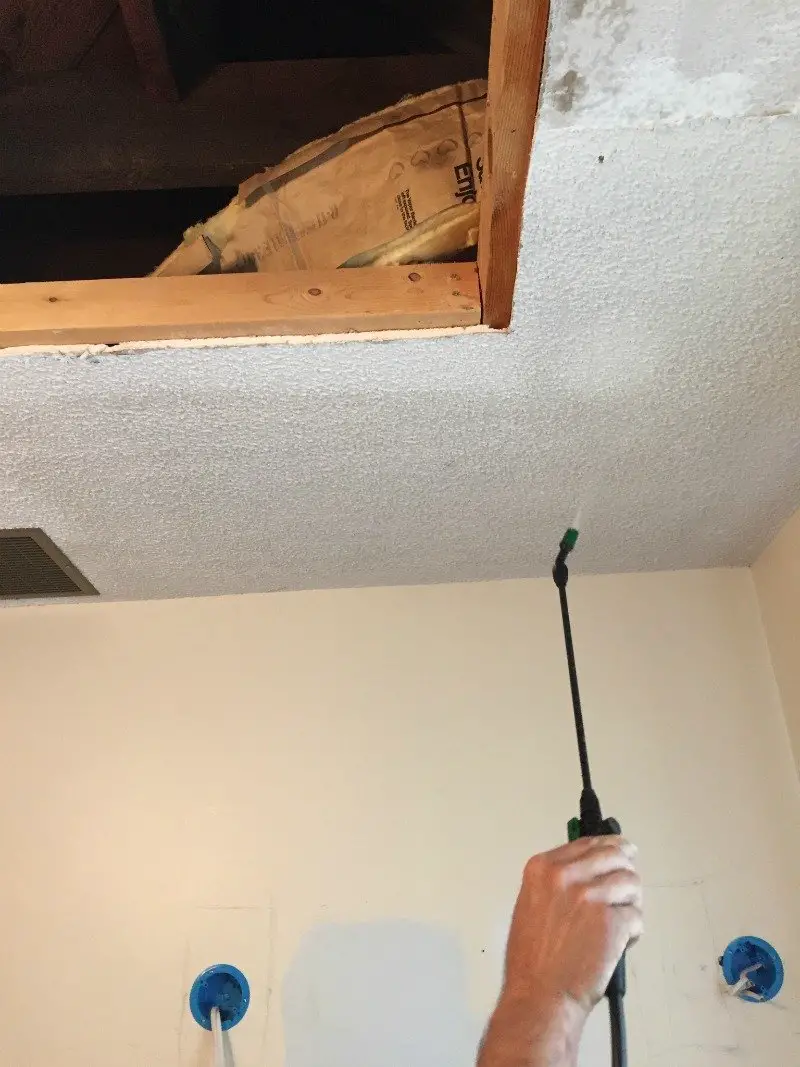
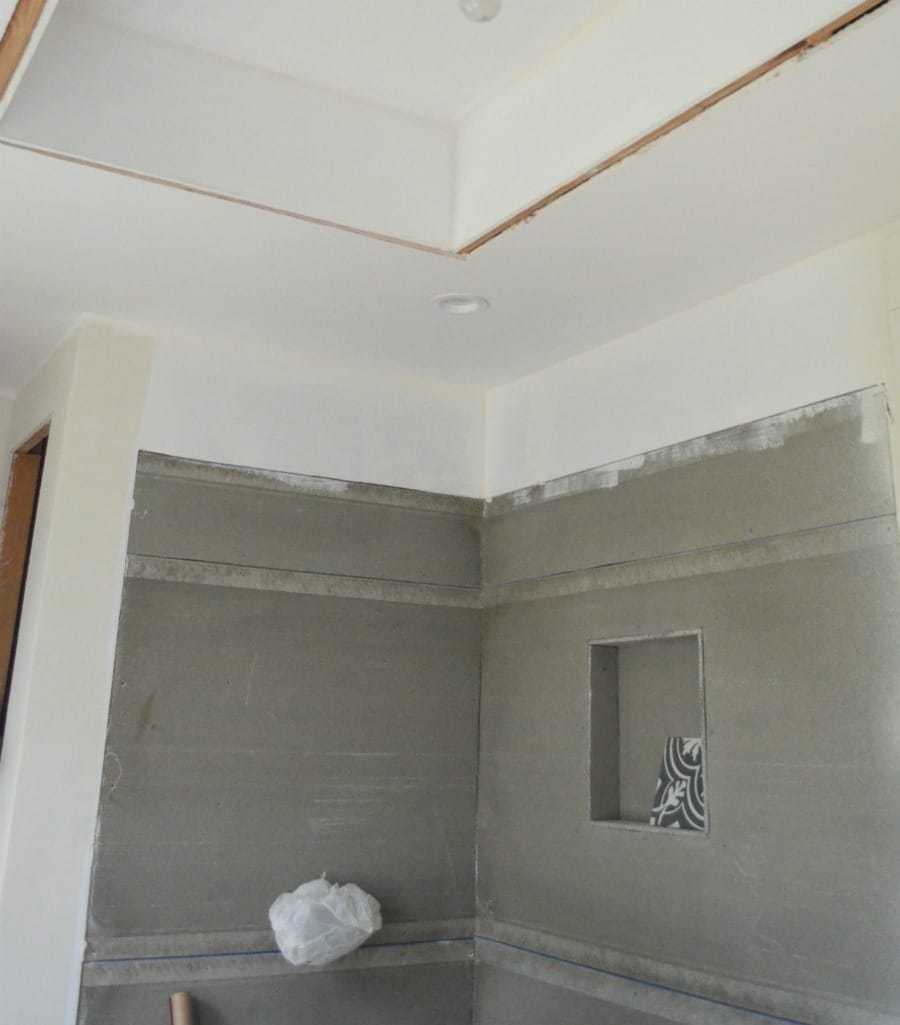
The previous owners lowered the ceilings but we wanted the feeling of more height. In order to do this but still have space for recessed lighting and plumbing for the bathroom on the second floor, we cut out the center of the ceiling to make a cove ceiling. It’s a good thing we did this because we realized the exterior wall was missing insulation. No wonder that room stayed so cold!

Next on the list was removing the popcorn ceiling. Jason used a garden pump sprayer to wet the ceiling down.
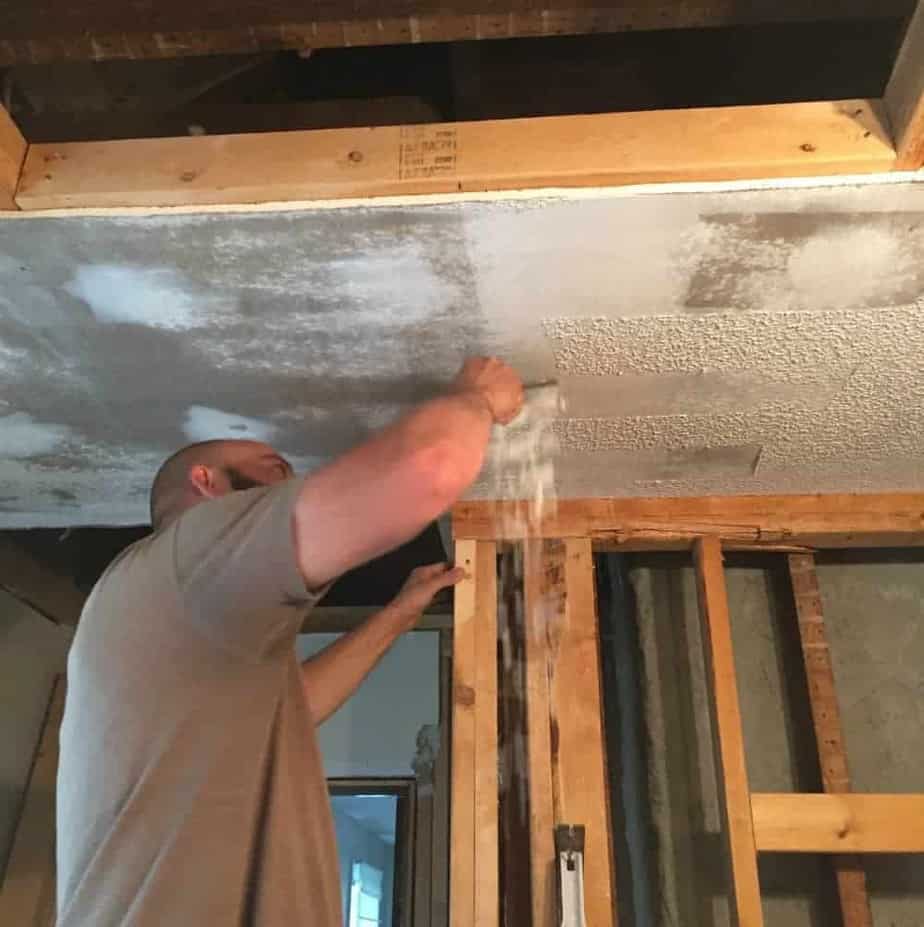
Then he knocked the popcorn ceiling down with a spackle knife. It’s amazing how such a quick process makes a room look less dated.
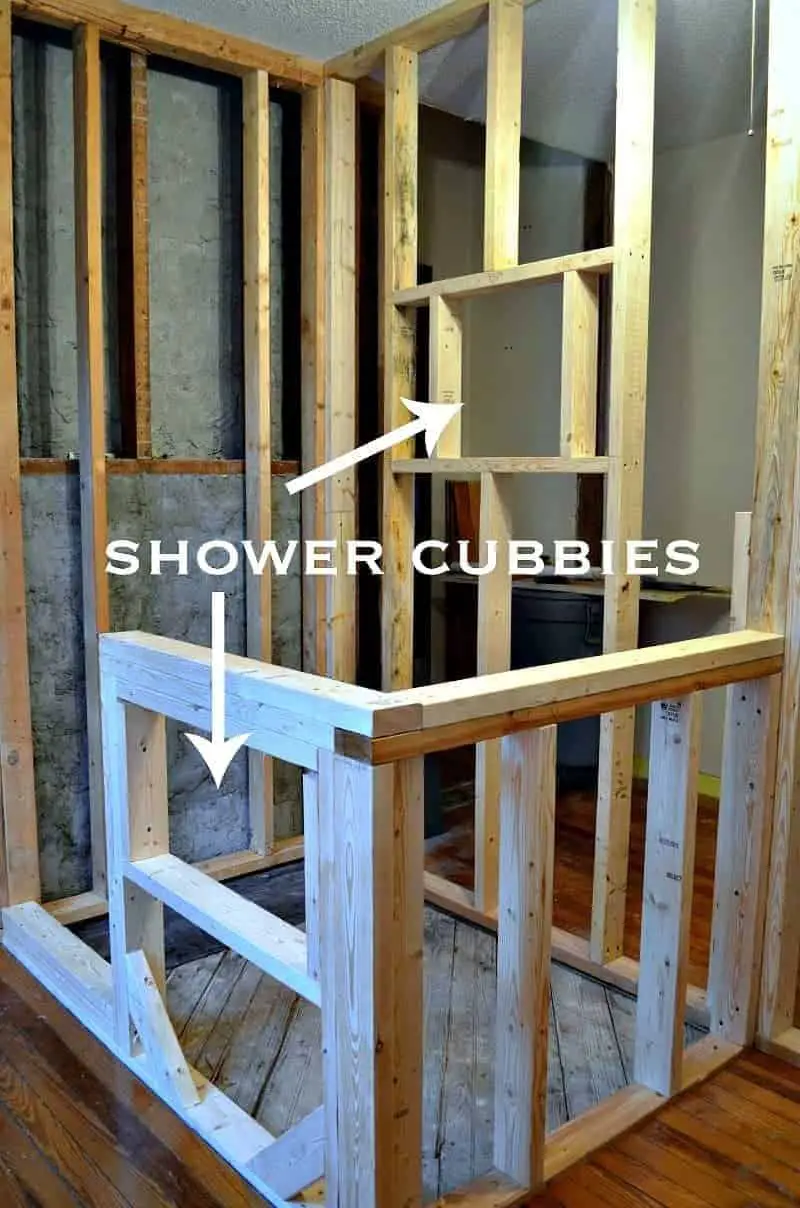
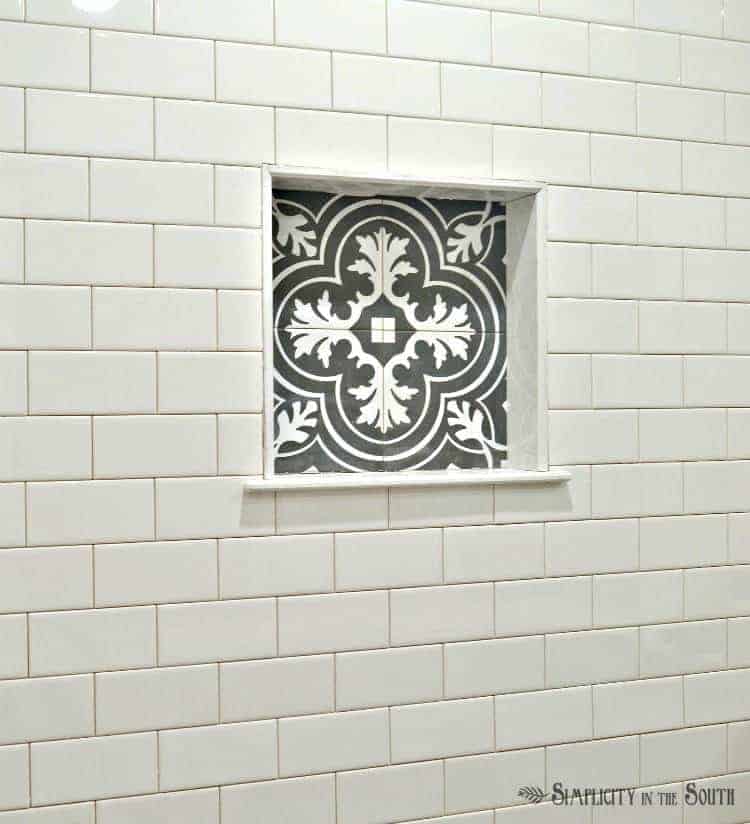
Is it wrong for me to be this excited about these two shower cubbies? ? The lower cubby will be hidden from view so the shower can deceivingly look neat and tidy.
Jason lined the shower floor and poured the mud bed. You can’t tell from the photos, but the shower floor goes on a slight decline down to the drain.
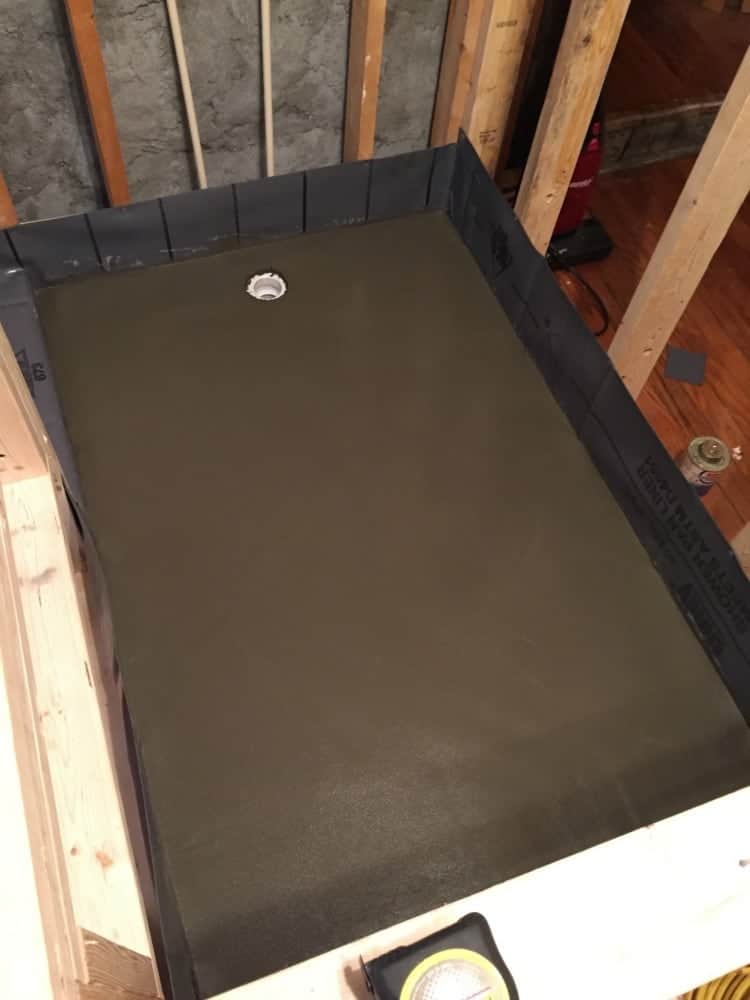
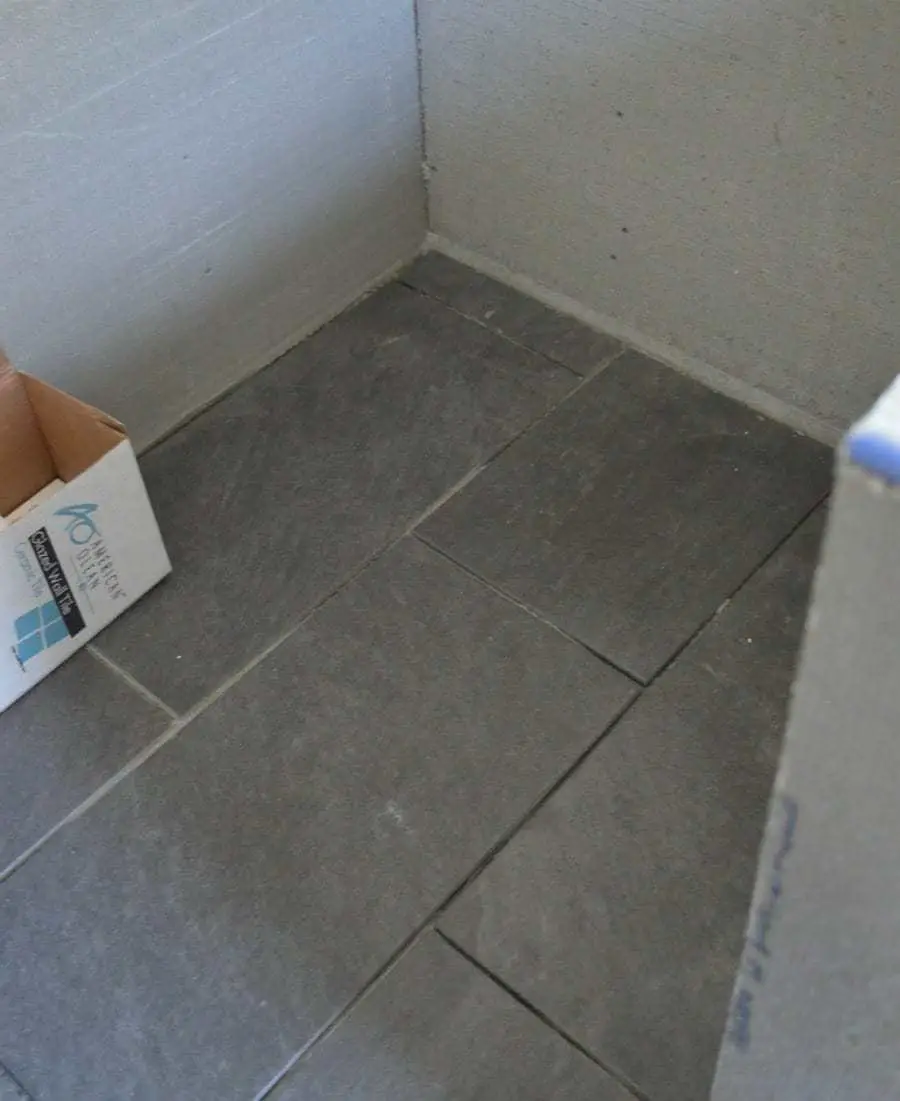
We chose an infinity drain so we can lay large format tile. We’re using these 12″ X 24″ tiles from Lowes that look like slate but have the durability of porcelain.
Once the drywall went up, my vision for the room really started to come together.
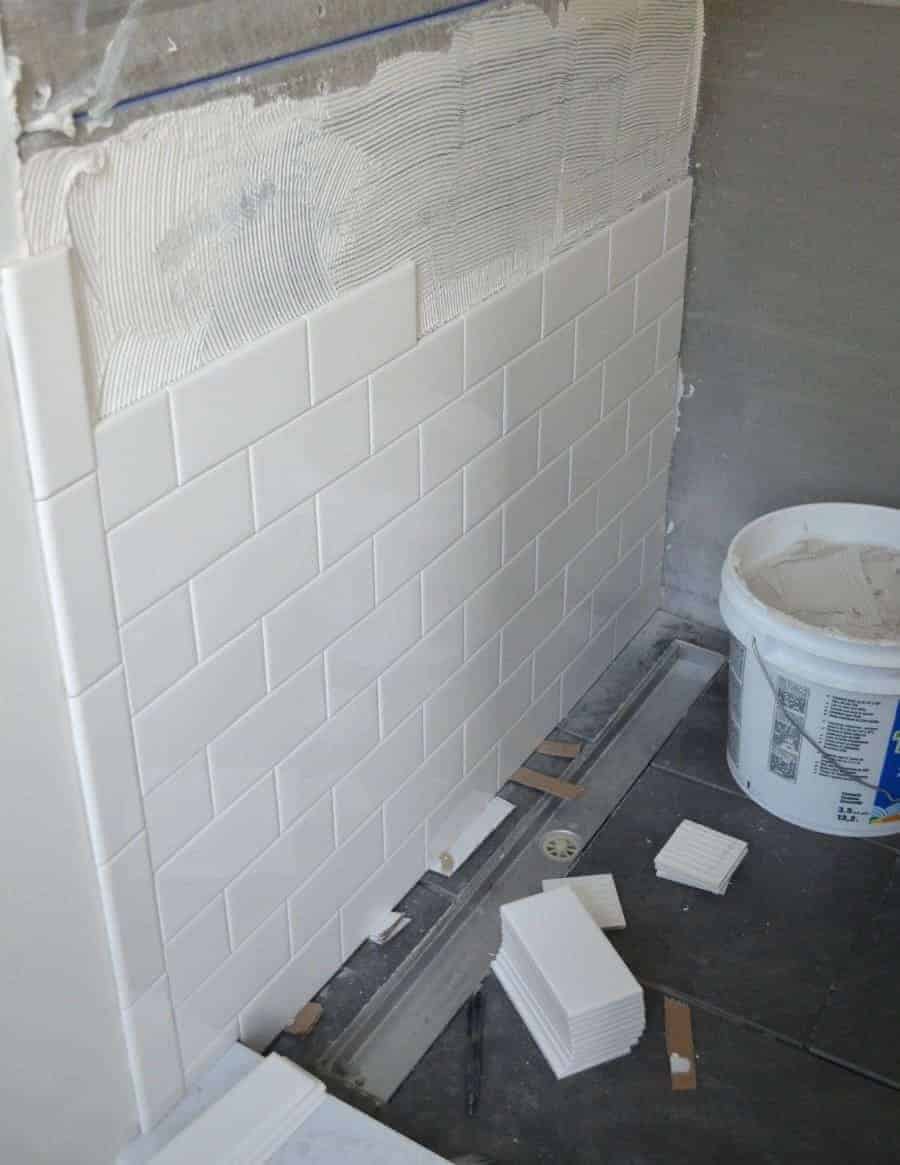
I love the simplicity and timeless beauty of white subway tile. The price fit well into our budget.
The dark gray and white patterned tile inset in the upper cubby is my favorite part of the room so far!
I honestly can’t wait to show you the afters of this room. We are so close to the finish line. But first, we have a few more things to cross off the list such as shiplap-ing the walls, building the vanity, making the mirrors, making the chandelier and what I’m most excited about DIY’ing…the concrete countertops!

Stay tuned for next Tuesday’s Spring Home Tour when I’ll be teaming up with 25 other bloggers to show simple ways to decorate your home for spring!
Catch up on all the posts and projects that went into our master bathroom remodel here:
So Long, Spare Bedroom…Hello, Master Bathroom, Walk-in Closet and Half-Bathroom
Eclectic Farmhouse Master Bathroom Inspiration and Mood Board
Progress with the Master Bathroom Remodel: Up Goes the Drywall. Down Goes the Popcorn Ceiling
Shiplap Walls- 5 Reasons to Use Exterior Plywood Instead of Luan Underlayment
Shiplap Walls for the Master Bathroom: Tutorial & Tips
The Modern Farmhouse Master Bathroom Reveal: Turning a Bedroom into an En Suite Bathroom