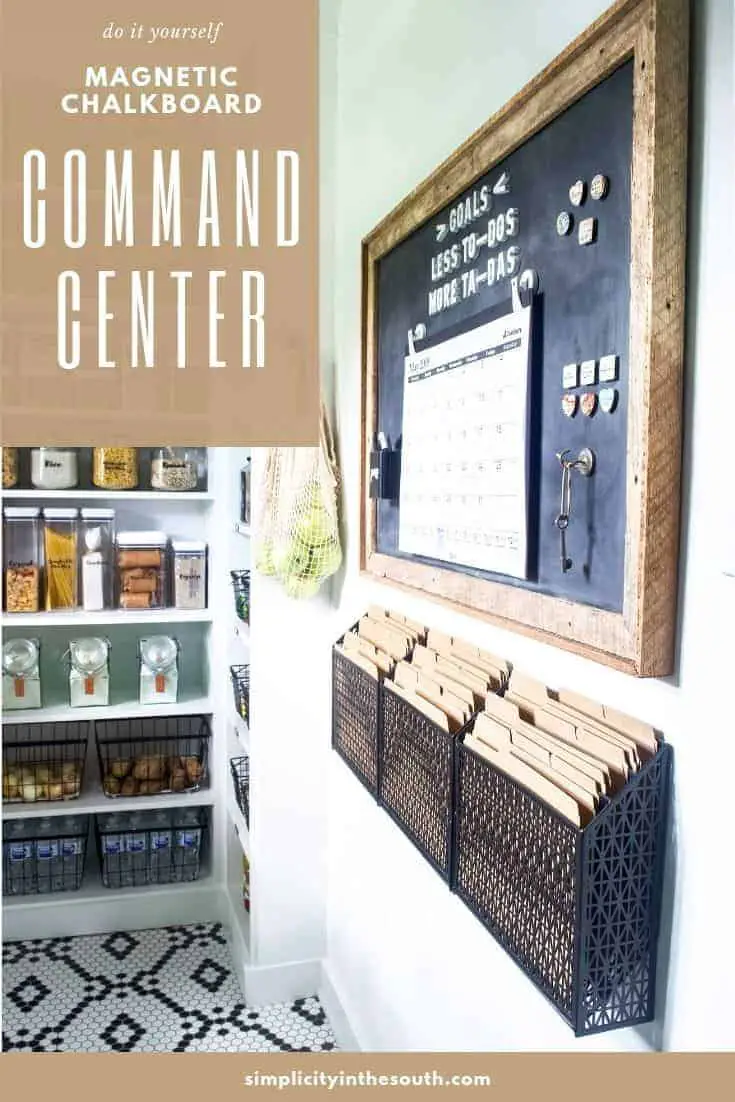
How to Make a Framed Magnetic Board + Command Center: ORC Week 4
Progress on the pantry remodel for the One Room Challenge seems to be rolling along at lightning speed! Before I show you how we made a magnetic memo board for the command station, let me update you on what all we’ve gotten done so far. It’s been a busy 7 days!
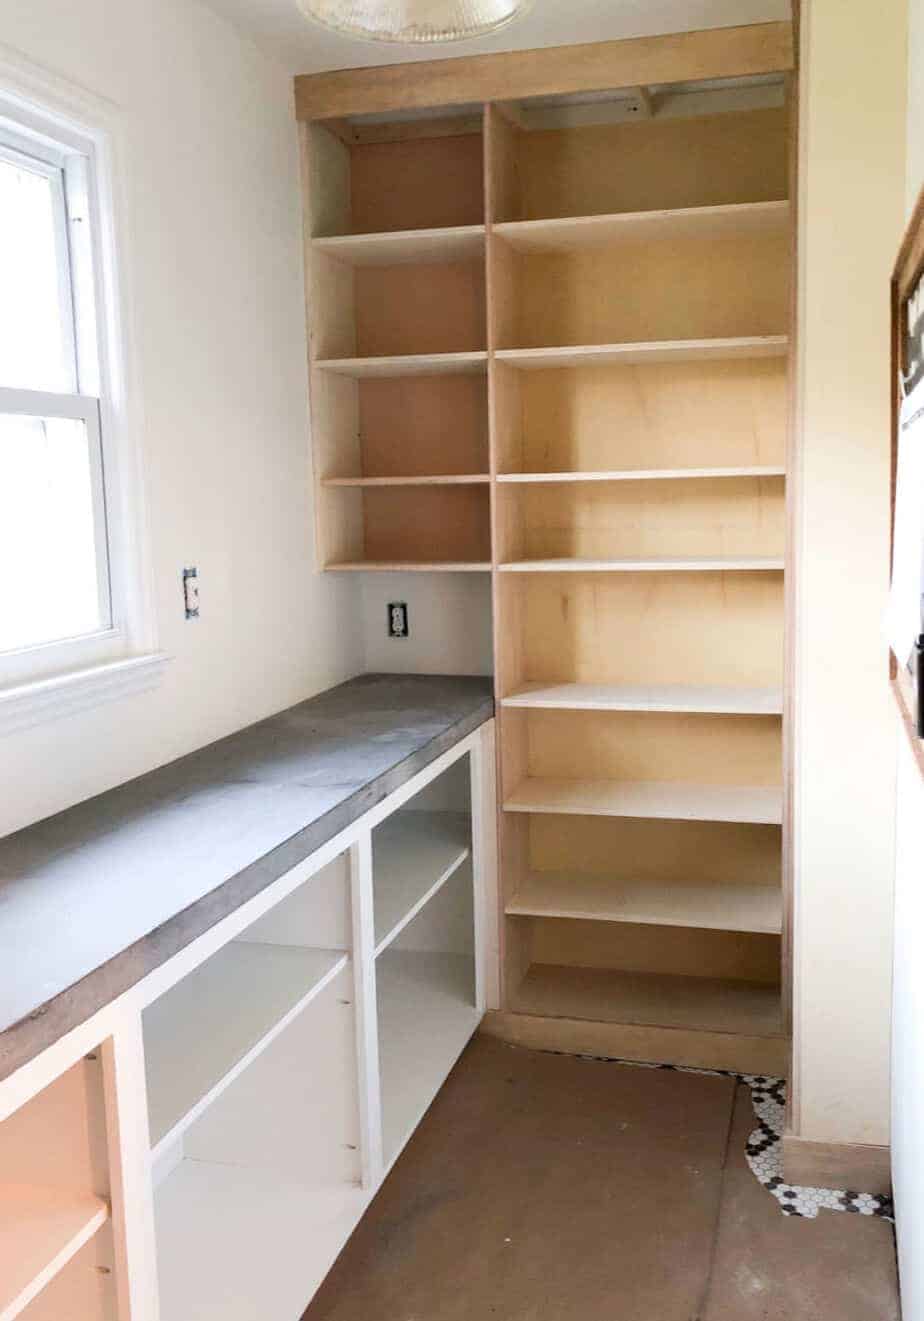
This past week, Jason built the open shelving for the back wall of the pantry and finished the doors for the cabinets he made last week. Then, Saturday night we had a DIY date pouring the concrete countertop for the lower cabinets. I’ve painted the cabinets since this picture was taken and can’t wait to show you how they turned out in the reveal!
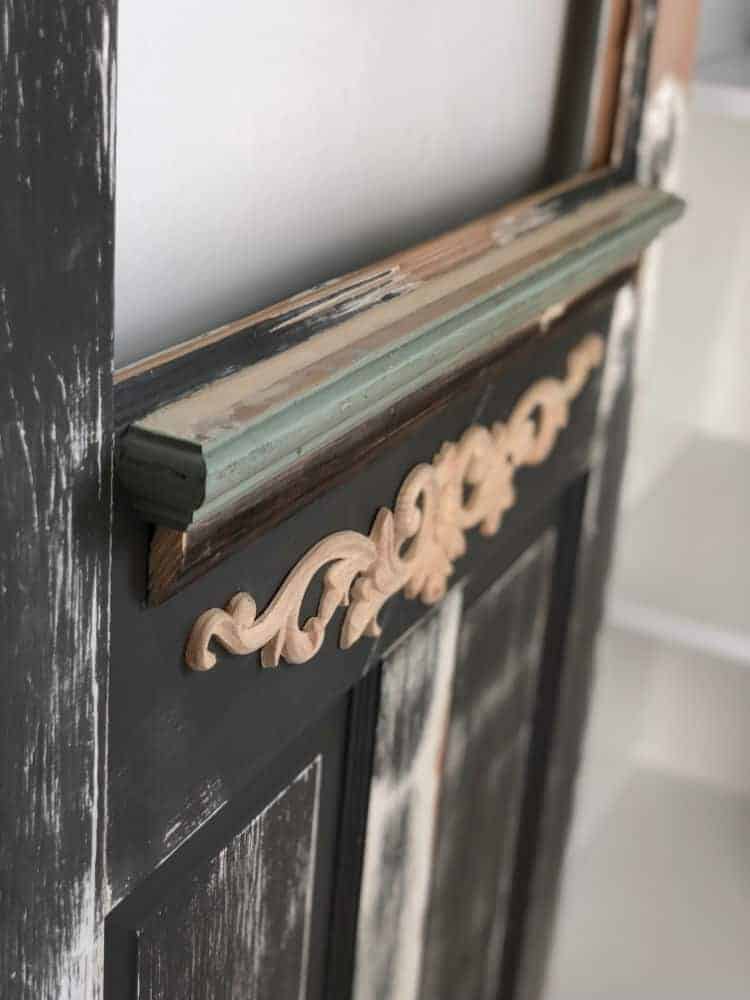
As much as I’d love to show you how the pantry door looks with textured glass in it and painted, I’ll save that for a tutorial. We added some detail using molding we had in the garage after we cut out the top panel.
Jason also welded the shelving unit for the pantry window where I’ll be able to have an herb garden, but I’ll save those pictures for a later date since I have a tutorial to go with that as well. It’s so darn pretty that I had to share it with my mom who loves to garden and has rubbed off some of her green thumb on me.
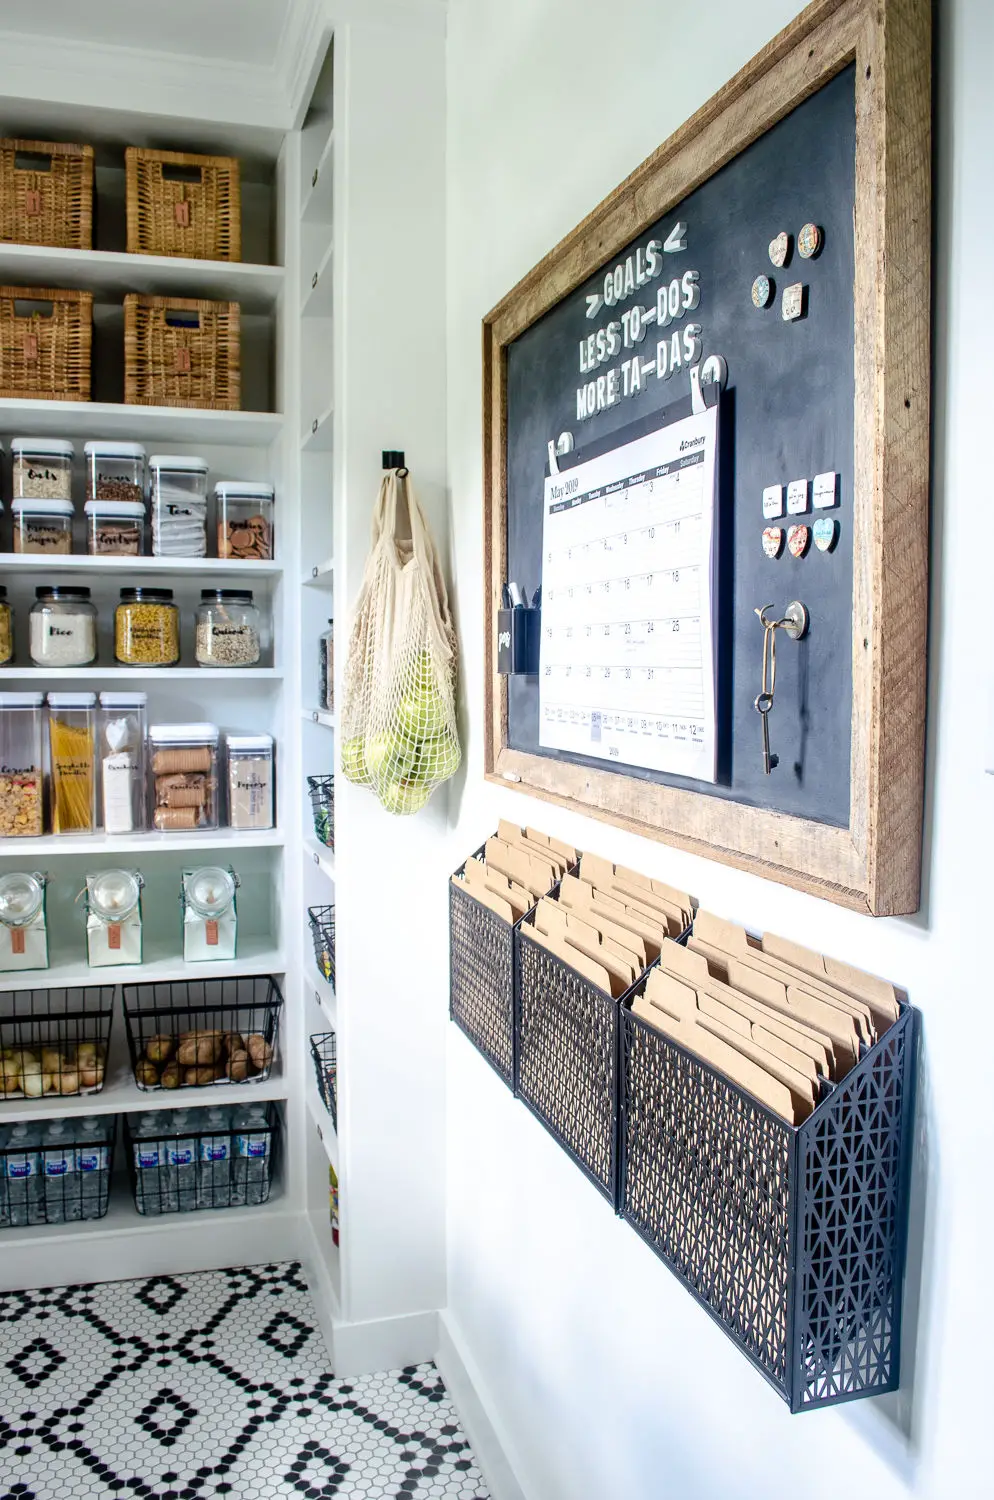
One of the projects I’ve been wanting to make (but never had a place to put it) is a command center with a magnetic board. There’s a 5-1/2 foot blank wall in the pantry so it was calling for something substantial. And Lord knows, I need to keep organized with everything we’ve got going on with the family, the blog, and our Etsy shop. Since it’ll be in the pantry instead of the kitchen, guests will be less likely to see all the chaos that’s happening in our schedules.
The memo board we made is 26″ x 38″ but you can make a smaller one by cutting down the sheet metal with tin snips.
- Affiliate links are included to help you find the materials you need. See my full disclosure here.
MATERIALS TO MAKE A FRAMED CHALKBOARD MAGNETIC BOARD:
- 120 grit Sandpaper
- Black metal primer
- Black Chalkboard Paint
- 24″ x 36″ galvanized sheet metal (found in the aisle where they sell HVAC duct)
- 1/2″ plywood cut to 25″ x 37″ (one inch larger on the width and length than the sheet metal)
- Spray Adhesive
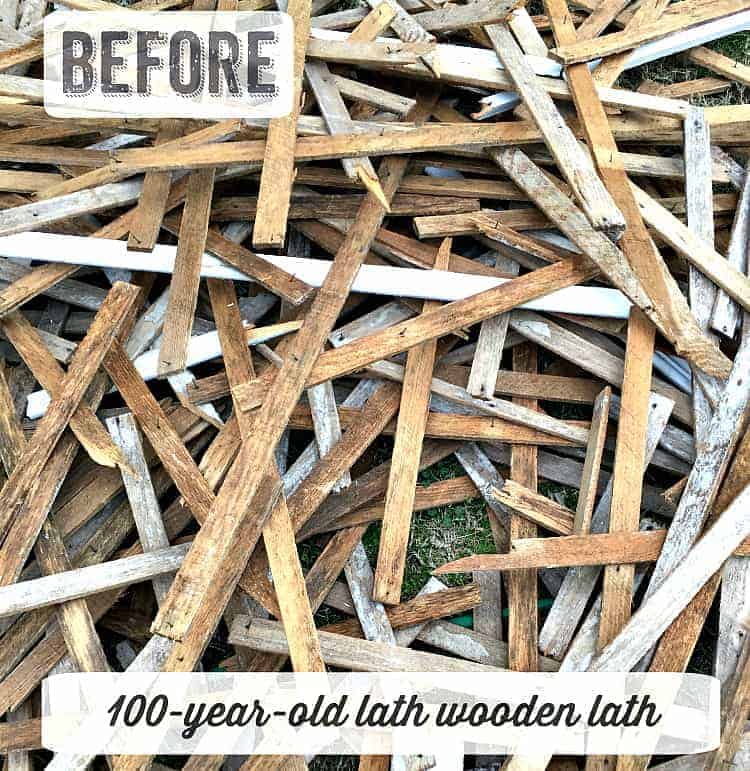
- 1-1/2″ wide wood strips (We used salvaged 100-year old lath that our neighbor gave us. You can find salvaged wood lath on Etsy or you can use lattice molding instead)
- Large D-rings
- Wood Glue
- 3/4″ Nails
HOW TO MAKE A FRAMED MAGNETIC MEMO BOARD:
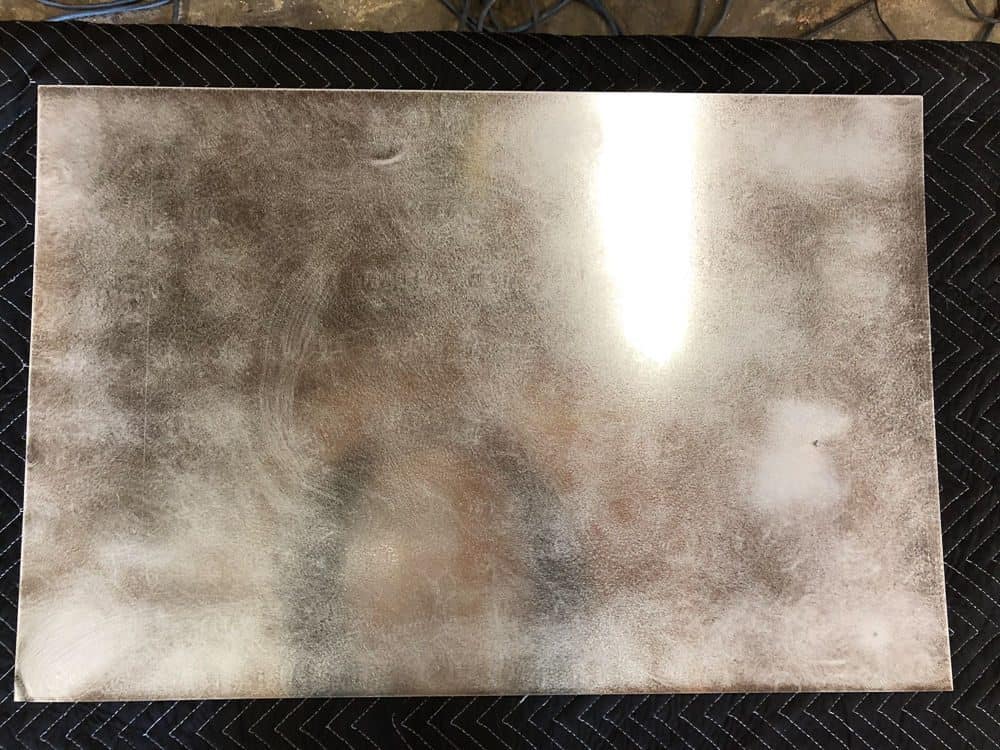
The day before we began the project, I roughed up the galvanized sheet metal with some sandpaper and painted it with 1 coat of black primer and 2 coats of chalkboard spray paint.
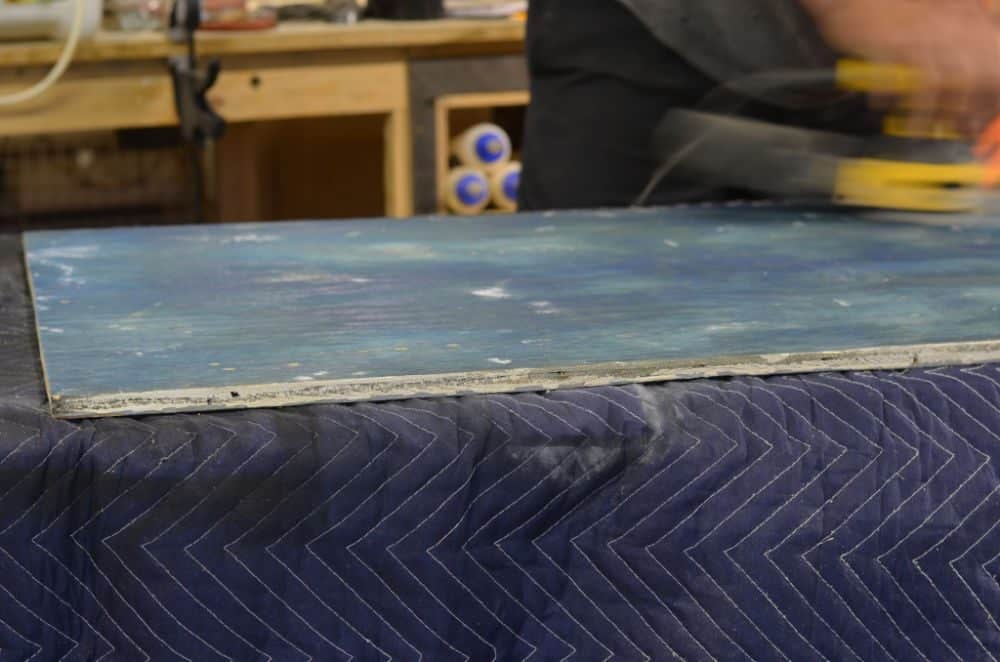
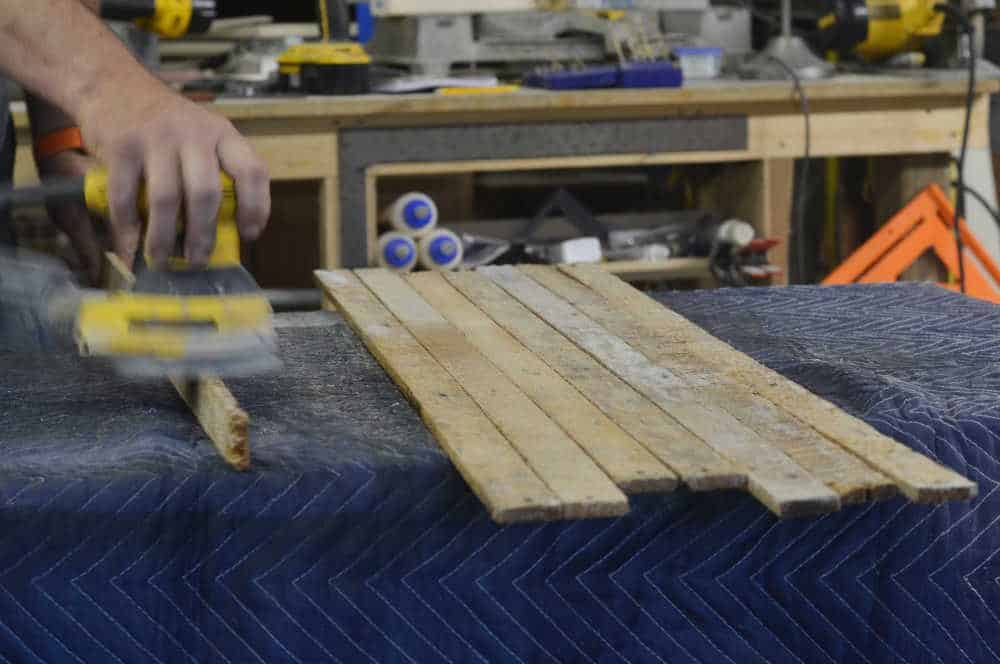
Next, Jason cut the sheet of 1/2″ plywood down to size. We had a scrap piece in the garage, so it needed to be cleaned up by sanding off some of the old paint. If you don’t have a table saw, you can have the guys at the home improvement store cut the plywood down for you.
Then, we sprayed the backside of the sheet metal and the plywood with spray adhesive and let it sit for 5 minutes until the glue was tacky.
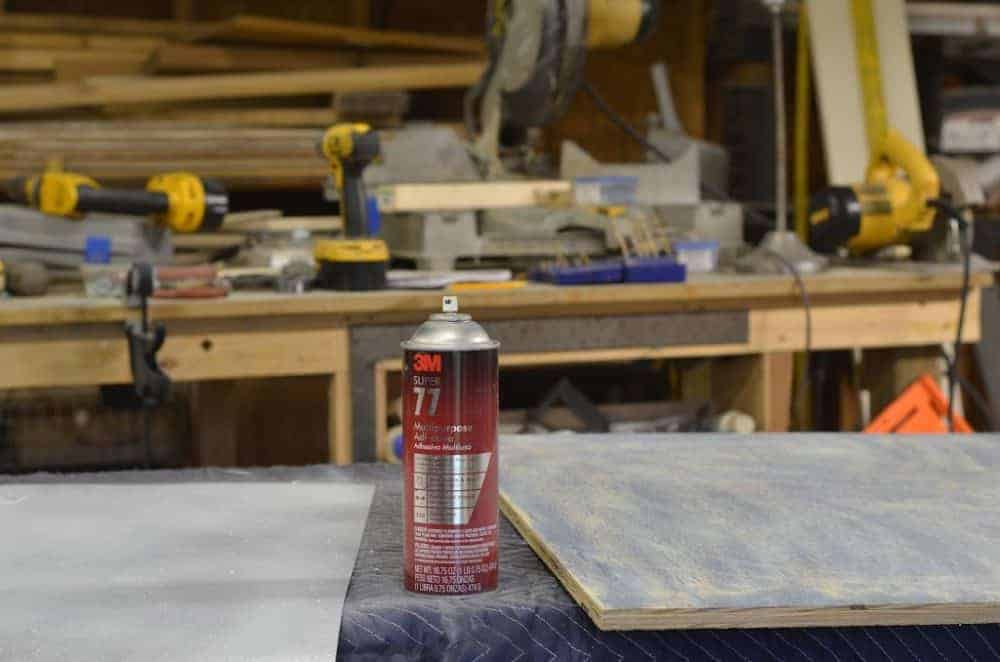
After that, we adhered the metal to the plywood.
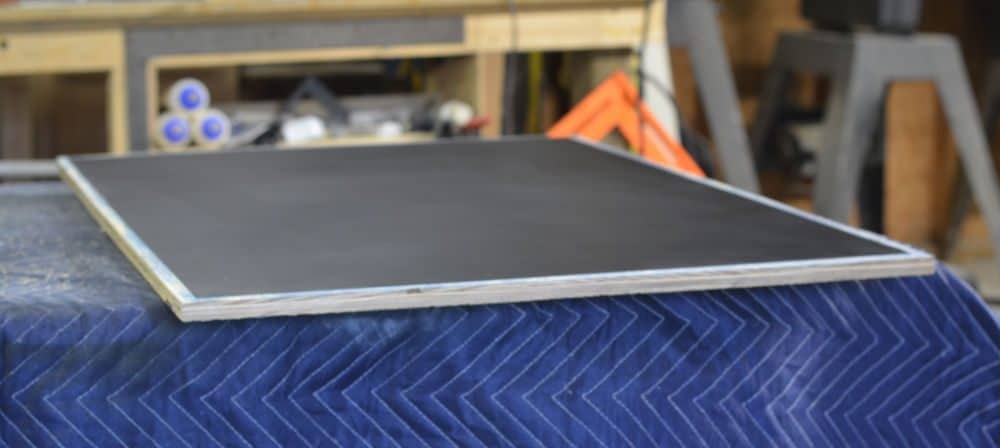
We pulled from our stash of wooden lath strips to make the frame. They’re the same ones I used to make the poster hangers for my oldest son’s room. Lath was used back in the day of plaster walls and ceilings. You can find it on Facebook Marketplace, Etsy, or even in the dumpster where remodeling of Pre-Mid-Century modern homes is happening.
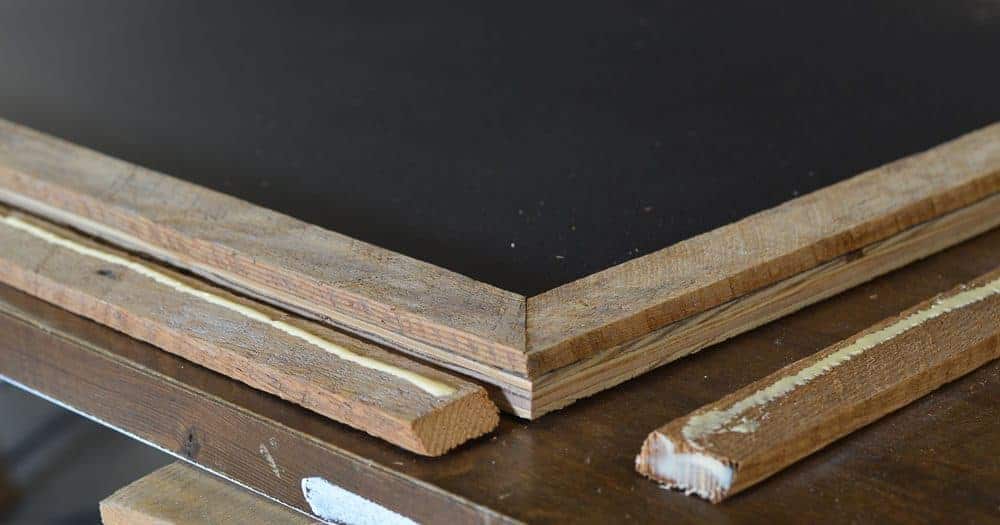
Next, we made a frame by cutting the lath down to size and adhered it to the front and sides with wood glue and 3/4″ nails. Then, we attached the D-rings to the back.
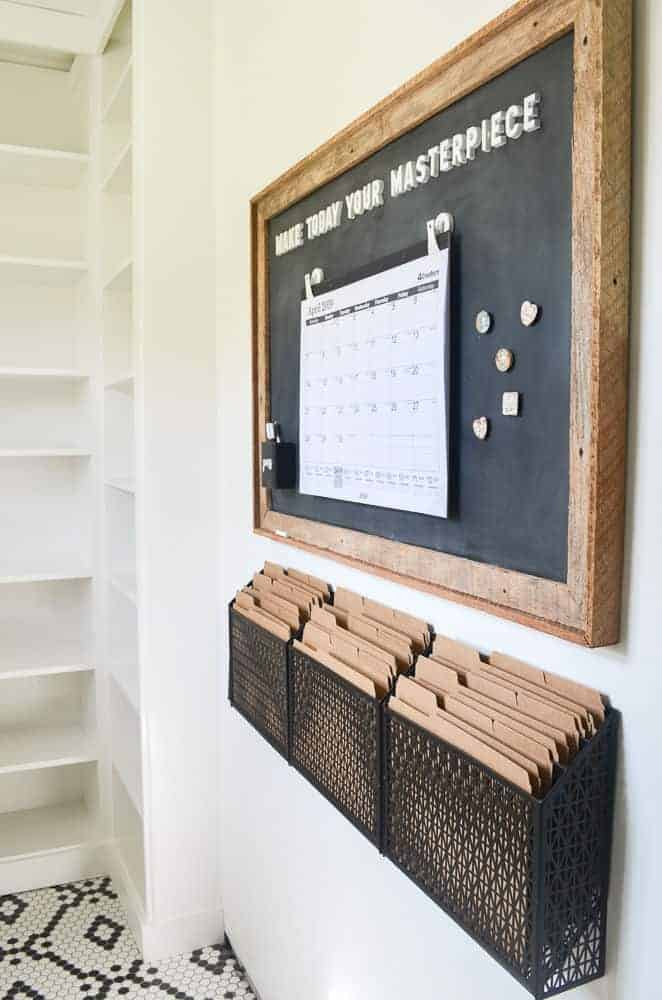
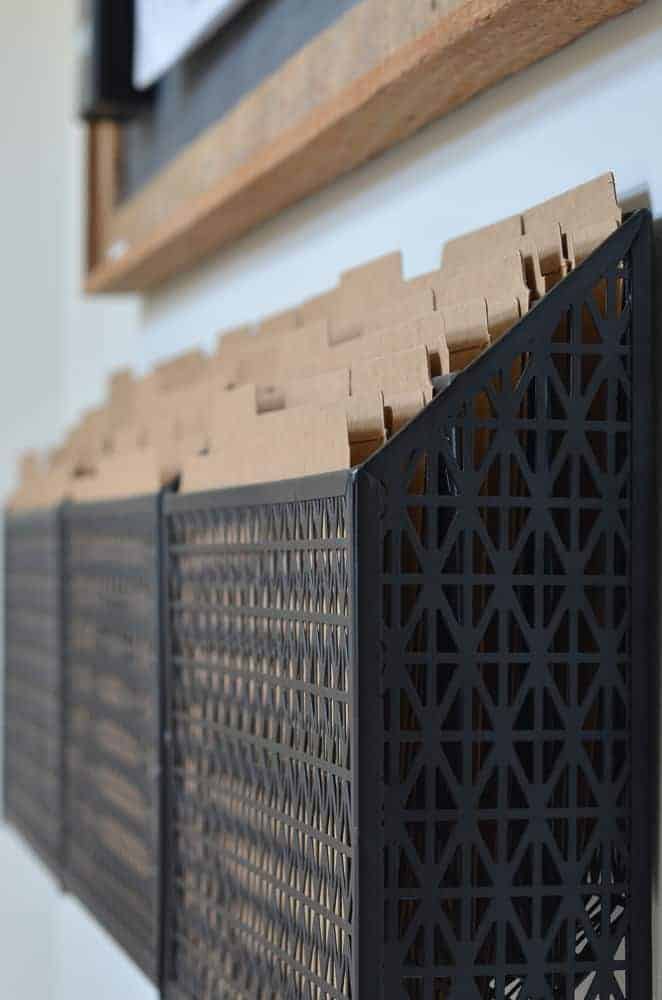
The diamond pattern in the file folder holders mimics the diamond pattern in the black and white hexagon tile.
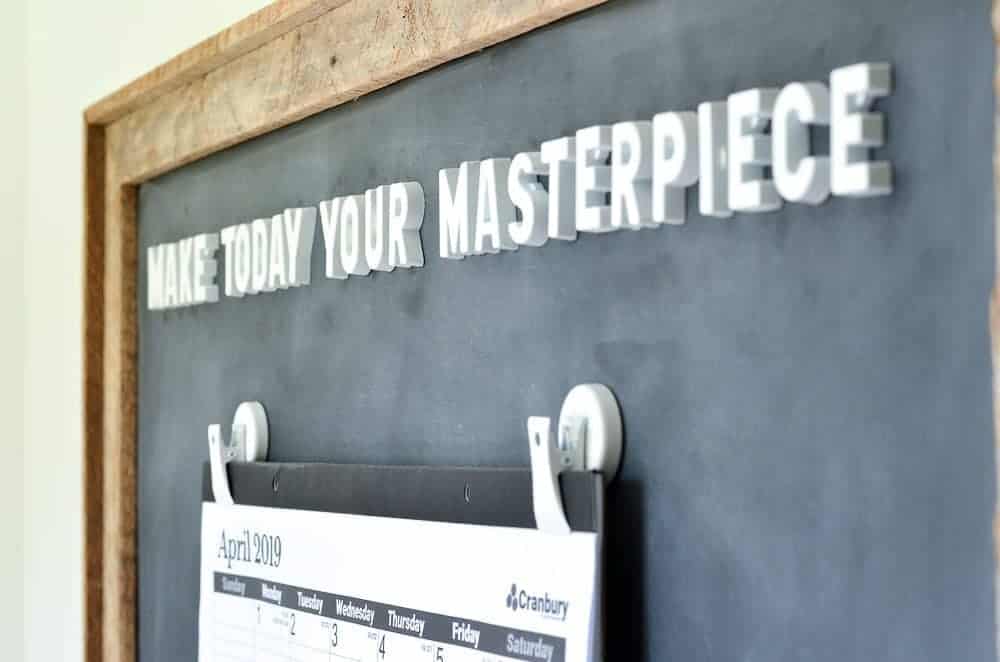
Soon, I’ll share how easy it was to make the letters for the quote on the memo board.
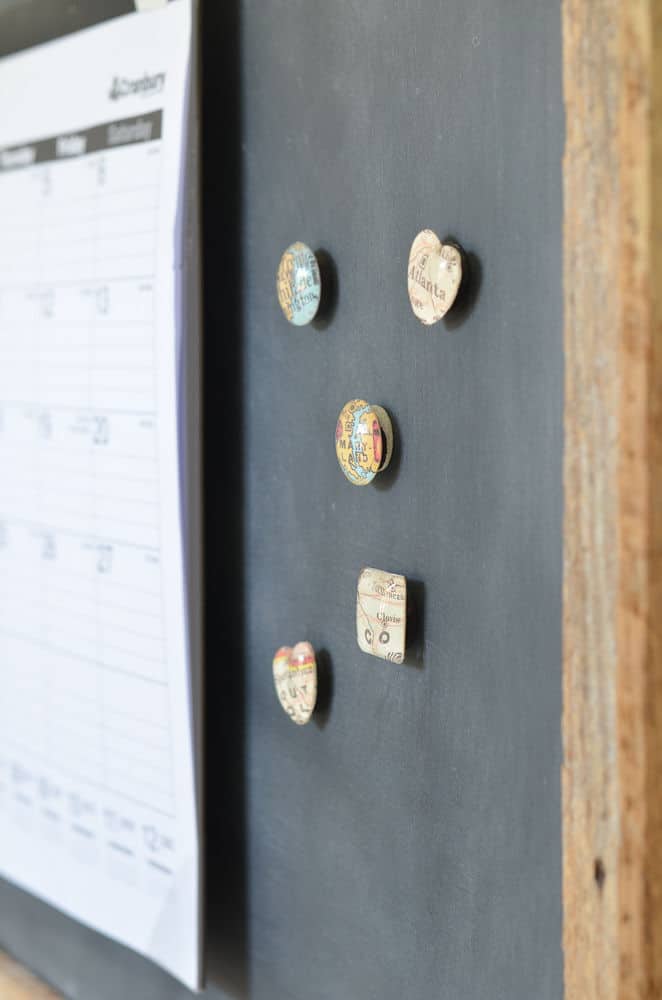
I’ll also do a tutorial on the map magnets. I made a magnet for a few of the places we’ve lived and love to visit.
To hold pens and scissors, I spray painted pepper containers with the same chalkboard paint I used for the board.

I attached the pen holder with magnets using a glue gun.
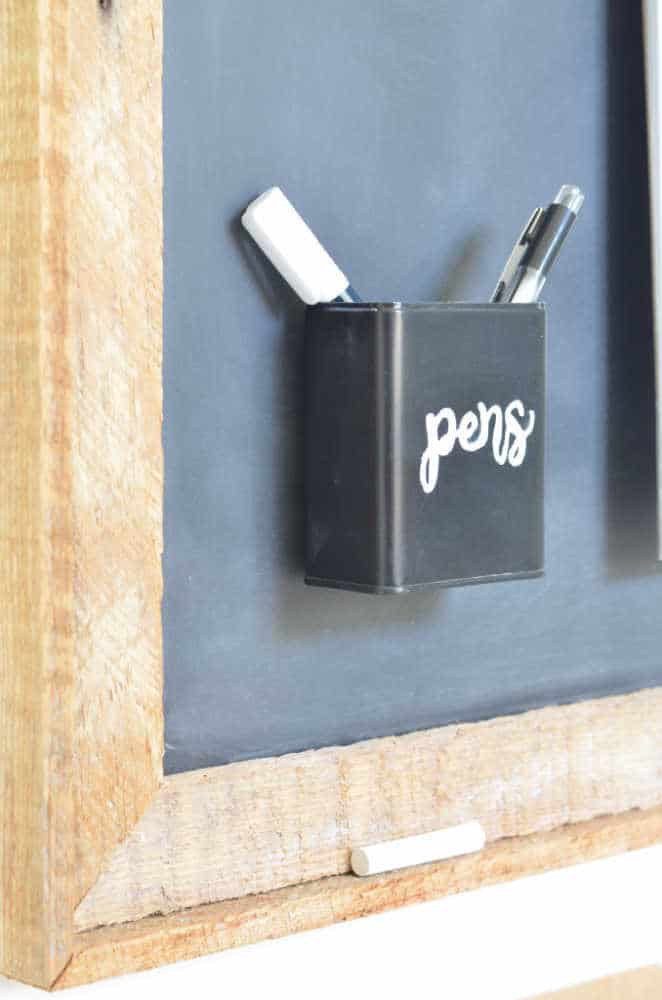
The other spice container was attached to the file folder holder with zip ties.
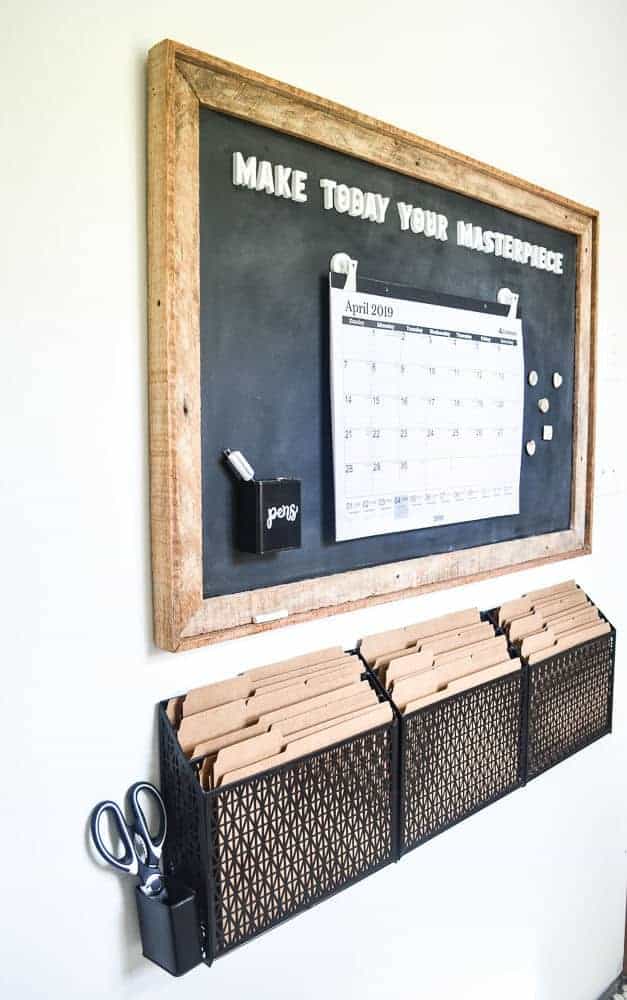
I still have to finish up by moving some of my paperwork into the file folders but the hard work is done. Now, I have a place to control the chaos and simplify our schedules. Yay!
Now, it’s onto the rest of the list of things to do:
TO-DO LIST & DESIGN PLANS FOR THE WALK-IN PANTRY RENOVATION:
Prime and paint the wallsInstall the cement boardand the black & white hexagon tile floorDIY magnetic chalkboard command centerAdd glass to a solid wood door we found at the Habitat for HumanityBuild the pantry shelving and a supply cabinetPaint the cabinetryand doorsConcrete countertopsAdd steel and glass shelving in front of the window similar toour custom Etsy steel shelvingfor an herb garden- Install lighting
- Tutorial on DIY map magnets and letter magnets
- DIY labels for organizing the pantry canisters and baskets
- Baseboard and crown molding
CATCH UP ON ALL THE ONE ROOM CHALLENGE PANTRY ROOM PROGRESS HERE:
Week One: Design and Moodboard
Week Two: Hexagon Tile Flooring
Be sure to check out all the other participants for the One Room Challenge. There’s so much creativity on one page!

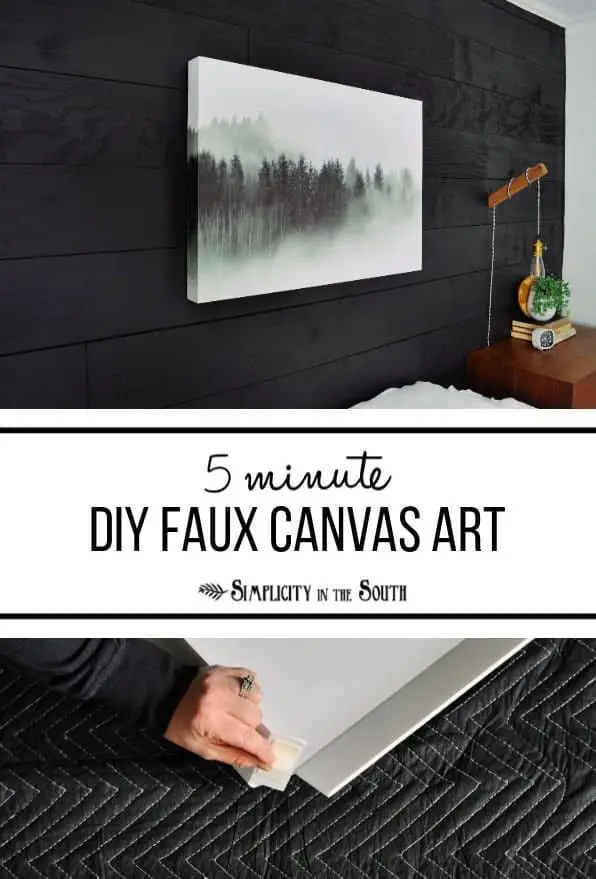
If you liked this magnetic chalkboard command center project, chances are you’ll love this project too:
Verdigris Magnetic Chalkboard and Instagram Gallery


Thanks sharing this article about the day framed chalkboard magnetic board command center this is help us information
I would love to know where to find the file folder holders under the blackboard in the pantry. You did a beautiful job with this makeover! Love your taste and appreciate the tutorials!
Thank you so much, Laura! I found the hanging file folder holders on Amazon. The link is here: https://amzn.to/2ssHOH4 or you can search for “DESIGNA Vertical Wall-Mounted 3-Tier File Folder Organizer, Black Rhombic Metal Mesh Hanging Holder”. They’re actually less expensive now than when I purchased them and they have an extra 20% off coupon showing (but I’m not sure if that’s just for Prime members). They’ve really come in handy keeping up with receipts, bills, and my sons’ paperwork from school.
You guys are seriously talented! Love the rustic wood frame.
Clever! And this room is looking fabulous! 🙂